Workflow
Applicable editions: Faveo Helpdesk Community and Faveo Servicedesk Community
Customize the ticket creation workflow based on various criteria's. This is a kind of a keyword search for you to handle your tickets appropriately and efficiently. Workflows can help you achieve this. For example: you can create a workflow that tells the system, all tickets that arrive by ‘email’ and that contains the word “pharmacy” (a common spam topic) should be rejected.
To create a workflow, follow these steps: Go to Admin panel> Manage> Workflow> Create Workflow.
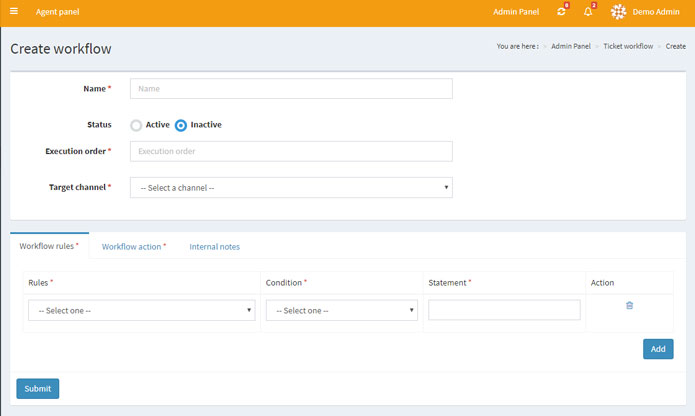
Status: Select the status Active to activate the workflow to enable you to edit.
Execution Order: You can enter the order number here according to which the workflow list will be executed.
Target Channel: Tickets are targeted by this workflow based on the destination of the tickets. For example: If you select “email” then all tickets that come by email will be directed through this workflow. Use the drop-down menu to select the Target Channel.
Workflow Rules: You can set rules for your workflow based on statements and conditions. Example: For example if you set a rule as “Subject” applying the condition “Contains” and provide “glitch” as an input in the statement field, then your workflow will affect all emails with the Subject as “glitch”.
Workflow Action: You can define a workflow action. Select an action from the drop-down menu. From the above example: For every Mail with the Subject as "glitch" set the Condition as "Set department" as in rules set "Support".
Internal Notes: Add notes if there are any details on this workflow you want to share with other admins.
Now click on Submit.