Install Active Directory Domain Services in Windows Server 2012 R2
This document will list on how to install Active Directory Domain Services in Windows Server 2012 R2
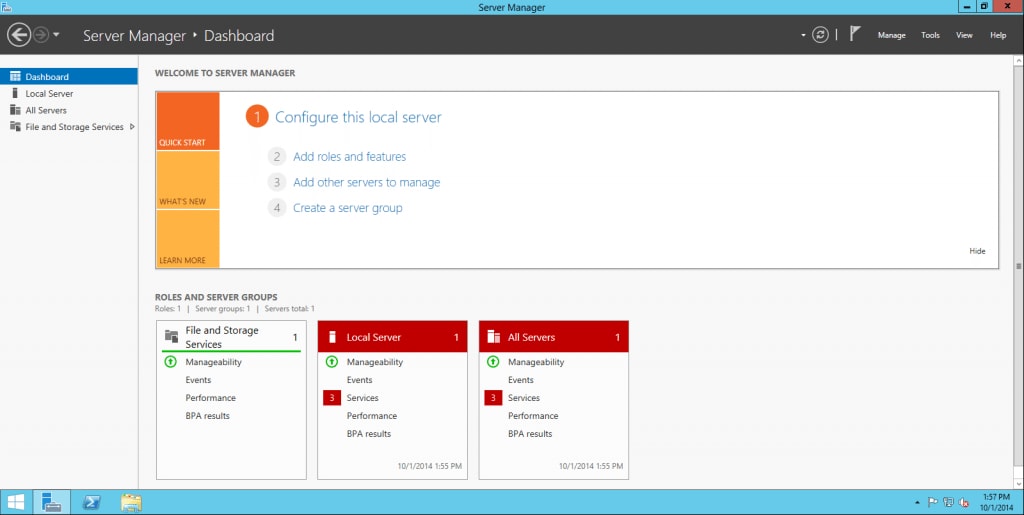
Step1: Open the Dashboard in the Server Manager, and click on the Add roles and features links from right hand side panel of the screen
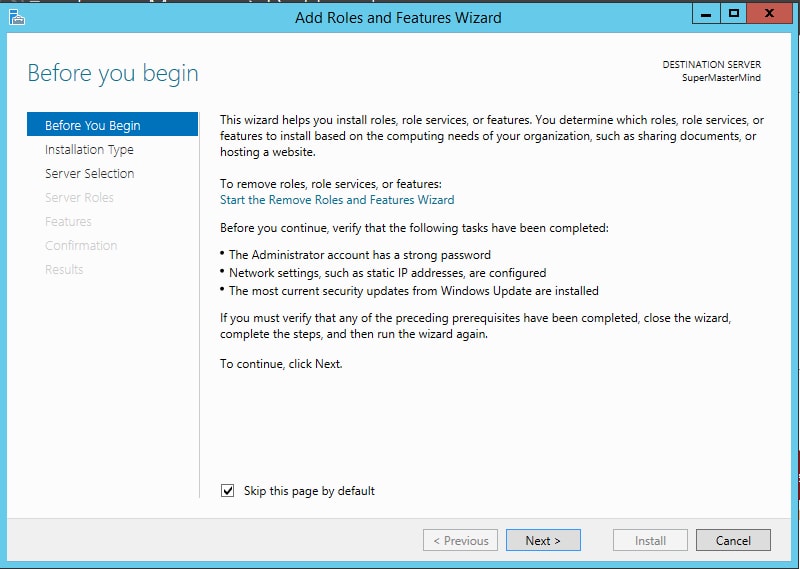
Step2: You should be able to see Add Roles and Features Wizard screen.Skip this page by Default check box and press Next button
Step3: You will be asked for select the Installation in this screen, Click on “Role-based or feature-based Installation” and press Next button

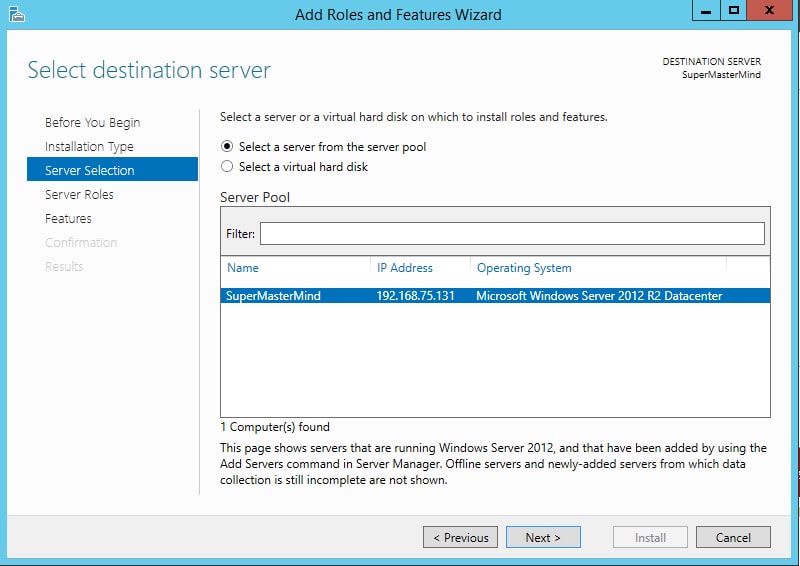
Step4: In the following screen, you will be asked to select a destination server from the server pool and press Next button
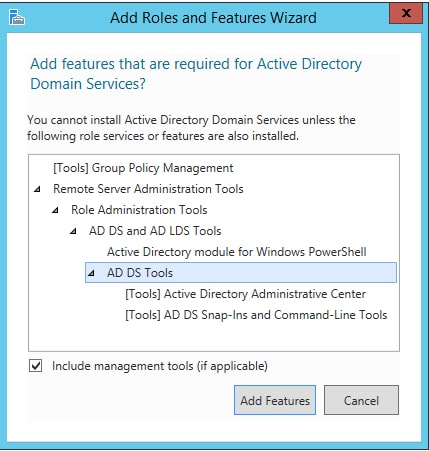
Step5: On the Select Server screen, Select the role Active Directory Domain Services. Once you selected the role, you will be promoted to install the prerequisites. Check the Include management tools(If applicable) check box and press Add Features button
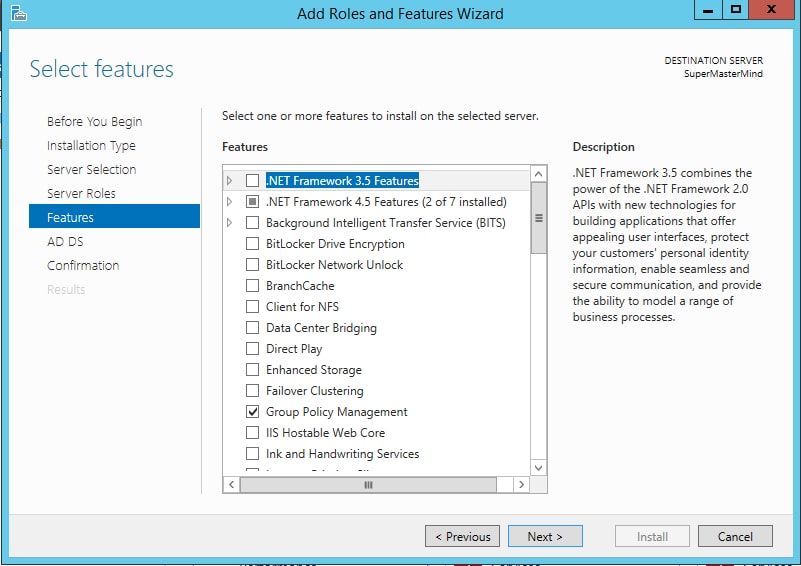
Step6: Now, you have installed all the prerequisites for Active Directory. Select the additional Roles and Features if required. Press Next button to continue
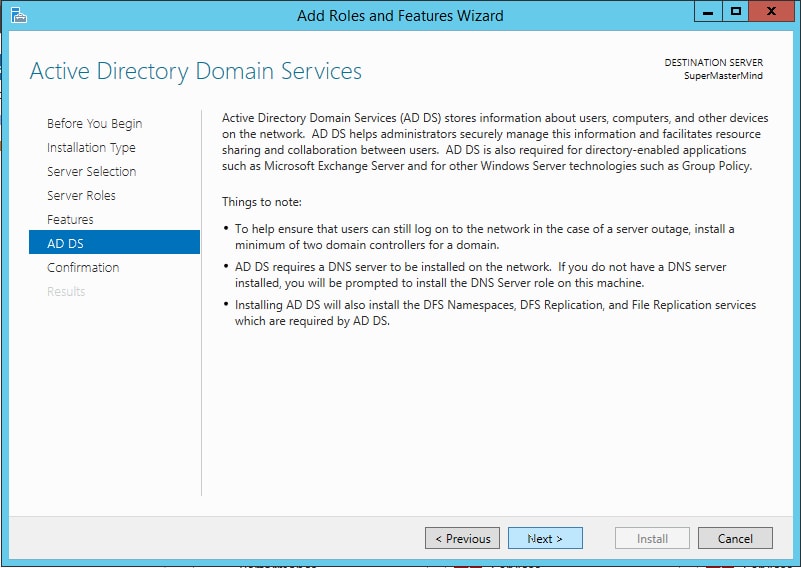
Step7: The following screen has information about how Active Directory Domain Services will be installed. Press Next-button to continue
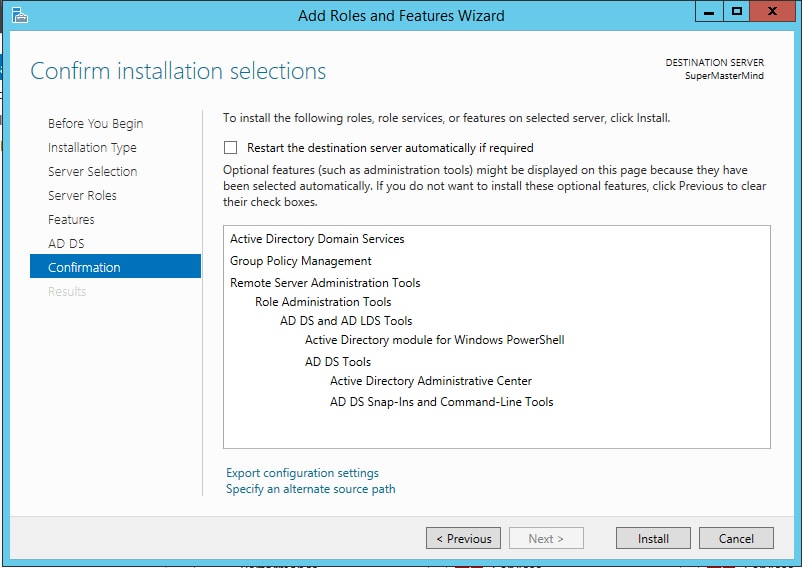
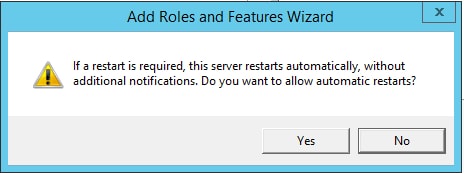
Step8: The next screen in Add Roles and Features Wizard is Confirm Installation Selections Screen. Click the Restart the destination server automatically if required. and Click on Install button
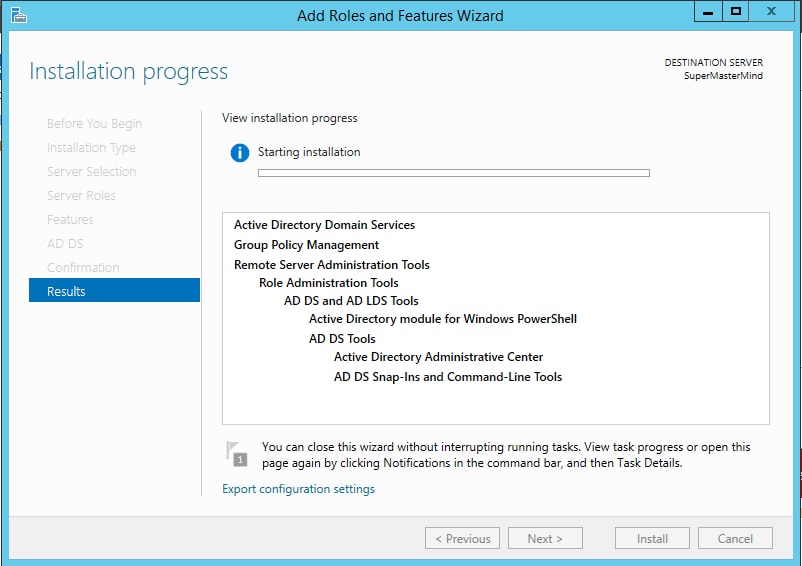
Step9: Now, Installation process will be started. It takes several minutes to complete
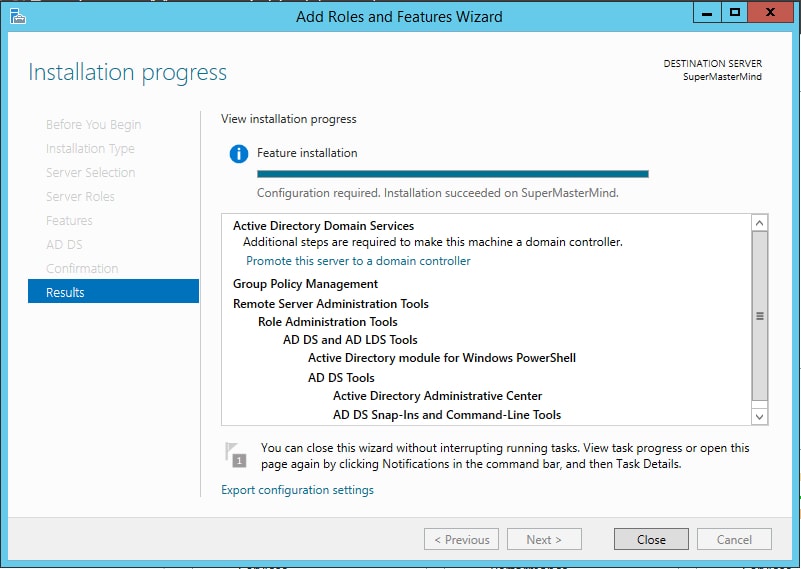
Step10: Once, Active Directory Domain Service is installed. you can see the installation results in the screen. Click on Promote this server to a domain controller to lunch the Active Directory Domain Services configured wizard
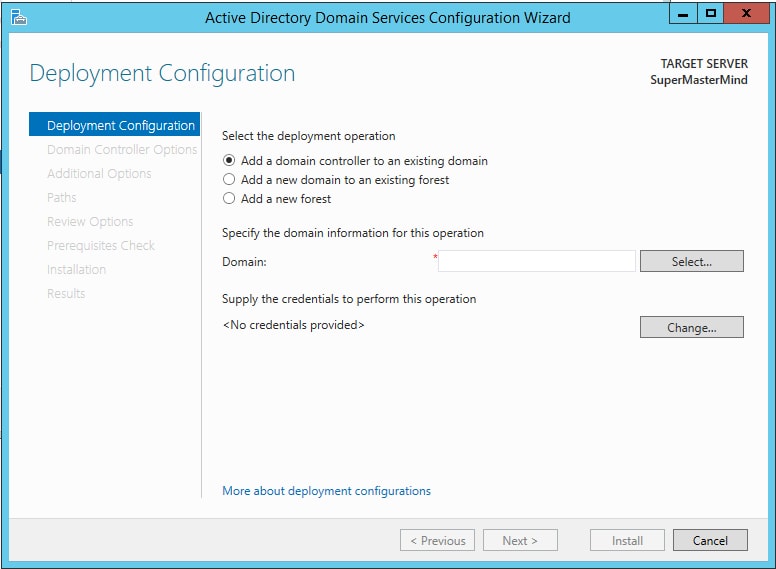
Step11: You should be able to see the Deployment Configuration screen. Select the Add new a Forest radio button and provide Root domain name in the text box. Press Next button to continue
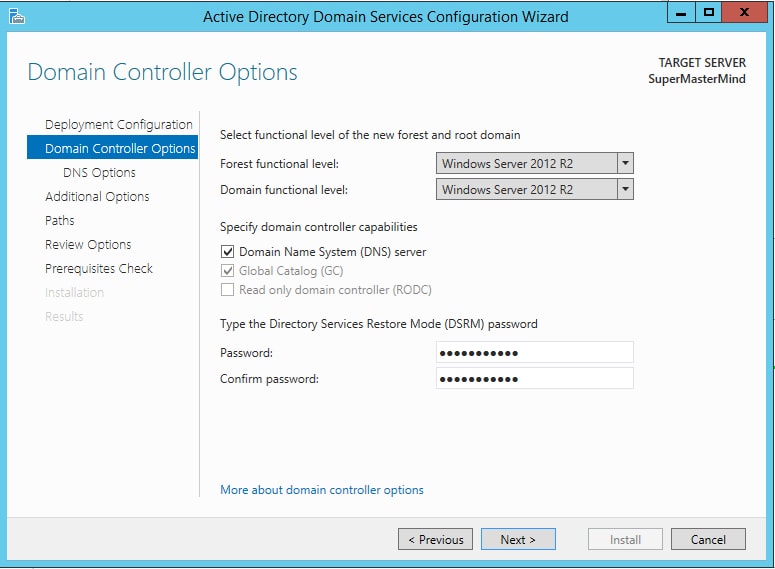
Step12: The next screen is the Domain Controller Options screen. Enter the Password of your choice in Password and Confirm password fields and Keep other settings on default. Press Next button to continue
Step13: You will be prompted with warning on DNS Option screen of the Active Directory Domain Services Configuration Wizard. Here, you don’t need to do anything. Just press Next button to continue

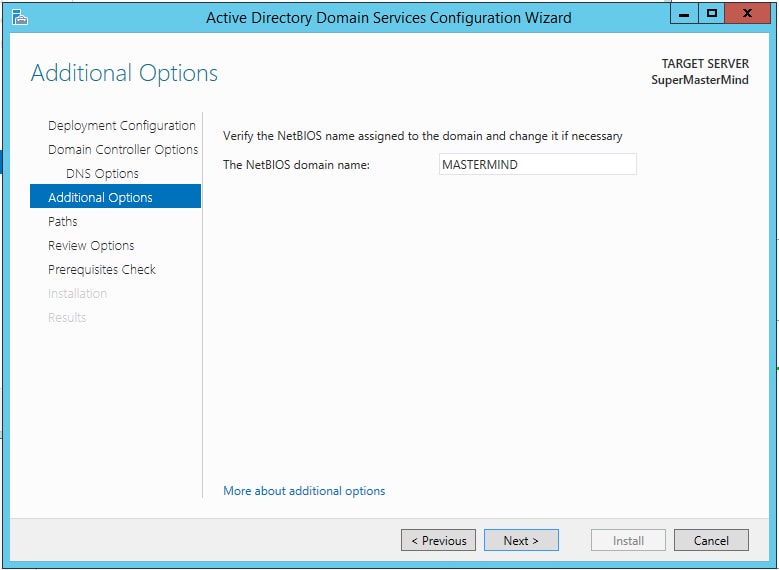
Step14: In the following Additional Option screen, you will be asked to verify the your NetBIOS domain name
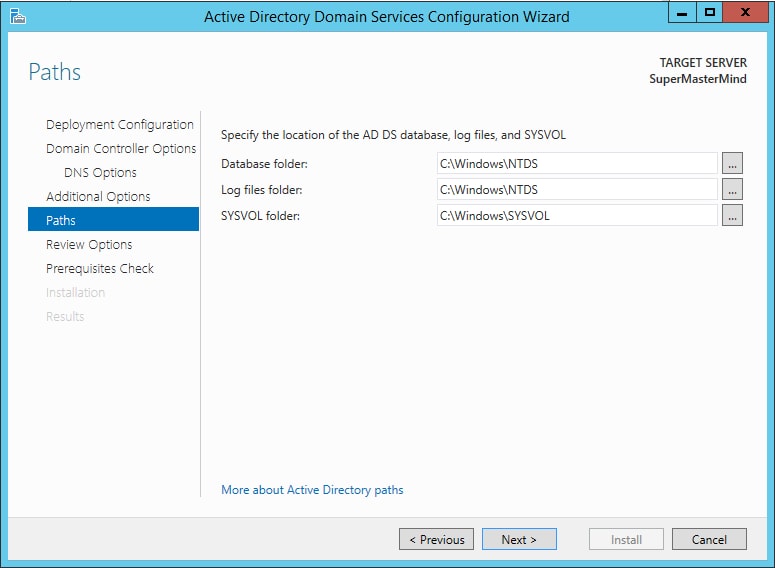
Step15: On the Paths screen , you can leave all the settings as is it and press Next button to continue
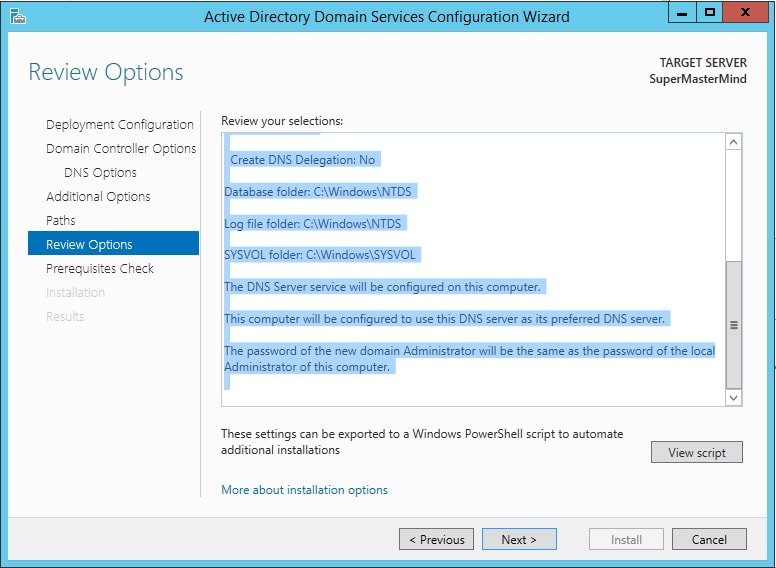
Step16: Now, you will get Review Options screen that shows the wizard settings you have selected. Press Next button to Continue
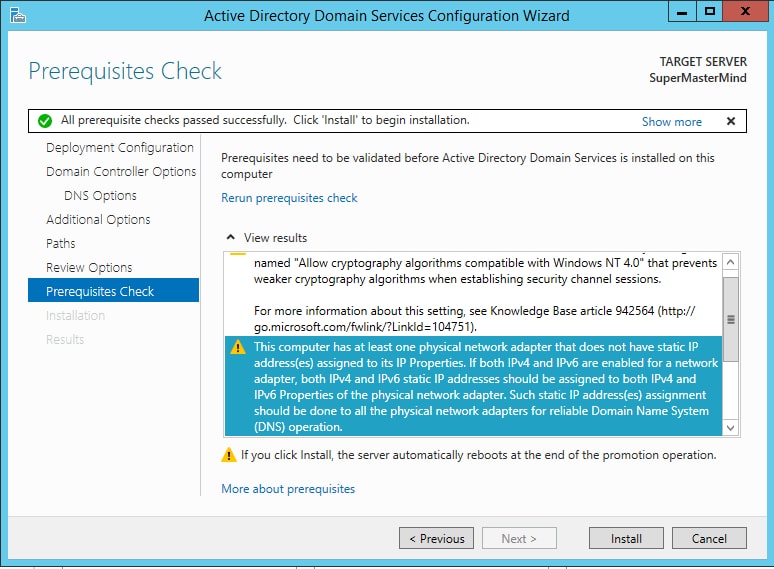
Step17: You will be landed on Prerequisites Check screen. This takes several minutes to complete the check. once, test is completed. Press the Install button
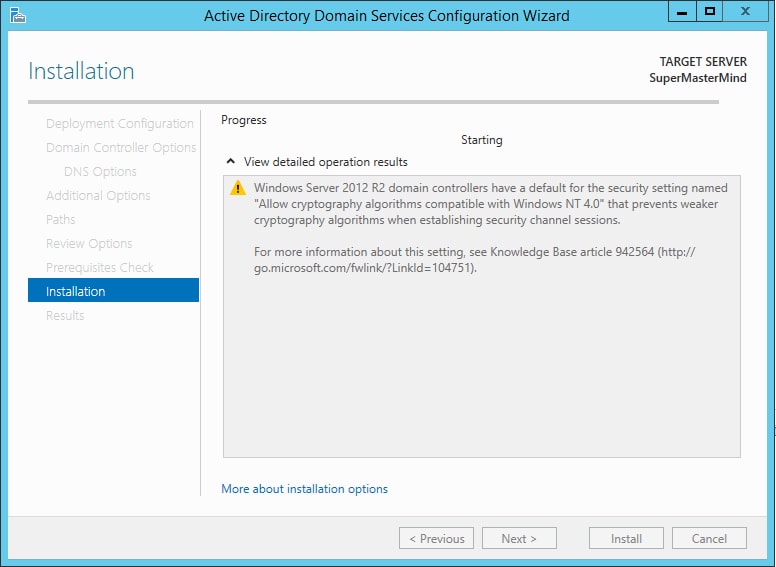
Step18: Now, you are on last screen of the Active Directory Domain Services Configuration Wizard. This Installation screens shows the installation progress. Once, Installation is completed, your server will be restarted automatically
Step19: After, your system restarted. you should be able to able to login with in domain using the Domain credentials ex. Domain\UserName
Step20: Now, you can use the Active directory Users and Computers administrator tool to create the users and groups
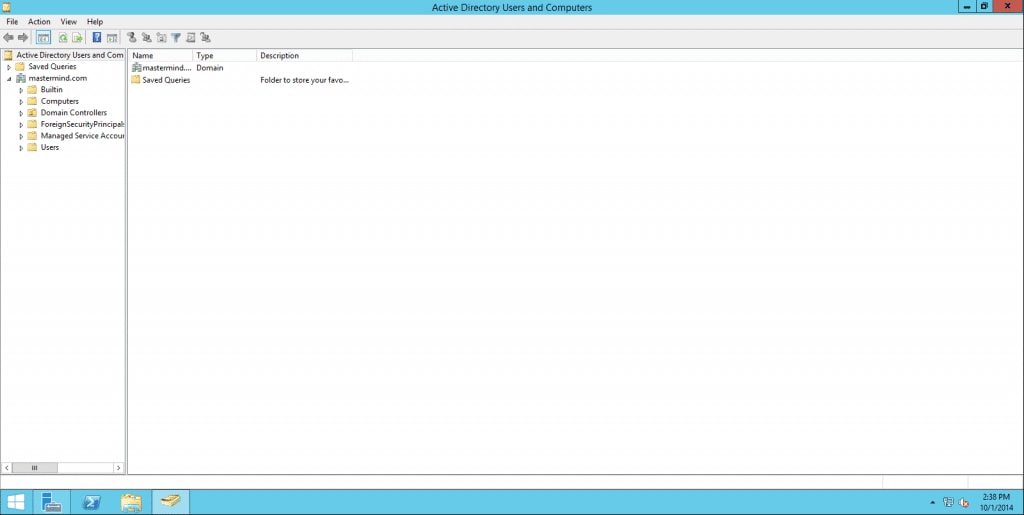
Step21: Verify all the domain details by browsing the Node of Users Folder in Left panel of the screen
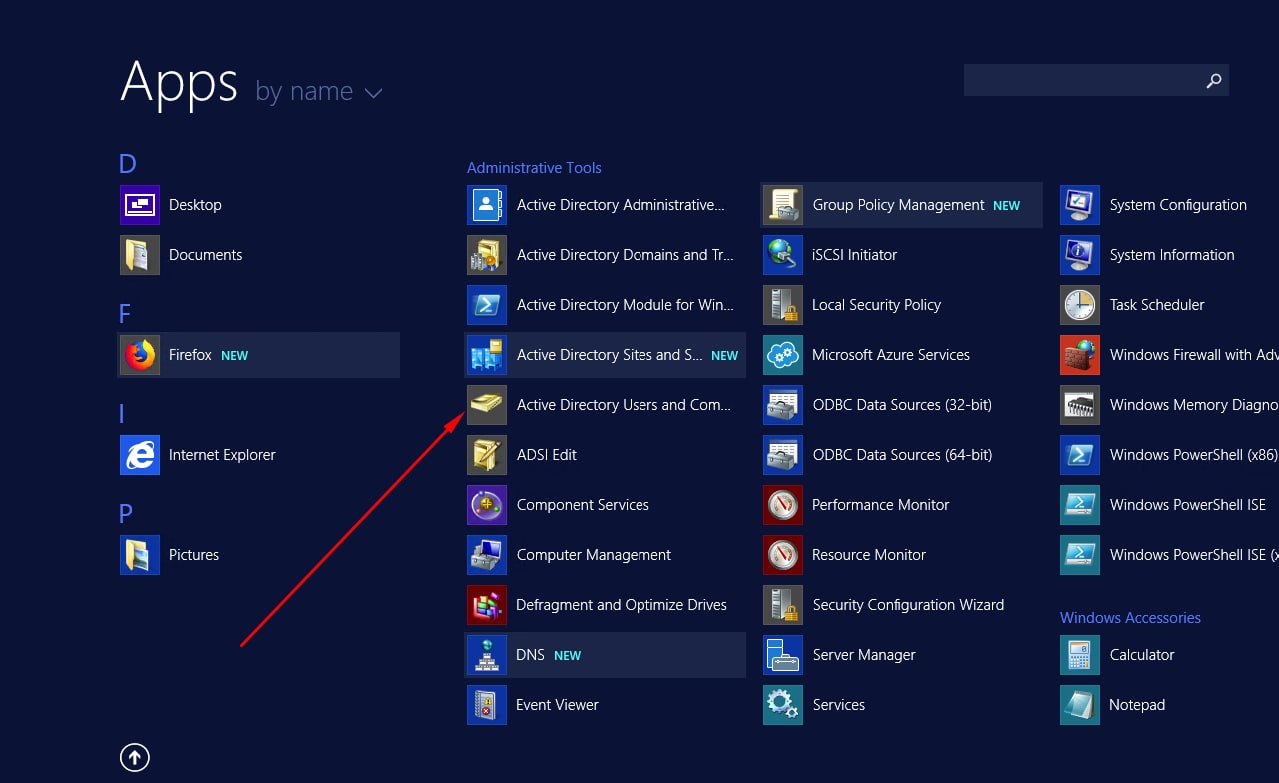
Step1: Open applications of your server and select Active Directory Users and Computers
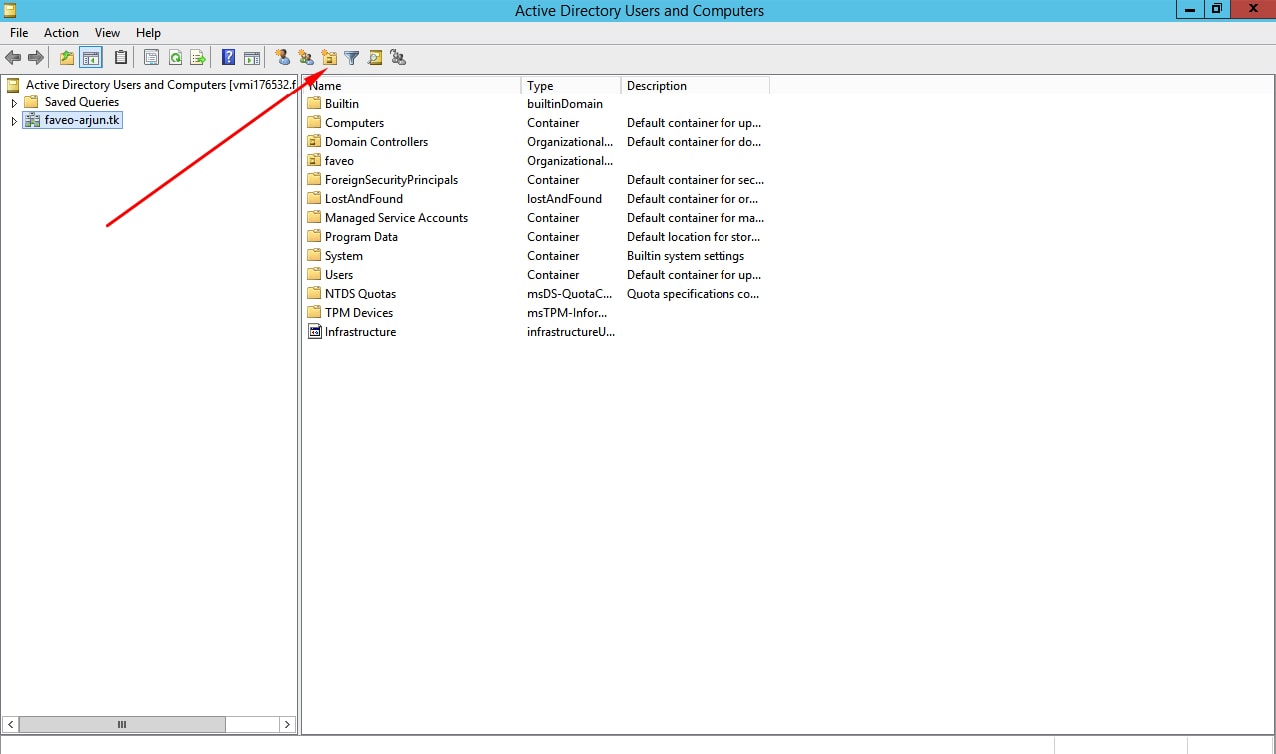
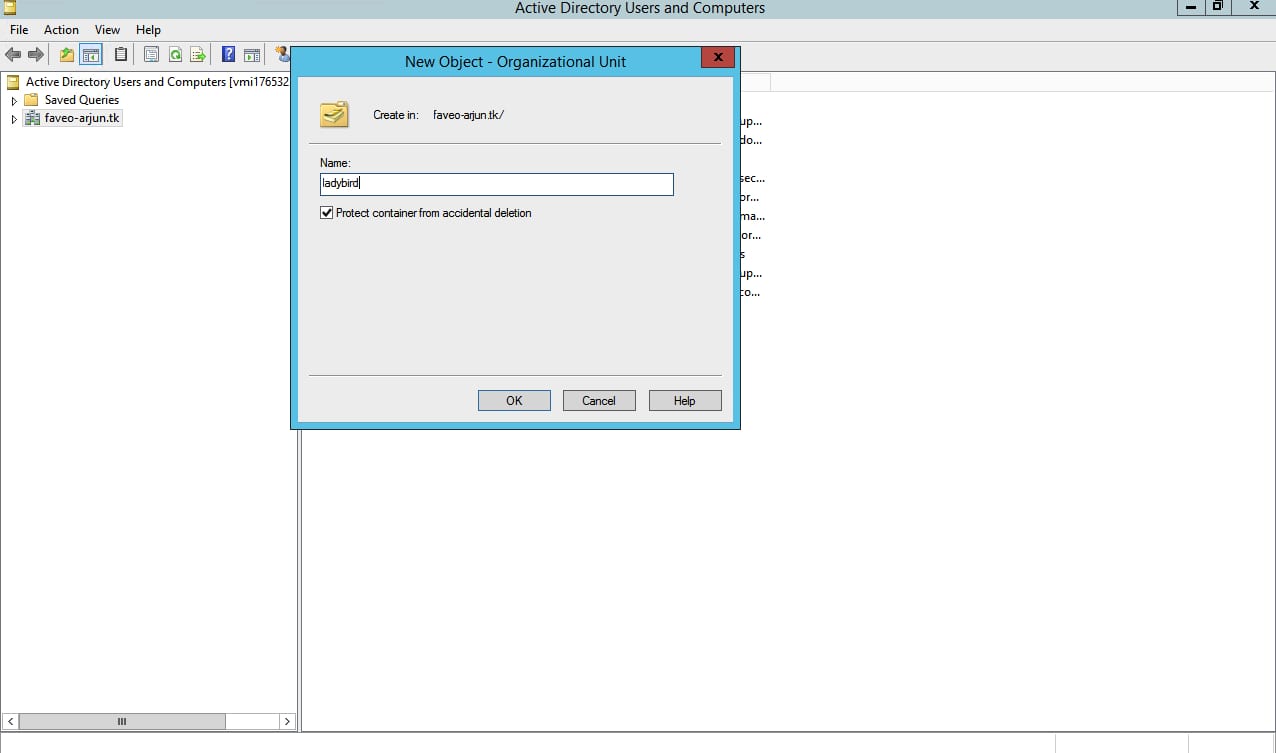
Step2: Click on the create “Organizational Unit icon”
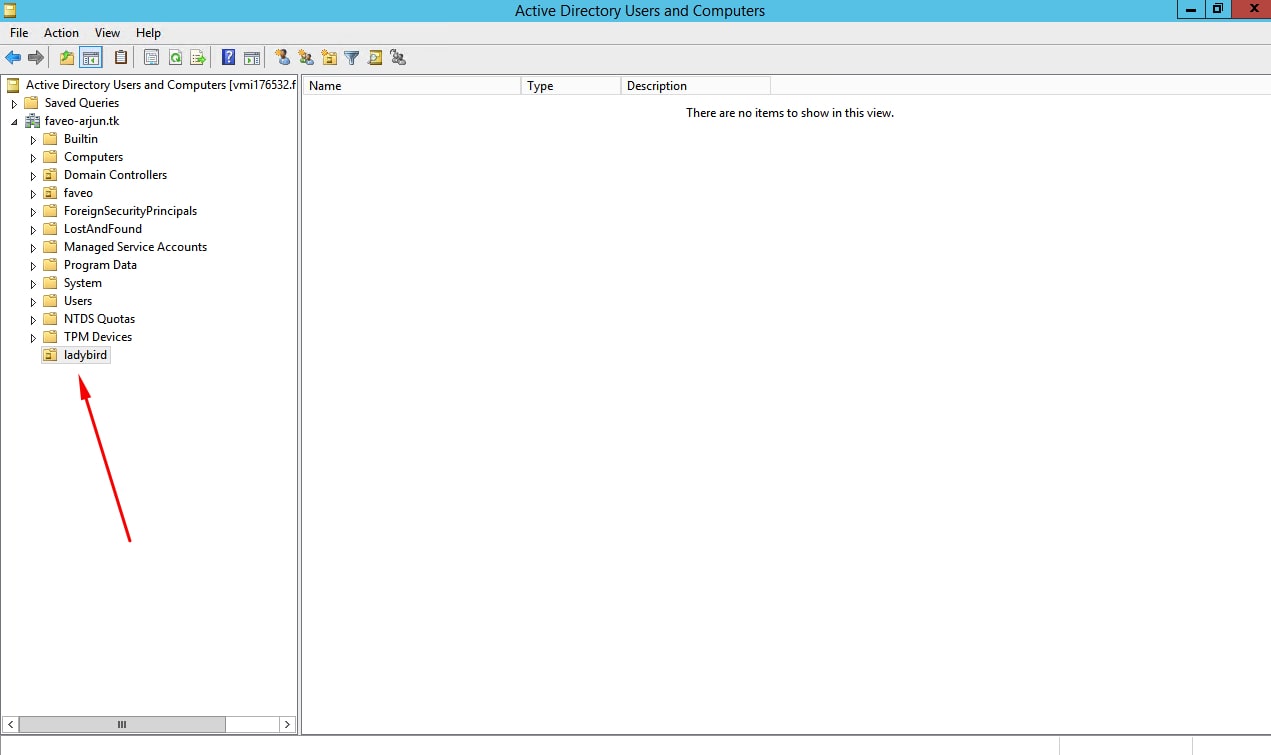
Step3: Provide the name of Organizational Unit
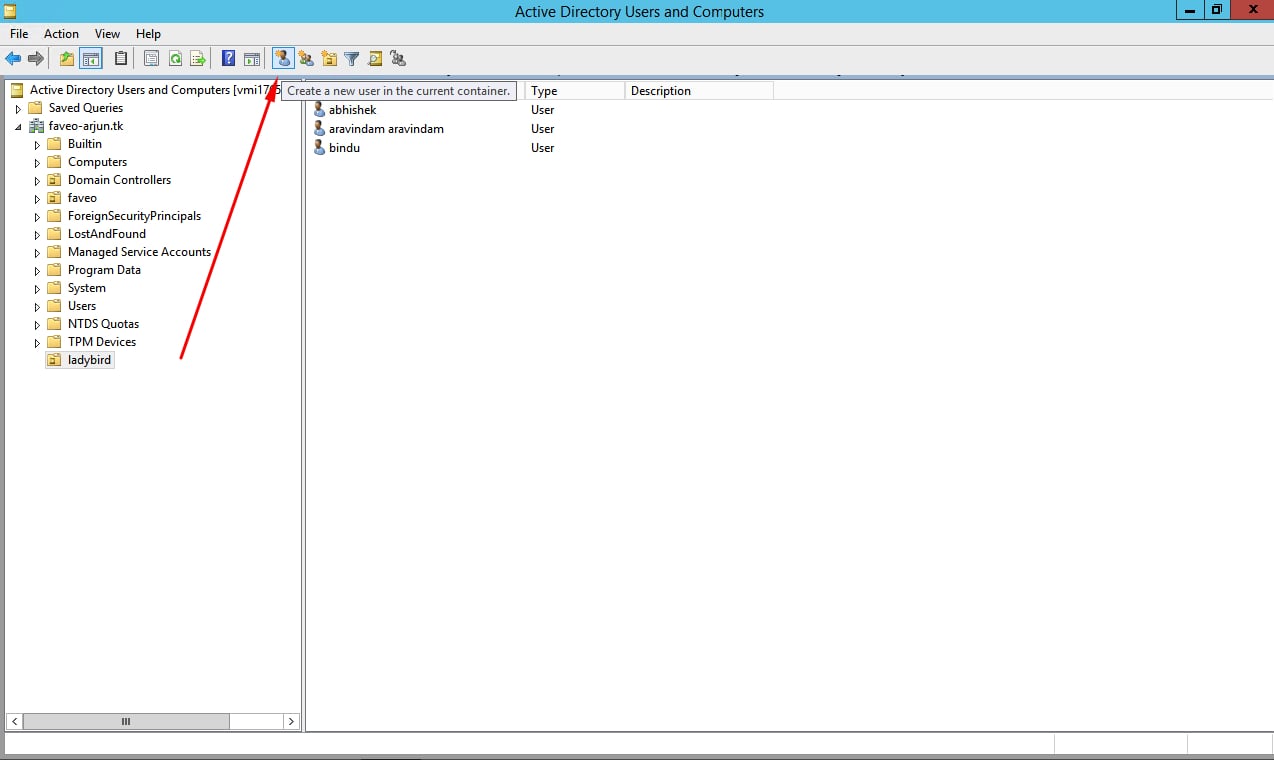
Step4: Click on the created organizational unit and then click on create “User icon”
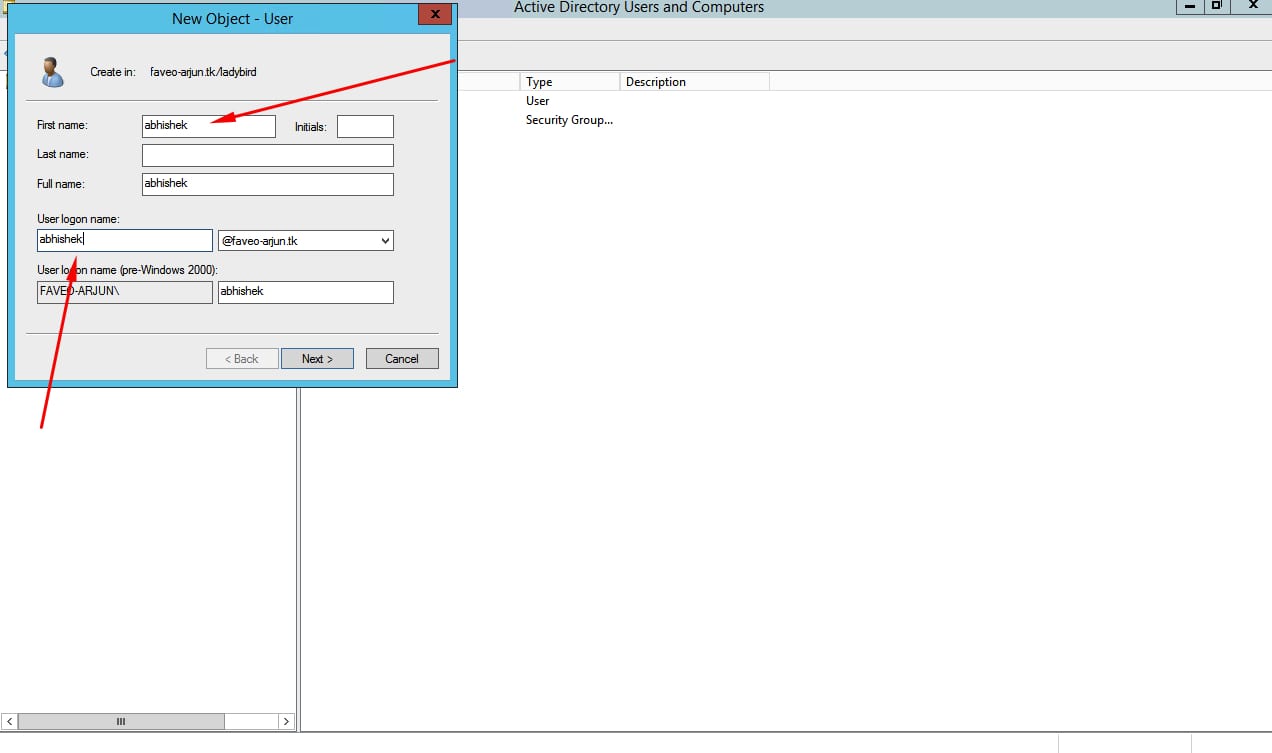
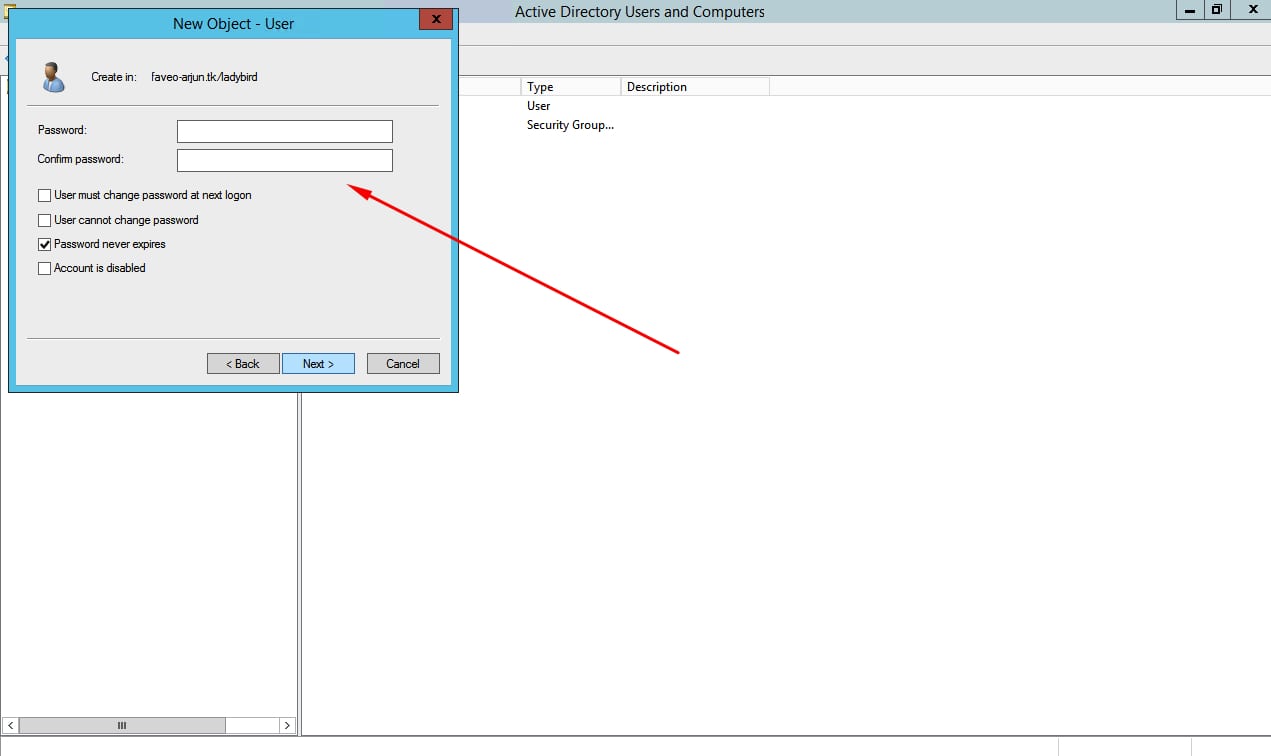
Step5: Fill all details and click "Next"
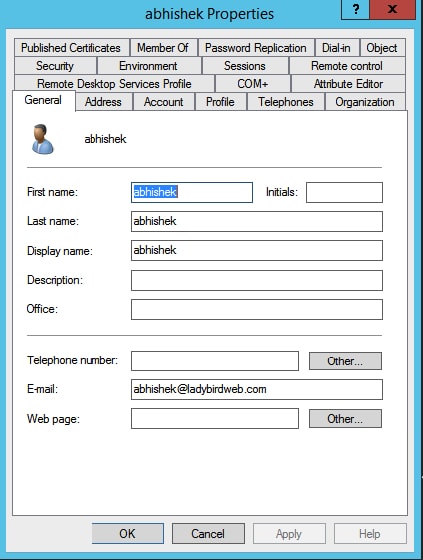
Step6: Right click on User name and select “Properties” and fill all the information of the user.

Once you are completed with this you can start configuring LDAP with Faveo