Zephyr
Currently LiteX+VexRiscv configuration is supported in mainstream Zephyr.
LiteX Build Environment comes with a helper script that configures the environment and automatically builds sample applications shipped with Zephyr.
First, clone the LiteX Build Environment repository and set it up:
git clone https://github.com/timvideos/litex-buildenv.git
cd litex-buildenv

# configure target
export CPU=vexriscv
export CPU_VARIANT=full
export PLATFORM=arty
export FIRMWARE=zephyr
export TARGET=base

./scripts/download-env.sh
The script will download and install Zephyr SDK (if not detected in the system) together with all necessary python modules.
The SDK will be installed in zephyr_sdk folder located under build/arty_base_vexriscv.full.
Follow the instructions in this section to setup udev rules needed to enable access to the USB device.
Once udev rules are set up and the environment is configured, enter it and build the firmware:
source scripts/enter-env.sh
./scripts/build-zephyr.sh
Zephyr sources, available for further modification, will be downloaded to third_party/zephyr/zephyr.
The selected application (shell_module by default) will be built in build/arty_base_vexriscv.full/software/zephyr.
You can select another sample by setting ZEPHYR_APP environment variable.
Before switching to another sample, clean the build directory:
rm -rf build/arty_base_vexriscv.full/software/zephyr
ZEPHYR_APP=hello_world ./scripts/build-zephyr.sh
As a result you will find firmware.bin in the build directory.
Note: Steps in this section can be skipped if you are only interested in simulation in Renode.
In order to build the gateware for an Arty board, you will need to have the Xilinx Vivado toolchain installed in your system.
Follow the instructions on the LiteX BuildEnv Wiki to download, install and get a license for Vivado.
Execute the following command to build the gateware:
make gatewareNote that the above operation might take a while.
Once you have a synthesized gateware, load it onto the FPGA with:
make gateware-loadAs a result your FPGA will contain the LiteX+VexRiscv platform preloaded with the LiteX BIOS bootloader.
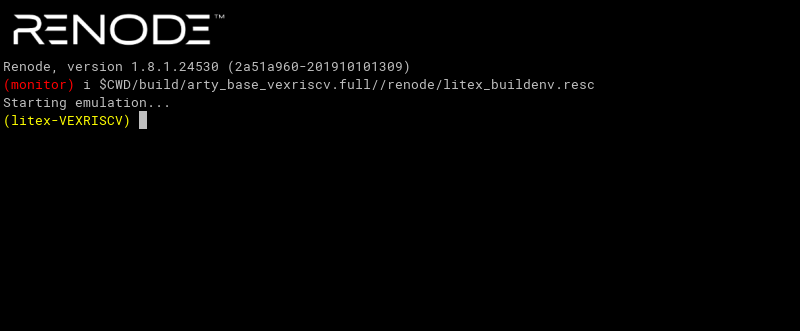
Execute the following command to start the simulation in Renode:
./scripts/build-renode.shThis will generate startup scripts for Renode based on your current LiteX configuration and start the simulation. As a result two windows will be opened.
The monitor, used to control the simulation:
And a UART analyzer displaying messages printed by the software and allowing to interact with the Zephyr shell:
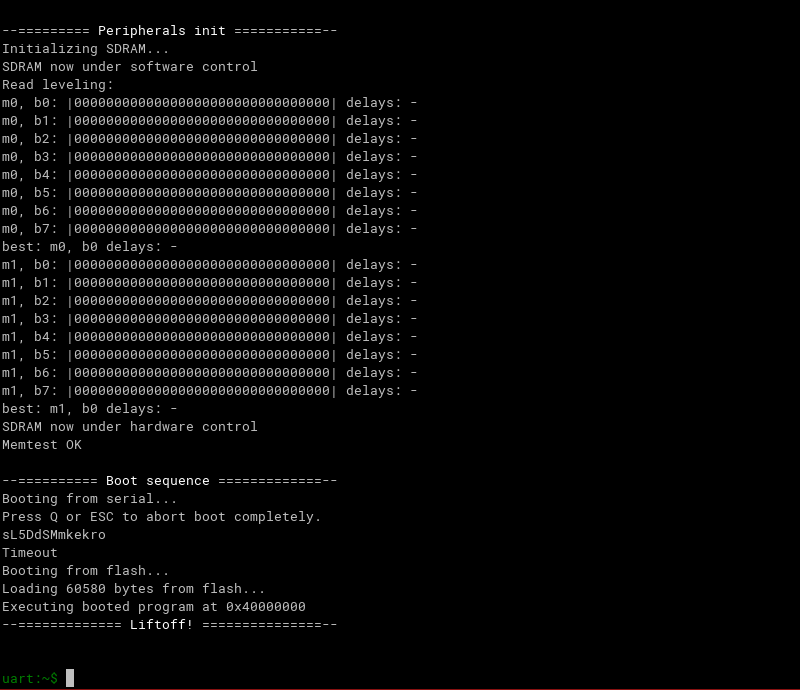
For more information on simulating LiteX in Renode (including advanced usage) see the Renode page on the LiteX BuildEnv wiki.
Execute the following command:
make firmware-loadThis will start an flterm tool that connects to the board using /dev/ttyUSB and uploads the binary via the serialboot option in LiteX BIOS.
Now, press the red reset button on the board to reset the CPU, reboot LiteX BIOS and start the process of uploading the Zephyr image.
Finally, you should see the prompt of Zephyr shell:
flterm --port=/dev/ttyUSB1 --kernel=build/arty_base_vexriscv.full//software/zephyr/firmware.bin --speed=115200
[FLTERM] v2.4-29-g47d3b15 Starting...

        __   _ __      _  __
       / /  (_) /____ | |/_/
      / /__/ / __/ -_)>  <
     /____/_/\__/\__/_/|_|

 (c) Copyright 2012-2019 Enjoy-Digital
 (c) Copyright 2007-2015 M-Labs Ltd

 BIOS built on Oct 14 2019 13:07:34
 BIOS CRC passed (609a0fa9)

--============ SoC info ================--
CPU:       VexRiscv @ 100MHz
ROM:       32KB
SRAM:      32KB
L2:        8KB
MAIN-RAM:  262144KB

--========= Peripherals init ===========--
Initializing SDRAM...
SDRAM now under software control
Read leveling:
m0, b0: |11111111110000000000000000000000| delays: 05+-05
m0, b1: |00000000000000111111111111000000| delays: 20+-06
m0, b2: |00000000000000000000000000000011| delays: 31+-01
m0, b3: |00000000000000000000000000000000| delays: -
m0, b4: |00000000000000000000000000000000| delays: -
m0, b5: |00000000000000000000000000000000| delays: -
m0, b6: |00000000000000000000000000000000| delays: -
m0, b7: |00000000000000000000000000000000| delays: -
best: m0, b1 delays: 20+-06
m1, b0: |11111111111000000000000000000000| delays: 05+-05
m1, b1: |00000000000000011111111111000000| delays: 20+-05
m1, b2: |00000000000000000000000000000001| delays: 31+-00
m1, b3: |00000000000000000000000000000000| delays: -
m1, b4: |00000000000000000000000000000000| delays: -
m1, b5: |00000000000000000000000000000000| delays: -
m1, b6: |00000000000000000000000000000000| delays: -
m1, b7: |00000000000000000000000000000000| delays: -
best: m1, b0 delays: 05+-05
SDRAM now under hardware control
Memtest OK

--========== Boot sequence =============--
Booting from serial...
Press Q or ESC to abort boot completely.
sL5DdSMmkekro
[FLTERM] Received firmware download request from the device.
[FLTERM] Uploading kernel (60580 bytes)...
[FLTERM] Upload complete (7.7KB/s).
[FLTERM] Booting the device.
[FLTERM] Done.
Executing booted program at 0x40000000
--============= Liftoff! ===============--


uart:~$