Linux
For Linux support an FPGA must have some type of large dynamic ram such as SDRAM, DDR, DDR2, DDR3, LP-DDR, etc.
LiteX Linux Support Random Notes Google Doc
Litex requires a set of openrisc linux patches available at https://github.com/timvideos/linux-litex. These ultimately need to go upstream. The patches include:
- EVBAR support
arch/openriscSupporting kernel not loaded at0x0 - Bootvector
arch/openriscSupport not booting from the openrisc default0x100 - LiteUart driver
drivers - LiteEth driver
drivers - LitexInfo driver
drivers
LiteX Build Environment currently supports running Linux on:
mork1kx-
vexriscv- using the upstream kernel (without any litex-specific drivers, UART handled by VexRiscv's emulator)
- using a patched buildroot 5.0.13 kernel from linux-on-litex-vexriscv (with litex-specific drivers)
LiteX Build Environment comes with a helper script that configures the environment and automatically clones and builds Linux.
First, clone the LiteX Build Environment repository and set it up:
git clone https://github.com/timvideos/litex-buildenv.git
cd litex-buildenv

# configure target
export CPU=vexriscv
export CPU_VARIANT=linux
export PLATFORM=arty
export FIRMWARE=linux

./scripts/download-env.shFollow the instructions in this section to setup udev rules needed to enable access to the USB device.
Once udev rules are set up and the environment is configured, enter it:
source scripts/enter-env.shIf you have linux sources already cloned you can point to them by setting LINUX_GITLOCAL evnironment variable to avoid (time & hard drive space consuming) cloning.
Build the firmware:
# optional: LINUX_GITLOCAL=/my/local/linux/clone

./scripts/build-linux.sh
Linux sources, available for further modification, will be cloned to third_party/linux.
The pre-built rootfs and DTS files will be downloaded to build/arty_net_vexriscv.linux/software/linux.
Note: Steps in this section can be skipped if you are only interested in simulation in Renode.
In order to build the gateware for an Arty board, you will need to have the Xilinx Vivado toolchain installed in your system.
Follow the instructions on the LiteX BuildEnv Wiki to download, install and get a license for Vivado.
Execute the following command to build the gateware:
make gatewareNote that the above operation might take a while.
Once you have a synthesized gateware, load it onto the FPGA with:
make gateware-loadAs a result your FPGA will contain the LiteX+VexRiscv platform preloaded with the LiteX BIOS bootloader.
Execute the following command to start the simulation in Renode:
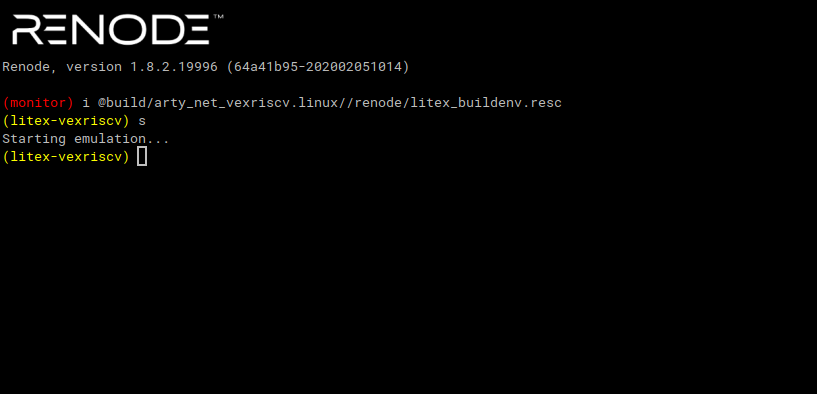
./scripts/build-renode.shThis will generate startup scripts for Renode based on your current LiteX configuration and start the simulation. As a result two windows will be opened.
The monitor, used to control the simulation:
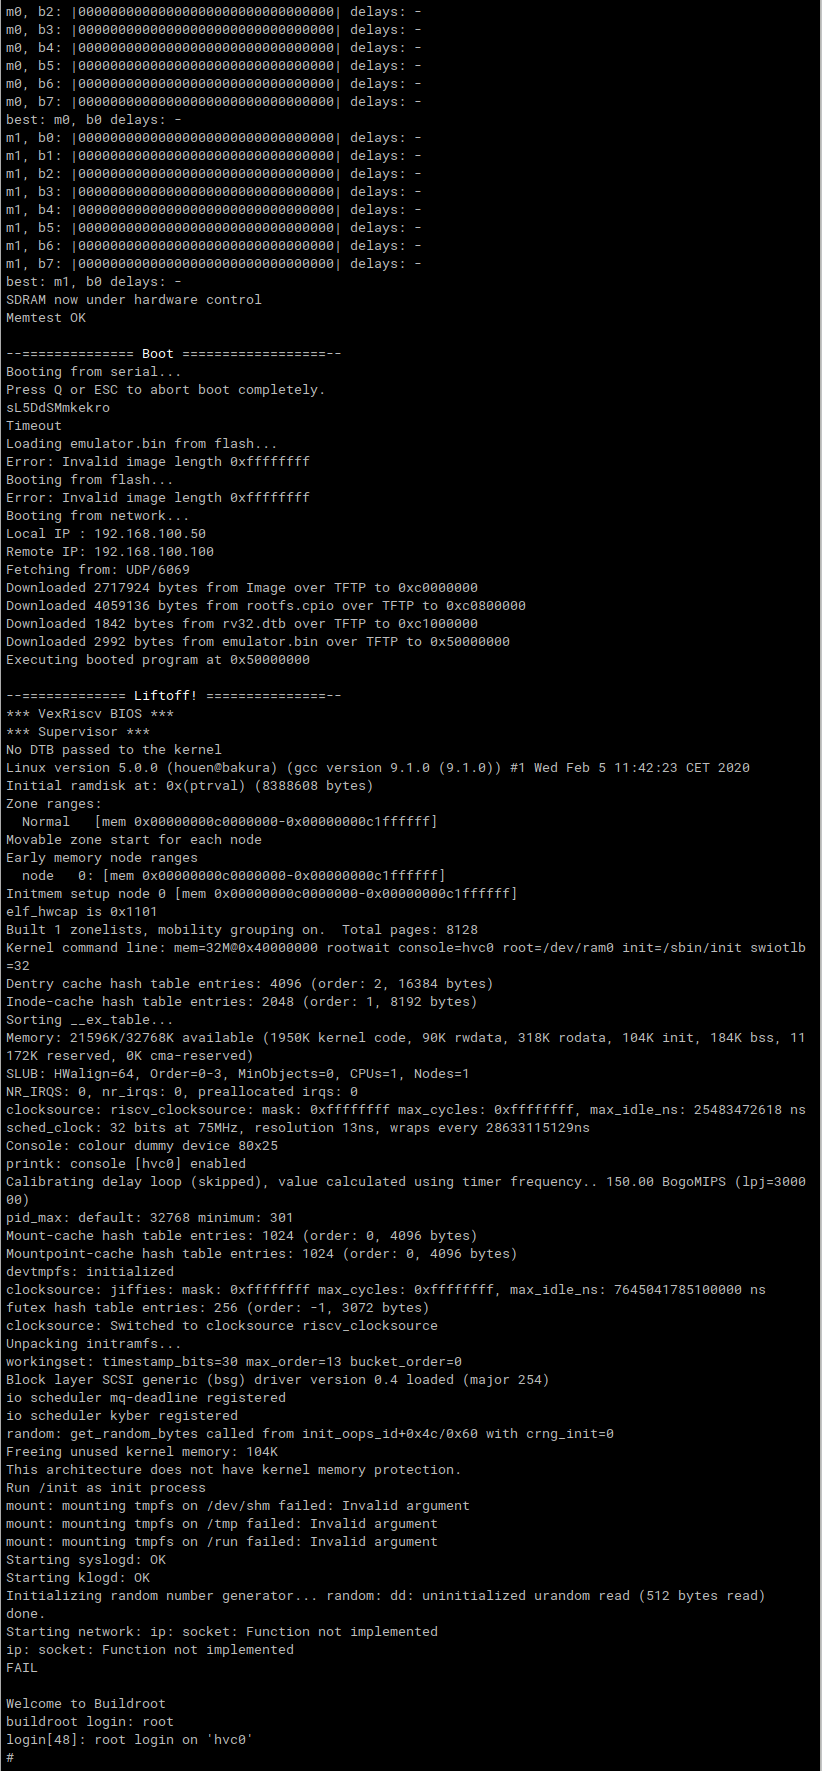
And a UART analyzer displaying messages printed by the software and allowing to interact with the Linux shell:
For more information on simulating LiteX in Renode (including advanced usage) see the Renode page on the LiteX BuildEnv wiki.
Connect the Arty Board with your machine over a network (using i.e., a network switch).
Configure the network interface (might require sudo):
ip addr add 192.168.100.100/24 dev eth1
ip link set dev eth1 up
Start an ftp server:
make tftp
make tftpd_start
Connect to the board:
make firmware-connectThis will start an flterm tool that connects to the board using /dev/ttyUSB.
Now, press the red reset button on the board to reset the CPU, reboot LiteX BIOS and start the process of uploading the Linux image, rootfs file, DTS file and VexRiscv's emulator.
Finally, you should see the prompt of Linux shell:
flterm --port=/dev/ttyUSB1 --speed=115200
[FLTERM] v2.4-29-g47d3b15 Starting...

        __   _ __      _  __
       / /  (_) /____ | |/_/
      / /__/ / __/ -_)>  <
     /____/_/\__/\__/_/|_|

 (c) Copyright 2012-2019 Enjoy-Digital

 BIOS built on Feb  5 2020 11:42:58
 BIOS CRC passed (c6643b40)

 Migen git sha1: d11565a
 LiteX git sha1: 02bfda5e

--=============== SoC ==================--
CPU:       VexRiscv @ 100MHz
ROM:       64KB
SRAM:      32KB
L2:        8KB
MAIN-RAM:  262144KB

--========== Initialization ============--
Ethernet init...
Initializing SDRAM...
SDRAM now under software control
Read leveling:
m0, b0: |11111111110000000000000000000000| delays: 05+-05
m0, b1: |00000000000000011111111111000000| delays: 20+-05
m0, b2: |00000000000000000000000000000001| delays: 31+-00
m0, b3: |00000000000000000000000000000000| delays: -
m0, b4: |00000000000000000000000000000000| delays: -
m0, b5: |00000000000000000000000000000000| delays: -
m0, b6: |00000000000000000000000000000000| delays: -
m0, b7: |00000000000000000000000000000000| delays: -
best: m0, b1 delays: 20+-05
m1, b0: |11111111110000000000000000000000| delays: 05+-05
m1, b1: |00000000000000111111111111000000| delays: 20+-06
m1, b2: |00000000000000000000000000000001| delays: 31+-00
m1, b3: |00000000000000000000000000000000| delays: -
m1, b4: |00000000000000000000000000000000| delays: -
m1, b5: |00000000000000000000000000000000| delays: -
m1, b6: |00000000000000000000000000000000| delays: -
m1, b7: |00000000000000000000000000000000| delays: -
best: m1, b1 delays: 20+-06
SDRAM now under hardware control
Memtest OK

--============== Boot ==================--
Booting from serial...
Press Q or ESC to abort boot completely.
sL5DdSMmkekro
Timeout
Loading emulator.bin from flash...
Error: Invalid image length 0xffffffff
Booting from flash...
Error: Invalid image length 0x00000000
Booting from network...
Local IP : 192.168.100.50
Remote IP: 192.168.100.100
Fetching from: UDP/6069
Downloaded 2717924 bytes from Image over TFTP to 0xc0000000
Downloaded 4059136 bytes from rootfs.cpio over TFTP to 0xc0800000
Downloaded 1842 bytes from rv32.dtb over TFTP to 0xc1000000
Downloaded 2992 bytes from emulator.bin over TFTP to 0x50000000
Executing booted program at 0x50000000

--============= Liftoff! ===============--
*** VexRiscv BIOS ***
*** Supervisor ***
No DTB passed to the kernel
Linux version 5.0.0 (houen@bakura) (gcc version 9.1.0 (9.1.0)) #1 Wed Feb 5 11:42:23 CET 2020
Initial ramdisk at: 0x(ptrval) (8388608 bytes)
Zone ranges:
  Normal   [mem 0x00000000c0000000-0x00000000c1ffffff]
Movable zone start for each node
Early memory node ranges
  node   0: [mem 0x00000000c0000000-0x00000000c1ffffff]
Initmem setup node 0 [mem 0x00000000c0000000-0x00000000c1ffffff]
elf_hwcap is 0x1101
Built 1 zonelists, mobility grouping on.  Total pages: 8128
Kernel command line: mem=32M@0x40000000 rootwait console=hvc0 root=/dev/ram0 init=/sbin/init swiotlb=32
Dentry cache hash table entries: 4096 (order: 2, 16384 bytes)
Inode-cache hash table entries: 2048 (order: 1, 8192 bytes)
Sorting __ex_table...
Memory: 21596K/32768K available (1950K kernel code, 90K rwdata, 318K rodata, 104K init, 184K bss, 11172K reserved, 0K cma-reserved)
SLUB: HWalign=64, Order=0-3, MinObjects=0, CPUs=1, Nodes=1
NR_IRQS: 0, nr_irqs: 0, preallocated irqs: 0
clocksource: riscv_clocksource: mask: 0xffffffff max_cycles: 0xffffffff, max_idle_ns: 25483472618 ns
sched_clock: 32 bits at 75MHz, resolution 13ns, wraps every 28633115129ns
Console: colour dummy device 80x25
printk: console [hvc0] enabled
Calibrating delay loop (skipped), value calculated using timer frequency.. 150.00 BogoMIPS (lpj=300000)
pid_max: default: 32768 minimum: 301
Mount-cache hash table entries: 1024 (order: 0, 4096 bytes)
Mountpoint-cache hash table entries: 1024 (order: 0, 4096 bytes)
devtmpfs: initialized
clocksource: jiffies: mask: 0xffffffff max_cycles: 0xffffffff, max_idle_ns: 7645041785100000 ns
futex hash table entries: 256 (order: -1, 3072 bytes)
clocksource: Switched to clocksource riscv_clocksource
Unpacking initramfs...
Initramfs unpacking failed: junk in compressed archive
workingset: timestamp_bits=30 max_order=13 bucket_order=0
Block layer SCSI generic (bsg) driver version 0.4 loaded (major 254)
io scheduler mq-deadline registered
io scheduler kyber registered
random: get_random_bytes called from init_oops_id+0x4c/0x60 with crng_init=0
Freeing unused kernel memory: 104K
This architecture does not have kernel memory protection.
Run /init as init process
mount: mounting tmpfs on /dev/shm failed: Invalid argument
mount: mounting tmpfs on /tmp failed: Invalid argument
mount: mounting tmpfs on /run failed: Invalid argument
Starting syslogd: OK
Starting klogd: OK
Initializing random number generator... random: dd: uninitialized urandom read (512 bytes read)
done.
Starting network: ip: socket: Function not implemented
ip: socket: Function not implemented
FAIL

Welcome to Buildroot
buildroot login: root
login[48]: root login on 'hvc0'
#
If you are targetting VexRiscv CPU and want a kernel with litex-specific drivers you can use linux-on-litex-vexriscv as a source.
NOTE: There is a limitation on the maximum kernel image size in flash in LiteX BIOS - 4MB. Since kernel built from linux-on-litex-vexriscv is larger, only netboot option is currently available when using it.
In order to use linux-on-litex-vexriscv as a source for the Linux kernel, set BUILD_BUILDROOT environemnt variable to 1 before running build-linux.sh script:
export BUILD_BUILDROOT=1
./scripts/build-linux.shSince linux-on-litex-vexriscv kernel comes with the litex-specific drivers (inlcuding liteeth network controller) it is possible to use network capabilities in Linux:
-
First, run simulation in Renode as described in the above section.
-
Log into Linux using
root/rootcredentials. -
Configure network interface
eth0:# ip addr add i 192.168.100.50/24 dev eth0 # ip link set dev eth0 up -
Ping the host
tap0interface (automatically configured when starting Renode) from the simulated Linux:# ping 192.168.100.100