GCP Quickstart
This quickstart guide 📚 helps new users run YOLOv5 🚀 on a Google Cloud Platform (GCP) Deep Learning Virtual Machine (VM) ⭐. New GCP users are eligible for a $300 free credit offer. Other quickstart options for YOLOv5 include our Colab Notebook


Select a Deep Learning VM from the GCP marketplace, select an n1-standard-8 instance (with 8 vCPUs and 30 GB memory), add a GPU of your choice, check 'Install NVIDIA GPU driver automatically on first startup?', and select a 300 GB SSD Persistent Disk for sufficient I/O speed, then click 'Deploy'. All dependencies are included in the preinstalled Anaconda Python environment.

Install YOLOv5: Python>=3.6.0 with all requirements.txt installed including PyTorch>=1.7. To get started:
$ git clone https://github.com/ultralytics/yolov5
$ cd yolov5
$ pip install -r requirements.txtStart training, testing, detecting and exporting YOLOv5 models on your VM!
$ python train.py  # train a model
$ python val.py --weights yolov5s.pt  # validate a model for Precision, Recall and mAP
$ python detect.py --weights yolov5s.pt --source path/to/images  # run inference on images and videos
$ python export.py --weights yolov5s.pt --include onnx coreml tflite  # export models to other formats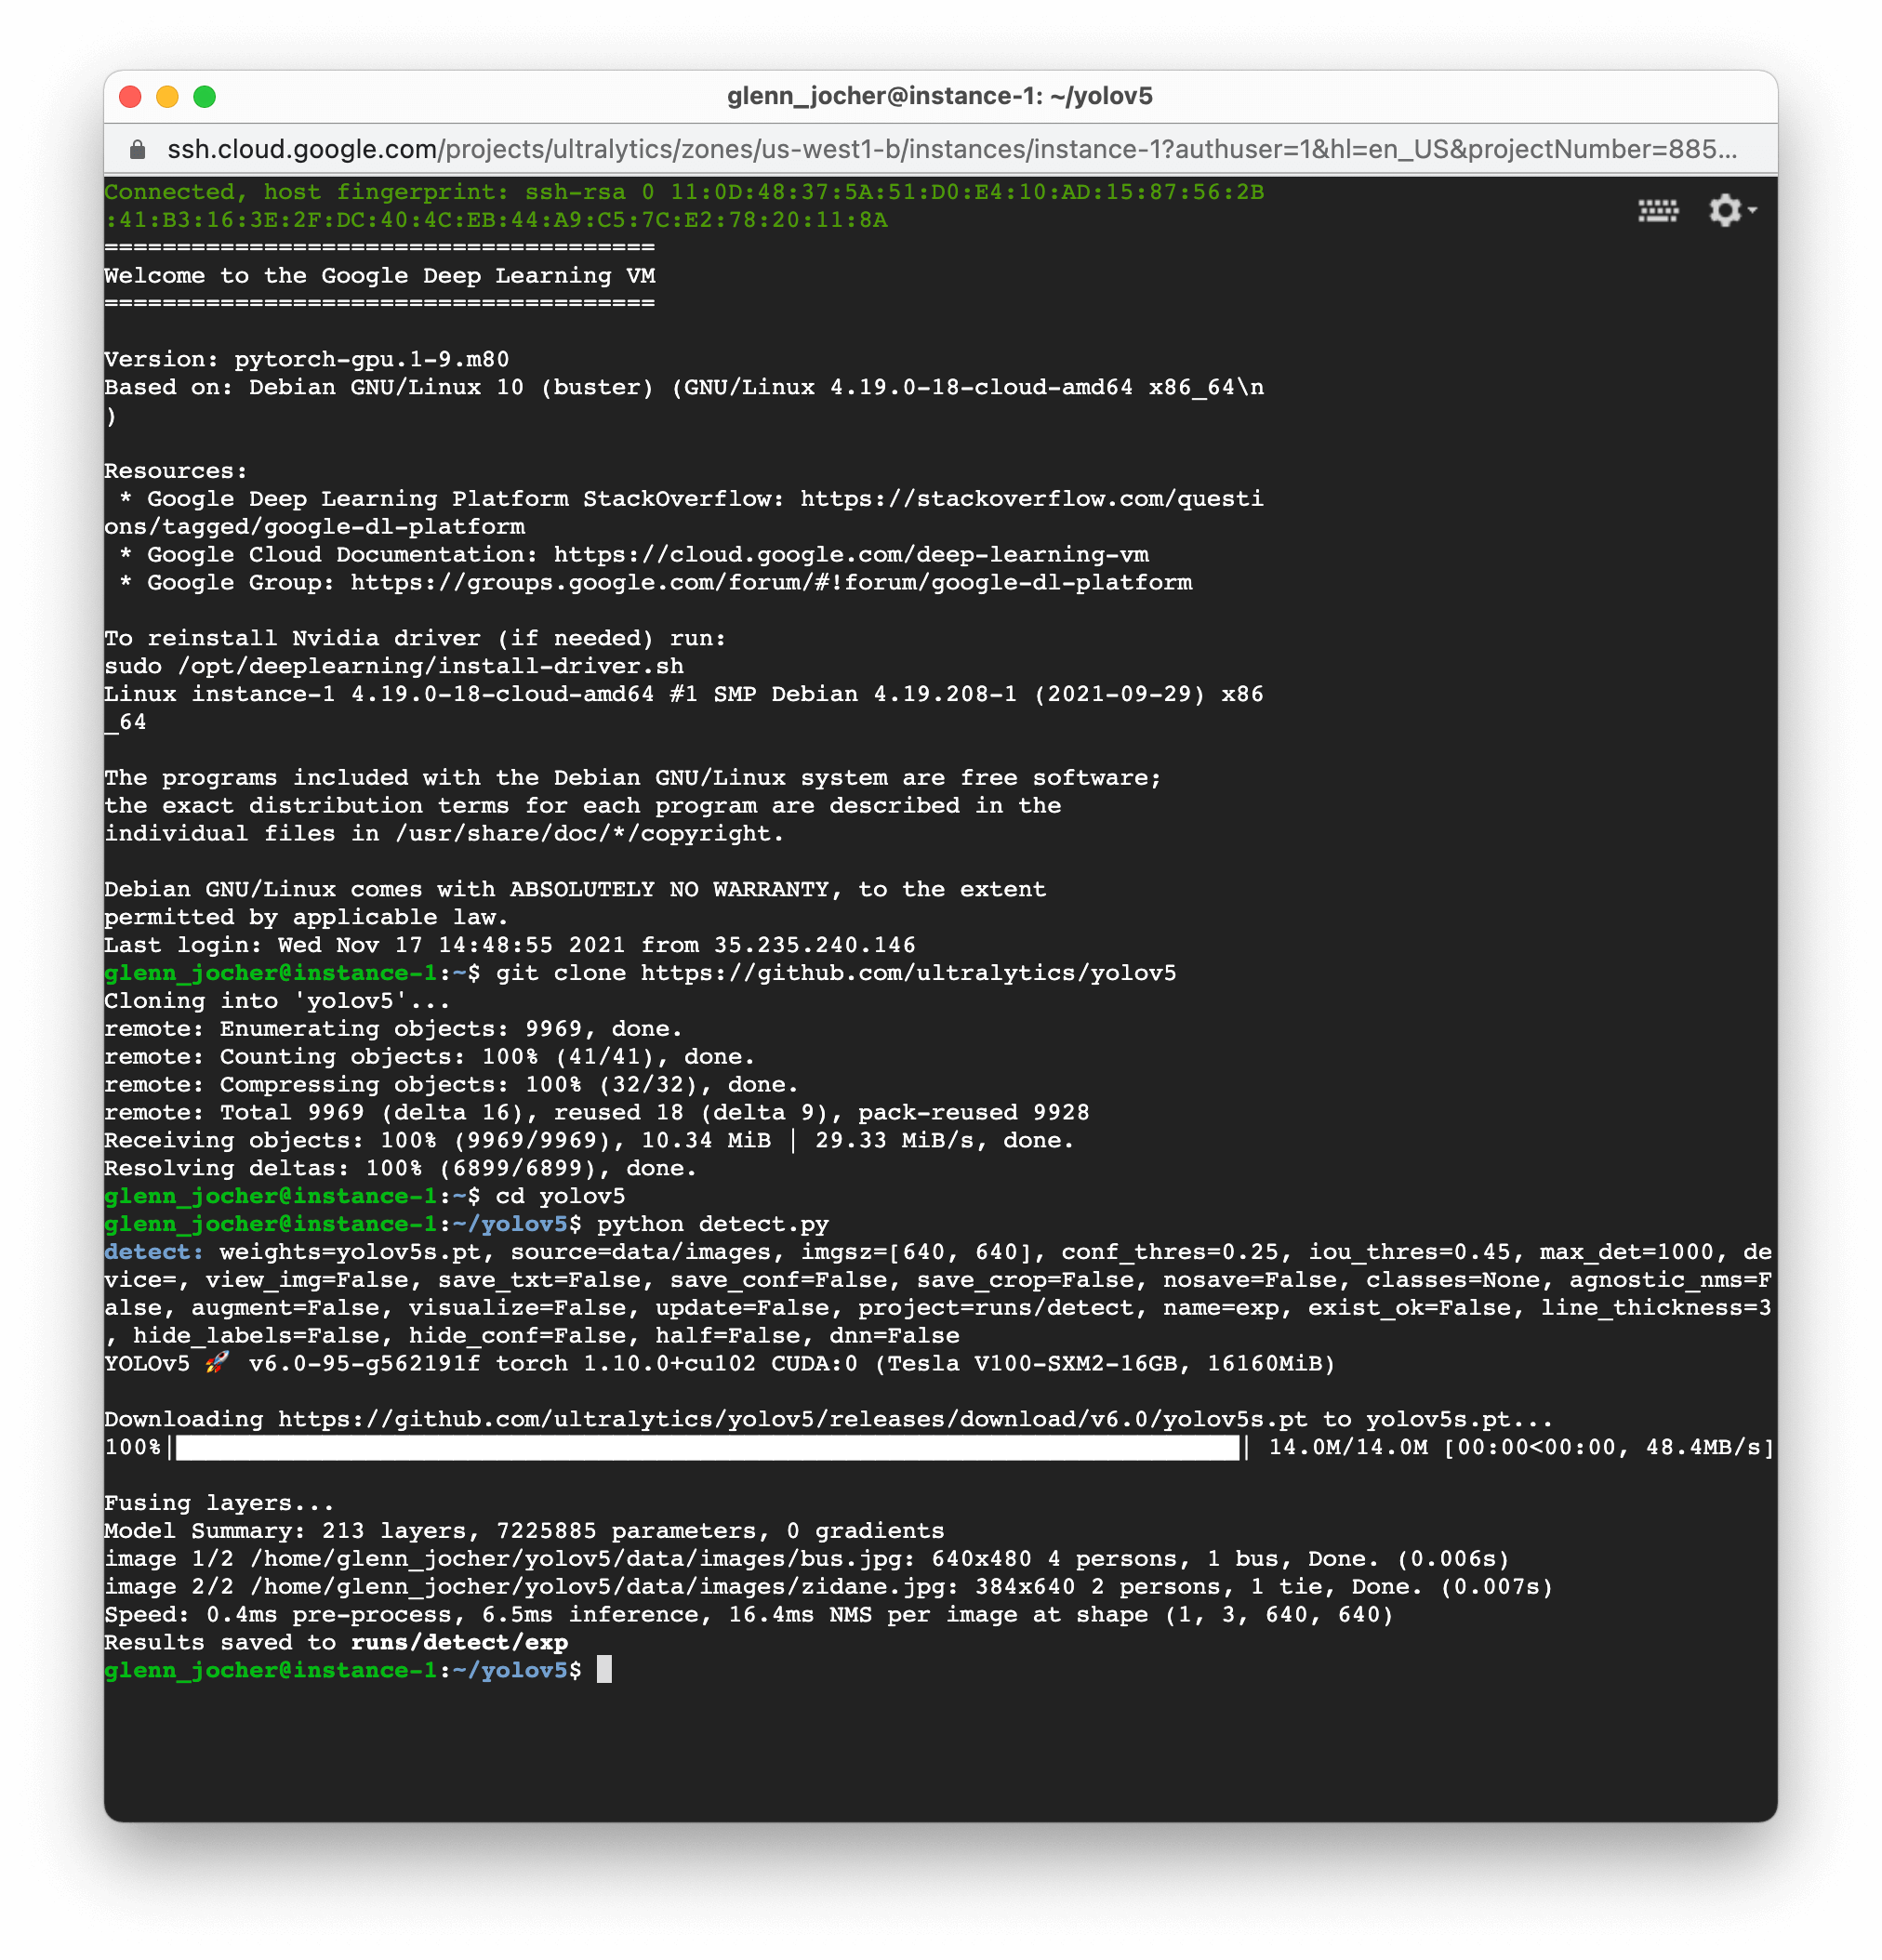
Add 64GB of swap memory (to --cache large datasets).
sudo fallocate -l 64G /swapfile
sudo chmod 600 /swapfile
sudo mkswap /swapfile
sudo swapon /swapfile
free -h  # check memory
Mount local SSD
lsblk
sudo mkfs.ext4 -F /dev/nvme0n1
sudo mkdir -p /mnt/disks/nvme0n1
sudo mount /dev/nvme0n1 /mnt/disks/nvme0n1
sudo chmod a+w /mnt/disks/nvme0n1
cp -r coco /mnt/disks/nvme0n1