GCP Quickstart
This tutorial will guide you through the process of setting up and running YOLOv5 on a GCP Deep Learning VM. New GCP users are eligible for a $300 free credit offer.
You can also explore other quickstart options for YOLOv5, such as our Colab Notebook


Last Updated: 6 May 2022
- Go to the GCP marketplace and select a Deep Learning VM.
- Choose an n1-standard-8 instance (with 8 vCPUs and 30 GB memory).
- Add a GPU of your choice.
- Check 'Install NVIDIA GPU driver automatically on first startup?'
- Select a 300 GB SSD Persistent Disk for sufficient I/O speed.
- Click 'Deploy'.
The preinstalled Anaconda Python environment includes all dependencies.

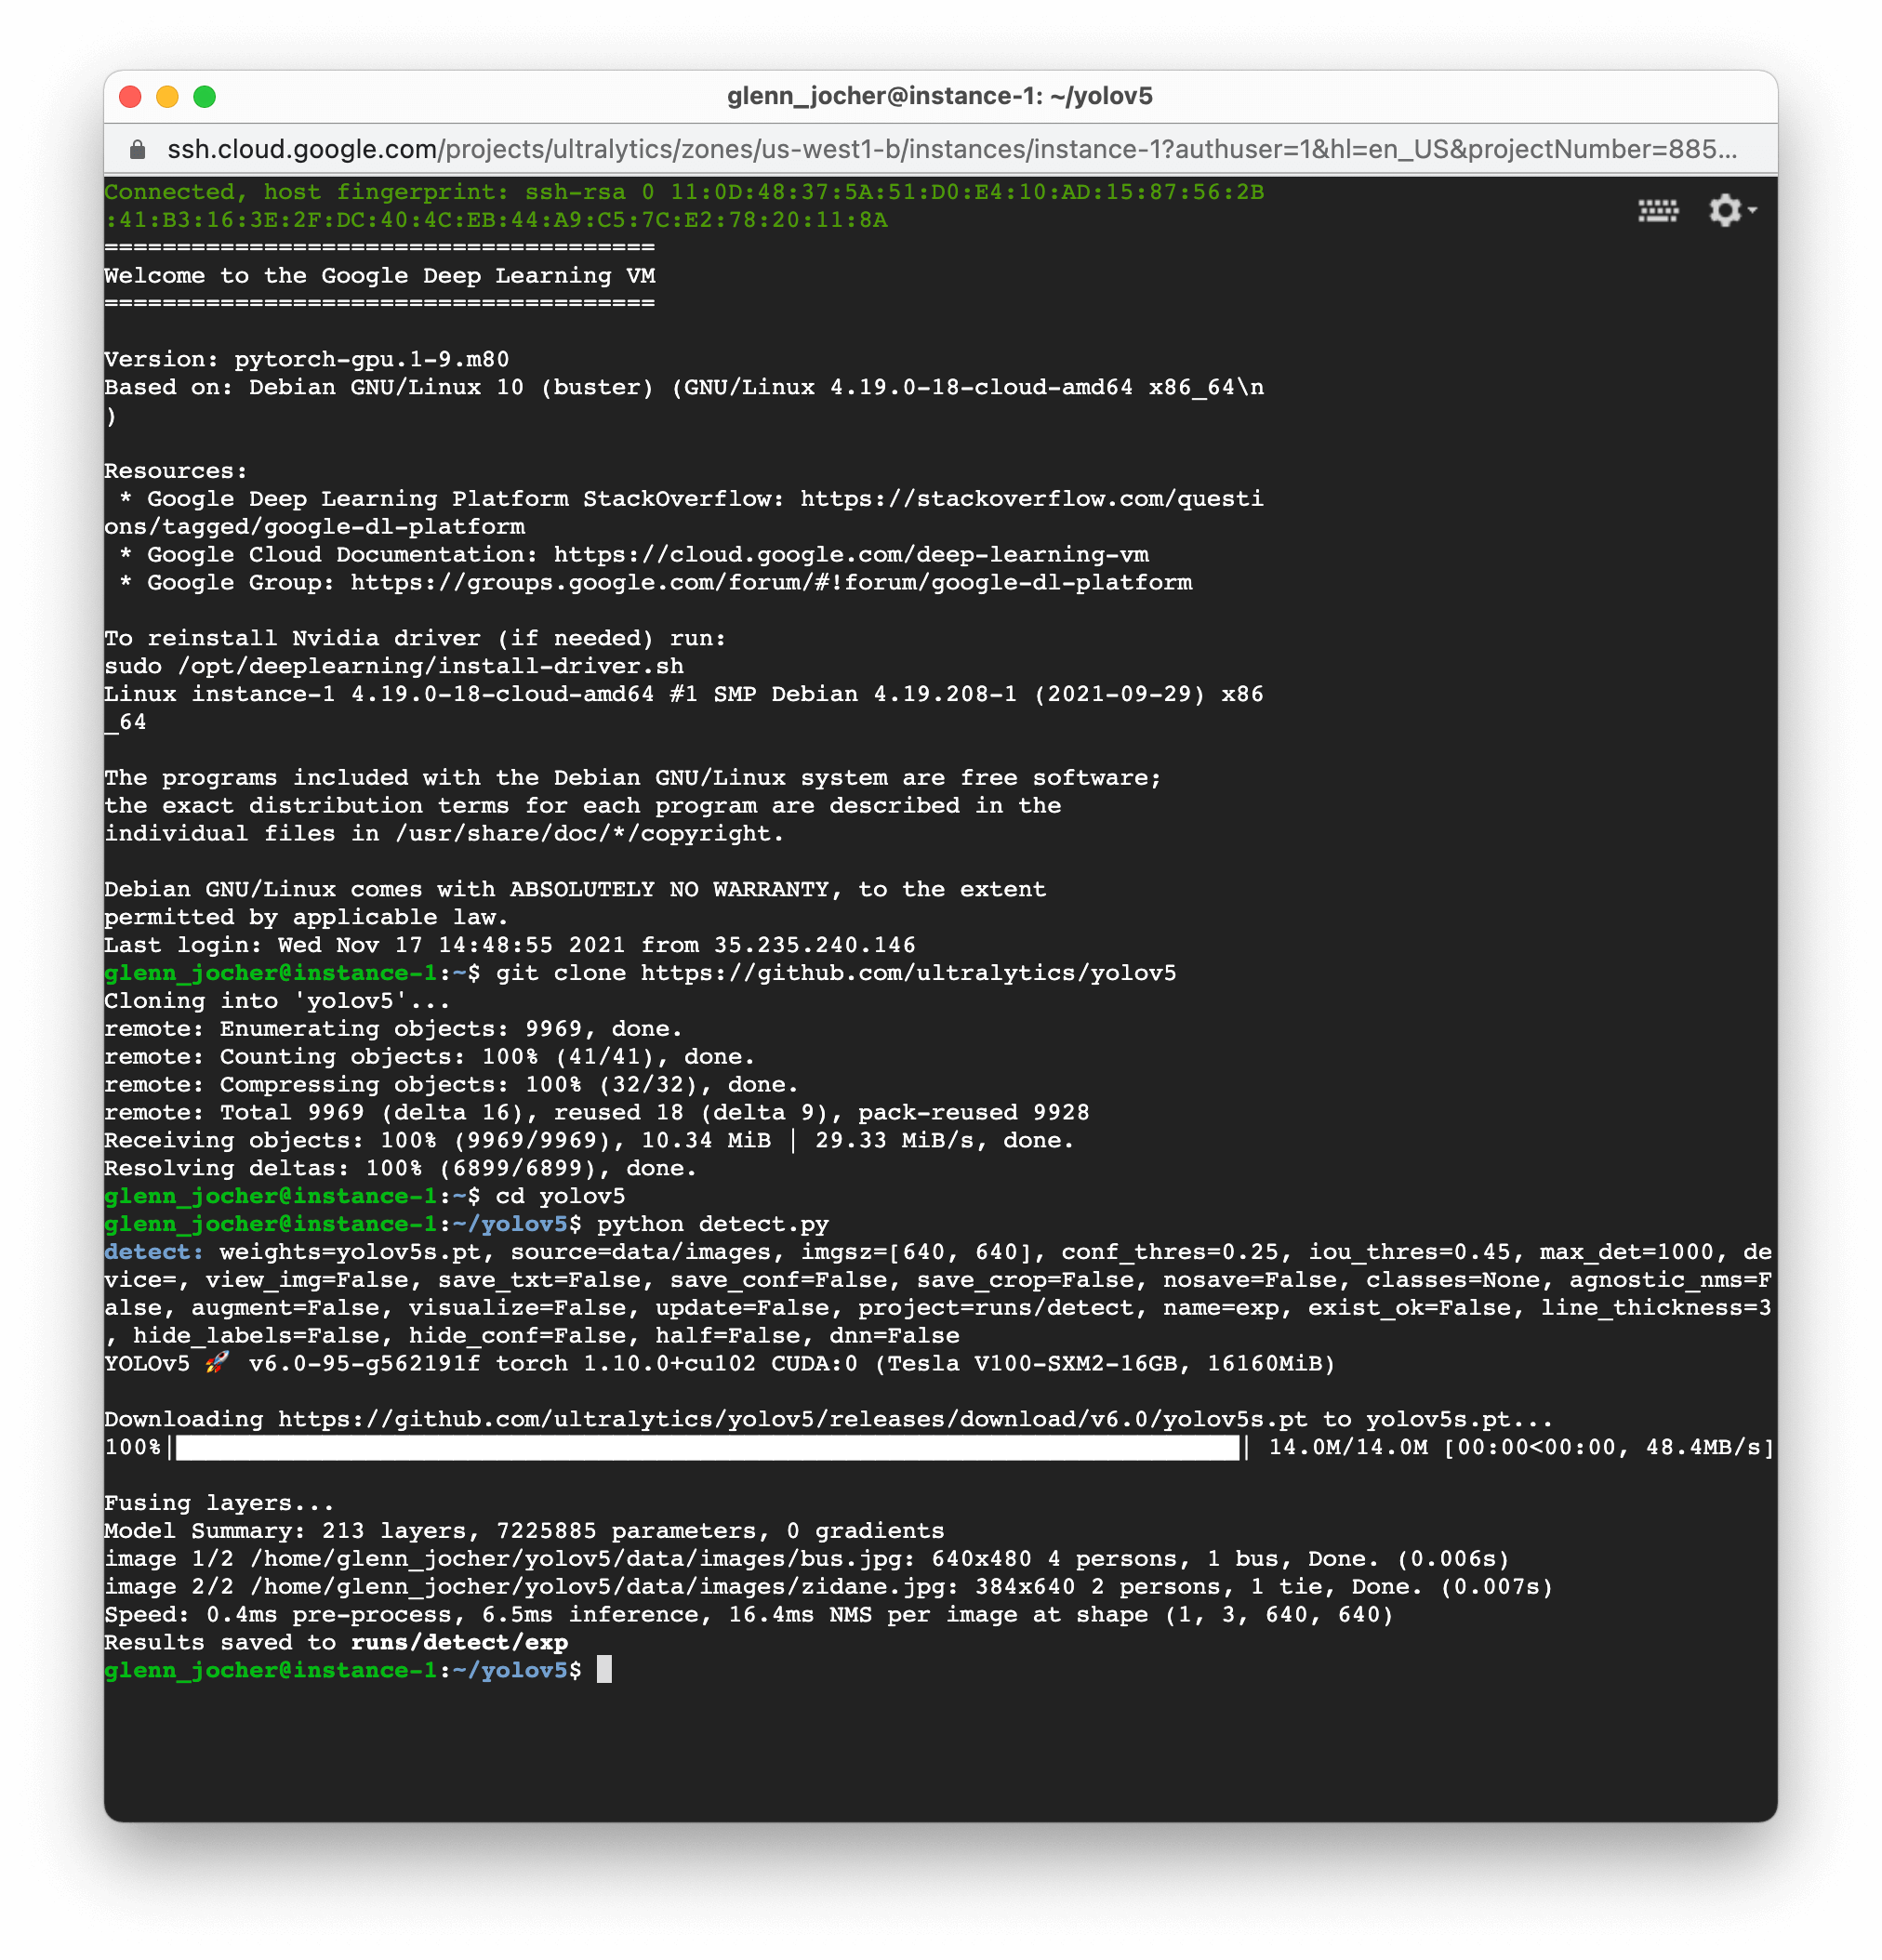
Clone the YOLOv5 repository and install the requirements.txt in a Python>=3.7.0 environment, including PyTorch>=1.7. Models and datasets will be downloaded automatically from the latest YOLOv5 release.
git clone https://github.com/ultralytics/yolov5  # clone
cd yolov5
pip install -r requirements.txt # installYou can now train, test, detect, and export YOLOv5 models on your VM:
python train.py  # train a model
python val.py --weights yolov5s.pt  # validate a model for Precision, Recall, and mAP
python detect.py --weights yolov5s.pt --source path/to/images  # run inference on images and videos
python export.py --weights yolov5s.pt --include onnx coreml tflite  # export models to other formats