Dockerised python scripts & Nextflow pipeline for converting ecw files to either Geotiffs or Cloud Optimised Geotiffs (COGs).
The scripts have been used for converting a stream ecw file images from Denmark aerial imagery source site into COGs (which is a very high compute process).
Converting to full COGs is far better than creating regular Geotiffs. The key benefit of a COG is that it is possible to get only a section of the image if required, rather than downloading the entire file. When working with large files and doing analysis on/viewing a specific section of the image, this becomes incredibly beneficial. (There are also further differences)
The tool(s) can be run on:
- command line with Docker
- command line with Nextflow
- Deploit with Docker
- Deploit with Nextflow (recommended)
If analysing lots of data it is recommended to use Nextflow rather than Docker alone for increased parallelisation.
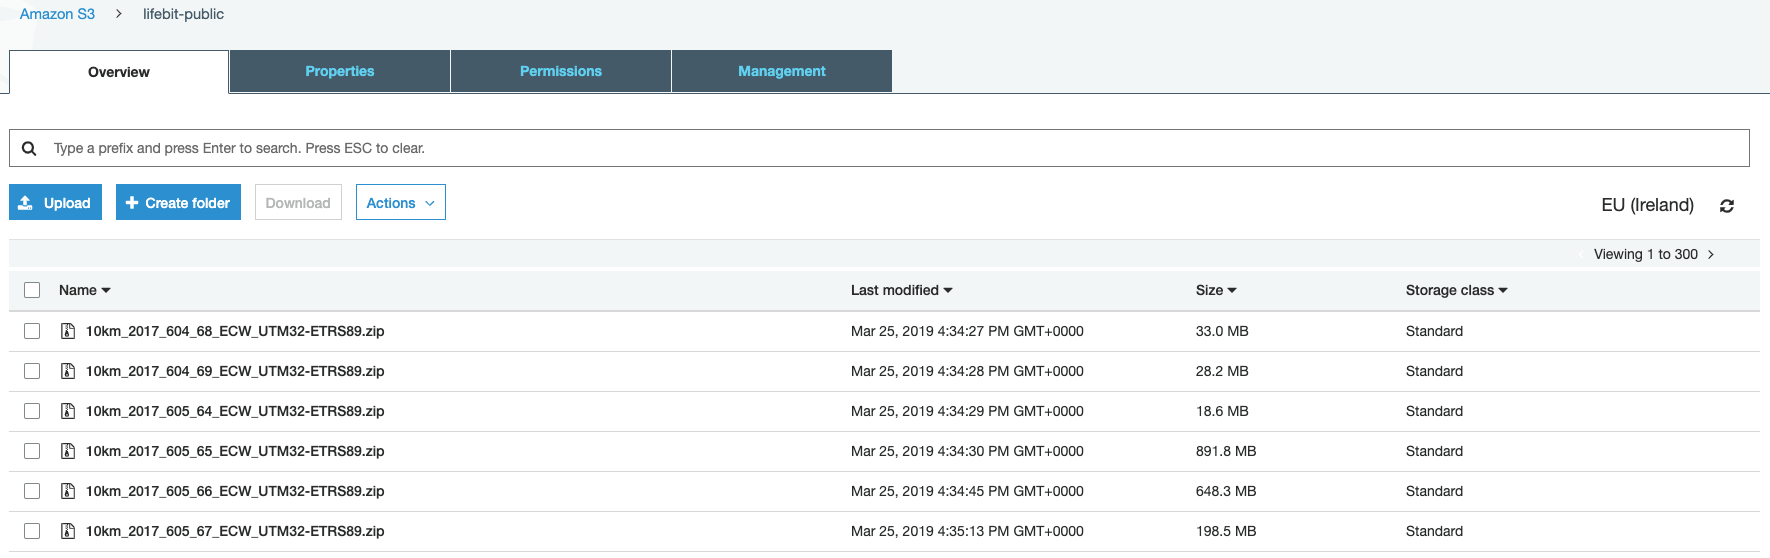
Bucket containing the images (300 zips of the .ecw format files) can be found at: s3://lifebit-public
The docker image is lifebitai/ecw_converter:latest
The docker image contains the scripts which were originally downloaded from joe.peskett/ecw_converter & were modified.
The modifications included:
- changing the regex for input ECW files
- removing the pushing to an S3 bucket as this is handled by Deploit
- adding python shebang lines
Dependencies for the scripts such as GDAL with .ecw drivers & Python are also installed in the image.
The docker image includes the following scripts:
ecw_to_cog.shbash wrapper script to unzip files the input files and then run the scripts belowecw_convert_2_cog.pyscripts for converting .ecw files to both COGs and Geotiffs. There are two gdal_translate processes. Without the second process, you will NOT create a valid COGvalidate_cog.pyvalidate whether a COG is a valid, fully compliant COG
If you wish to make any modifications to the docker image you can do so with the steps below:
git clone https://github.com/lifebit-ai/ecw-converter.git && cd ecw-converter
docker build -t <DockerHubUsername>/ecw_converter:<tag> .
# you can then use `docker login` & `docker push <DockerHubUsername>/ecw_converter:<tag>` to push to DockerHub
Once the docker image has been built & pushed to the DockerHub registry. (Which has already been done under the lifebitai DockerHub account). Any user can easily run the docker image either on the command line or on Deploit (see more details below)
If you have docker installed, and zipped ECW files in you current directory the tool can be run with the following command:
# you can download a zipped ecw file with `wget https://s3-eu-west-1.amazonaws.com/lifebit-public/10km_2017_612_62_ECW_UTM32-ETRS89.zip`
docker run -v $PWD:$PWD -w $PWD lifebitai/ecw_converter ecw_to_cog.sh
Deploit is a bioinformatics platform, developed by Lifebit, where you can run your analysis over the Cloud/AWS.
You can create an account/log in here
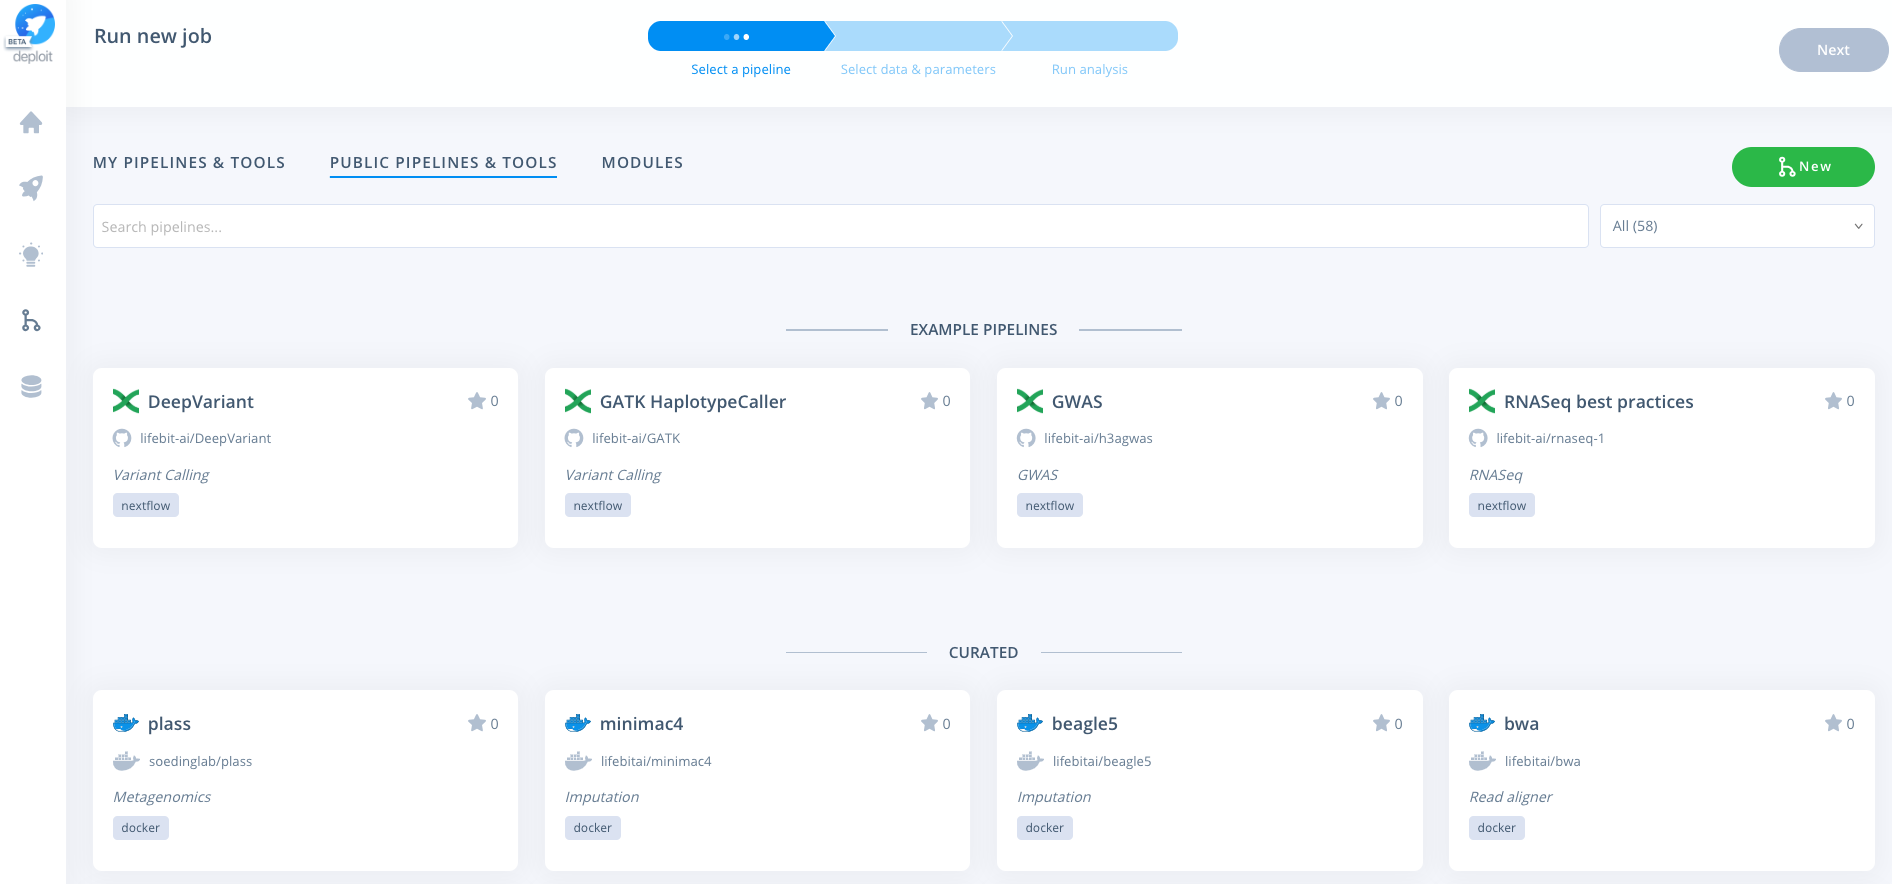
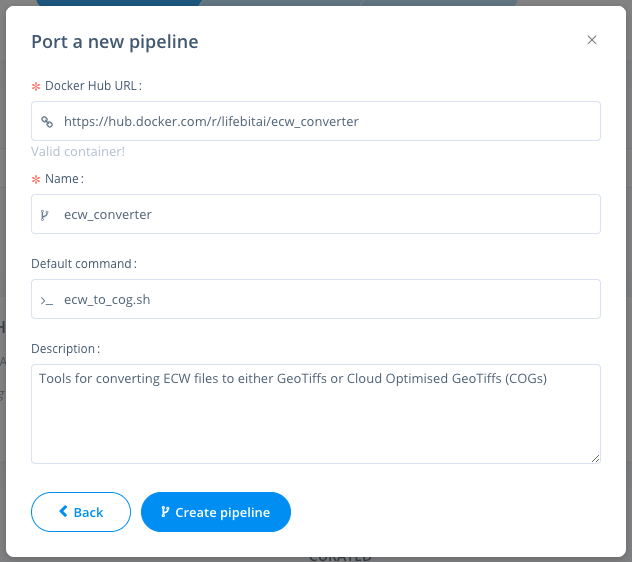
Navigate to the pipelines page, click new to import a new pipeline. Then select Docker & paste the URL from DockerHub eg: https://hub.docker.com/r/lifebitai/ecw_converter
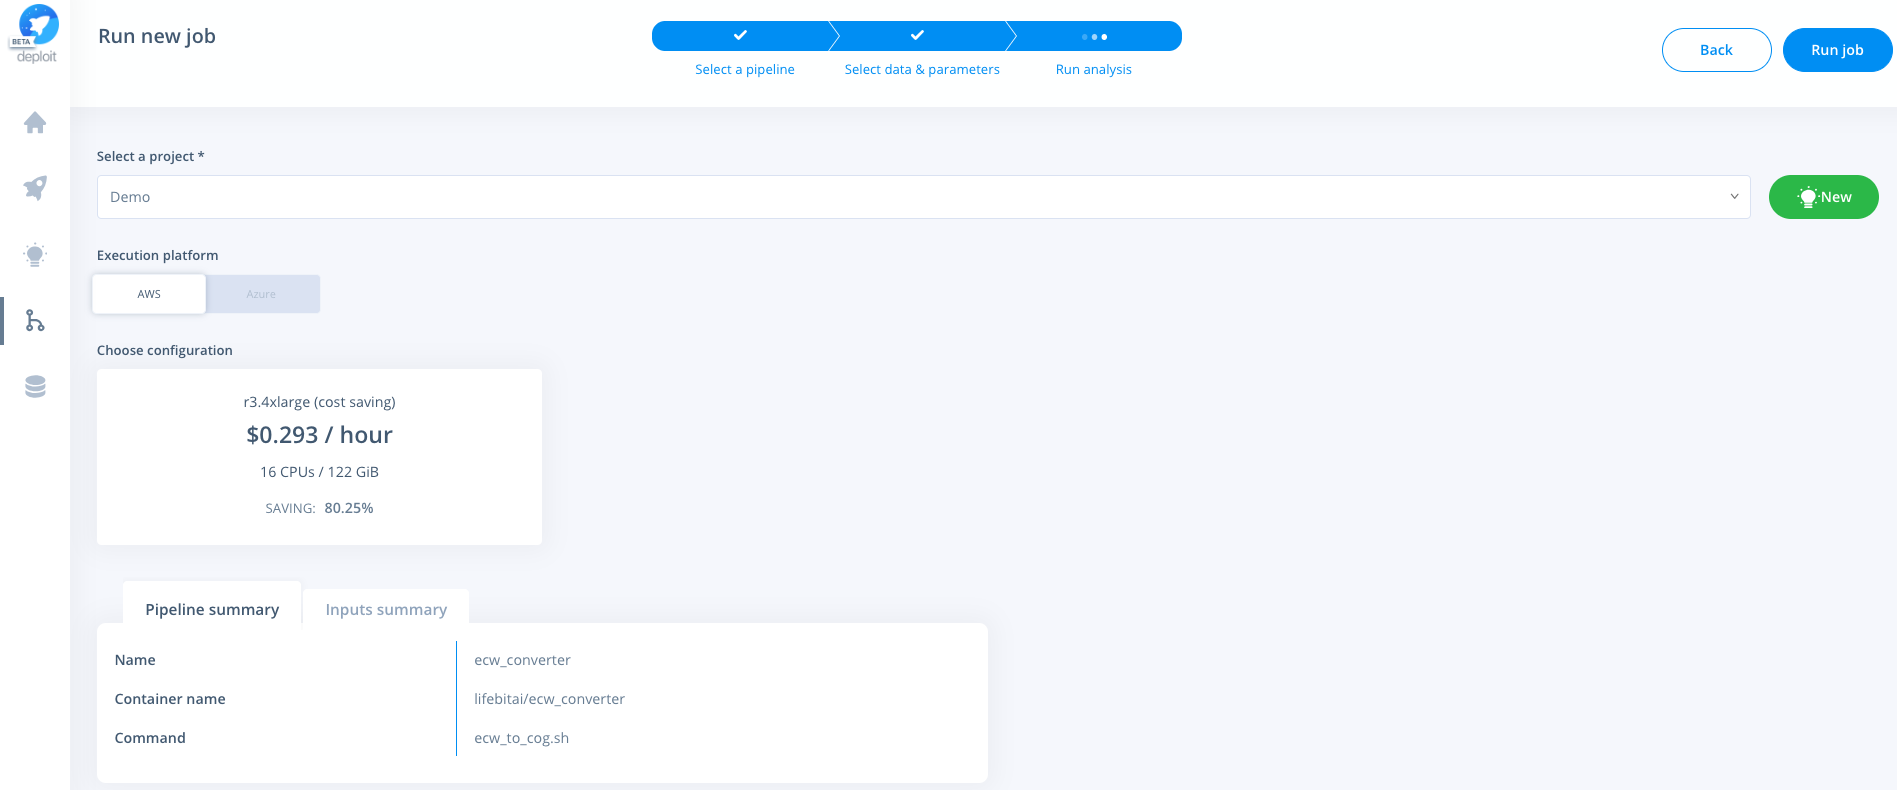
You can then click the pipeline under the "My pipelines" section and select data/input parameters:
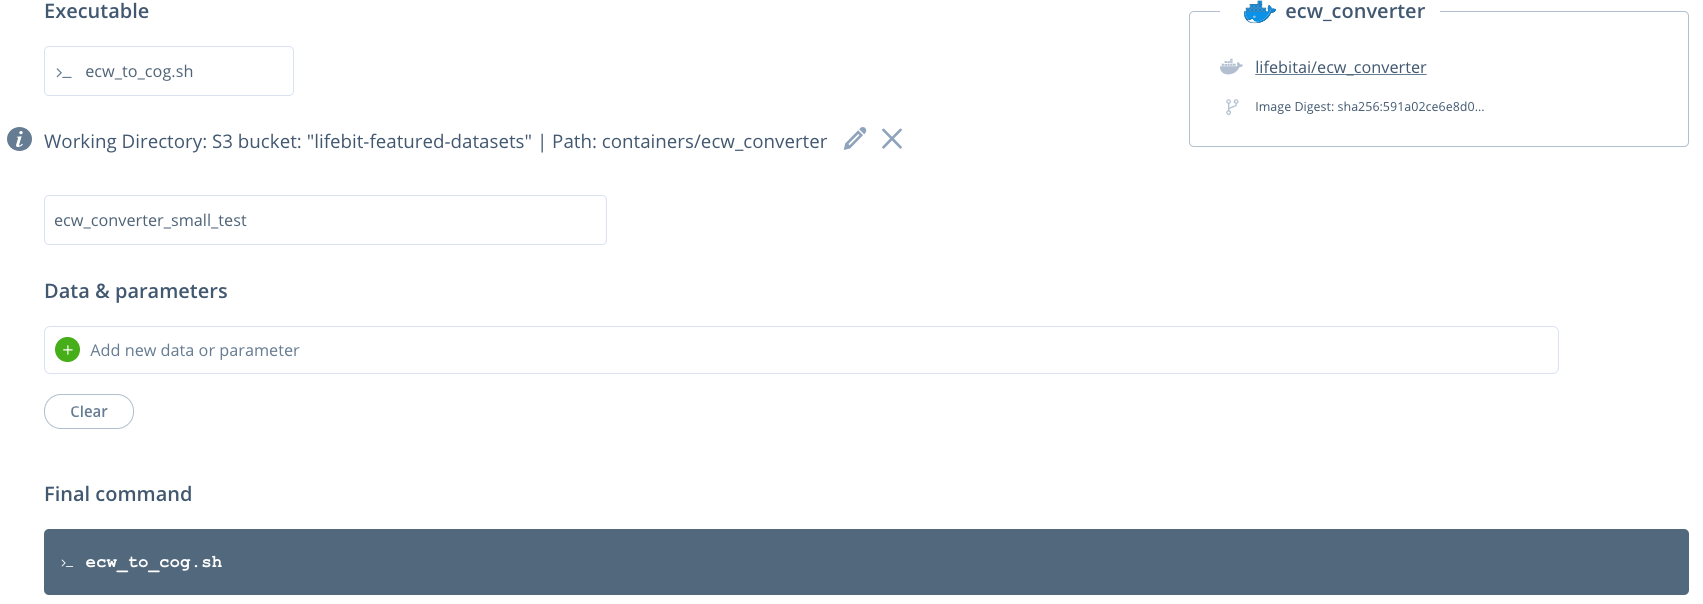
No input parameters are required. Currently, all of the input zipped ecw files are set using the working directory. All of the files in the working directory will then be unzipped and the ecw files converted.
Select a project & instance:
Nextflow is a programming language used to build data pipelines that has been widely adopted by the bioinformatics community. It was used here because of it's in-built support for Docker containers and parallelisation that allows the conversion of each of the ECW files to take place simultaneously.
If you have Nextflow & Docker installed, and zipped ECW files in one of your directories the pipeline can be run with the following command:
# you can download a zipped ecw file with `wget https://s3-eu-west-1.amazonaws.com/lifebit-public/10km_2017_612_62_ECW_UTM32-ETRS89.zip`
nextflow run main.nf --input_folder <your_folder>Navigate to the pipelines page, click new to import a new pipeline. Then select Nextflow & paste the URL from GitHub eg: https://github.com/lifebit-ai/ecw-converter
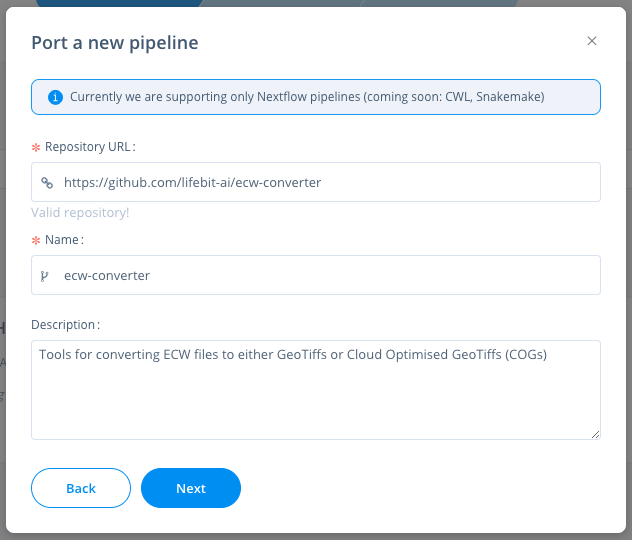
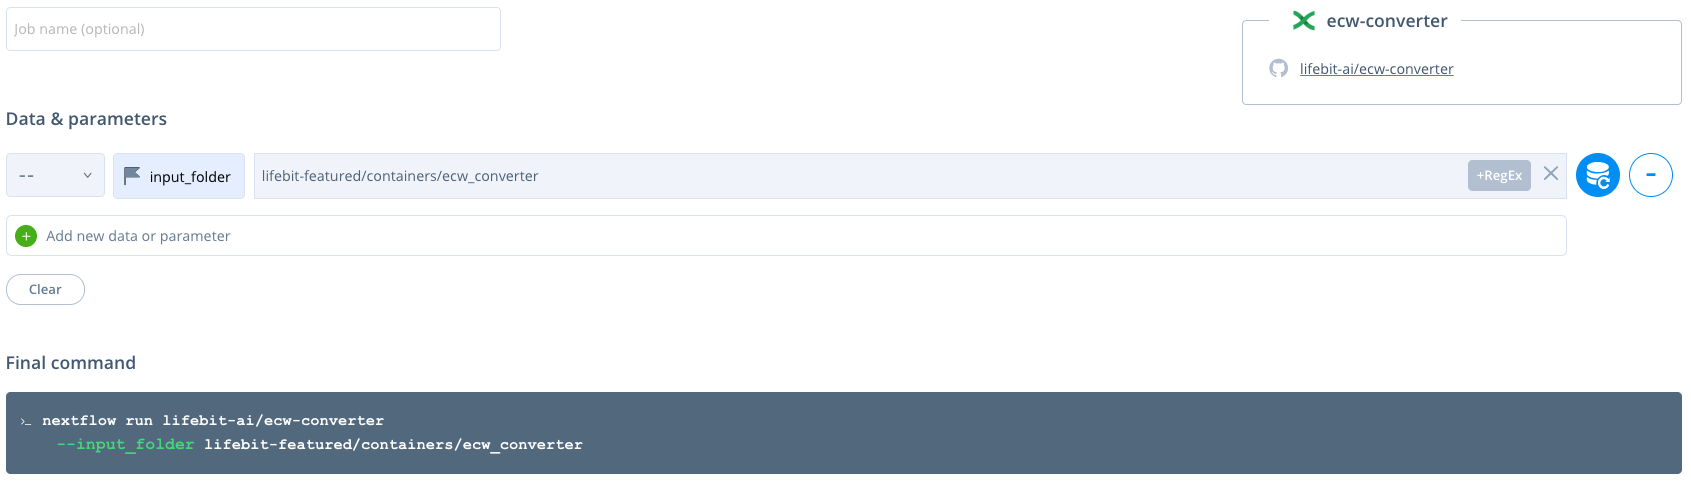
You can then click the pipeline under the "My pipelines" section and select data/input parameters:
The --input_folder is a required parameter. It must contain all of the input zipped ecw files to be unzipped and the ecw files converted. The data can be set by clicking the blue database button and selecting your data either from an S3 bucket or by uploading the data.
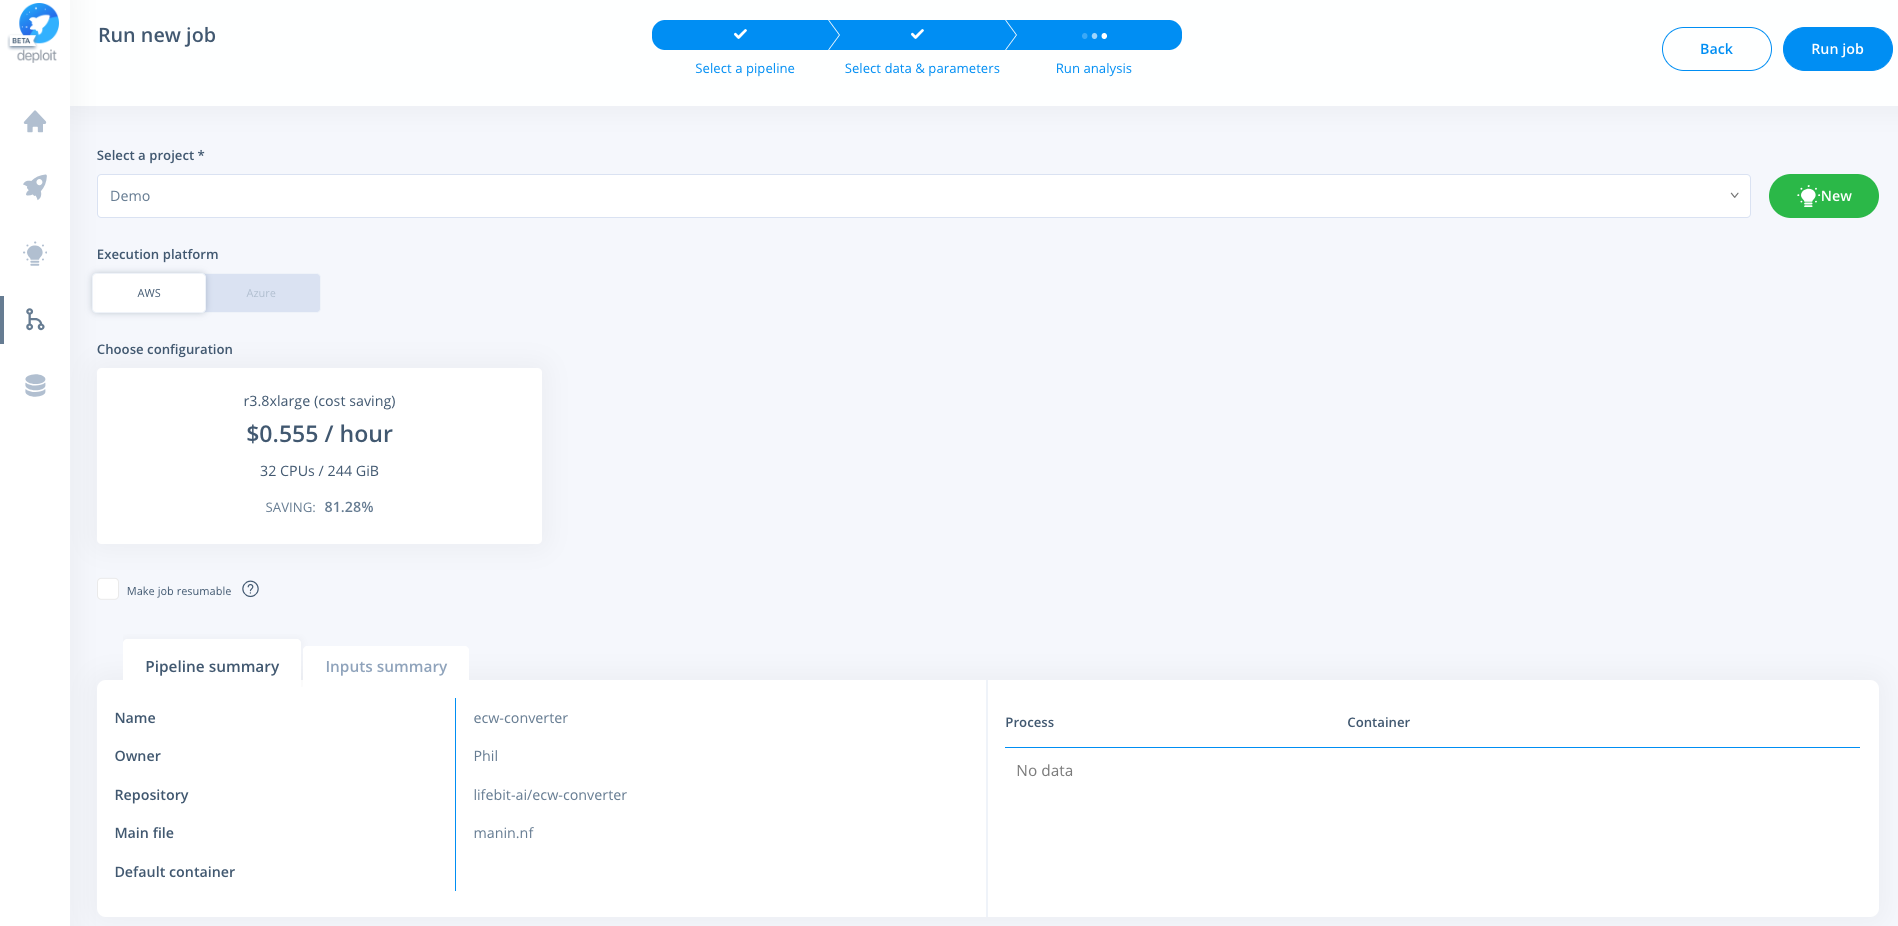
Select a project & instance:
Resources used for four zipped ecw files, 4.35GB in total (see the job here)
- Resources: an m2.2xlarge (spot) instance was used. (This has 4 CPUs & 34.2 GB memory)
- Run time: 2h 46m
- Cost: $0.43
As the bucket contains 2056GB the cost to convert all of the files (assuming the cost scales linearly) may be around $200 (0.426 / 4.35 x 2056)
As the file conversion can be run in parrallel for each of the files (by using the Nextflow pipeline) the total time taken should be equal to that of the time taken to convert the largest file.

From running the ecw_to_cog.sh script the following folders/files are generated:
zipthe input .zip files are moved to this directorytifdirectory to store the generated .tif fileslogsvalidate_cog.logstdout fromvalidate_cog.pyunzip.logstdout from unzipping of the filesecw_convert_2_cog.logstdout fromecw_convert_2_cog.py
imgcompliant-cogdirectory to contain COG files
ecwdirectory to store the .ecw files once unzipped
When running the Nextflow pipeline only the tif, img & logs directories are outputted to save storage space.
When run over Deploit results are made in the users S3 bucket generated by Deploit. This will be located in s3://lifebit-user-data-<user_id>/results/job-<job_id>/results/ as shown by Deploit