Eclipse for Birch
Eclipse is a popular open-source integrated development environment (IDE) with support for Java, C/C++, PHP, and a host of other programming languages via an ecosystem of extensions.
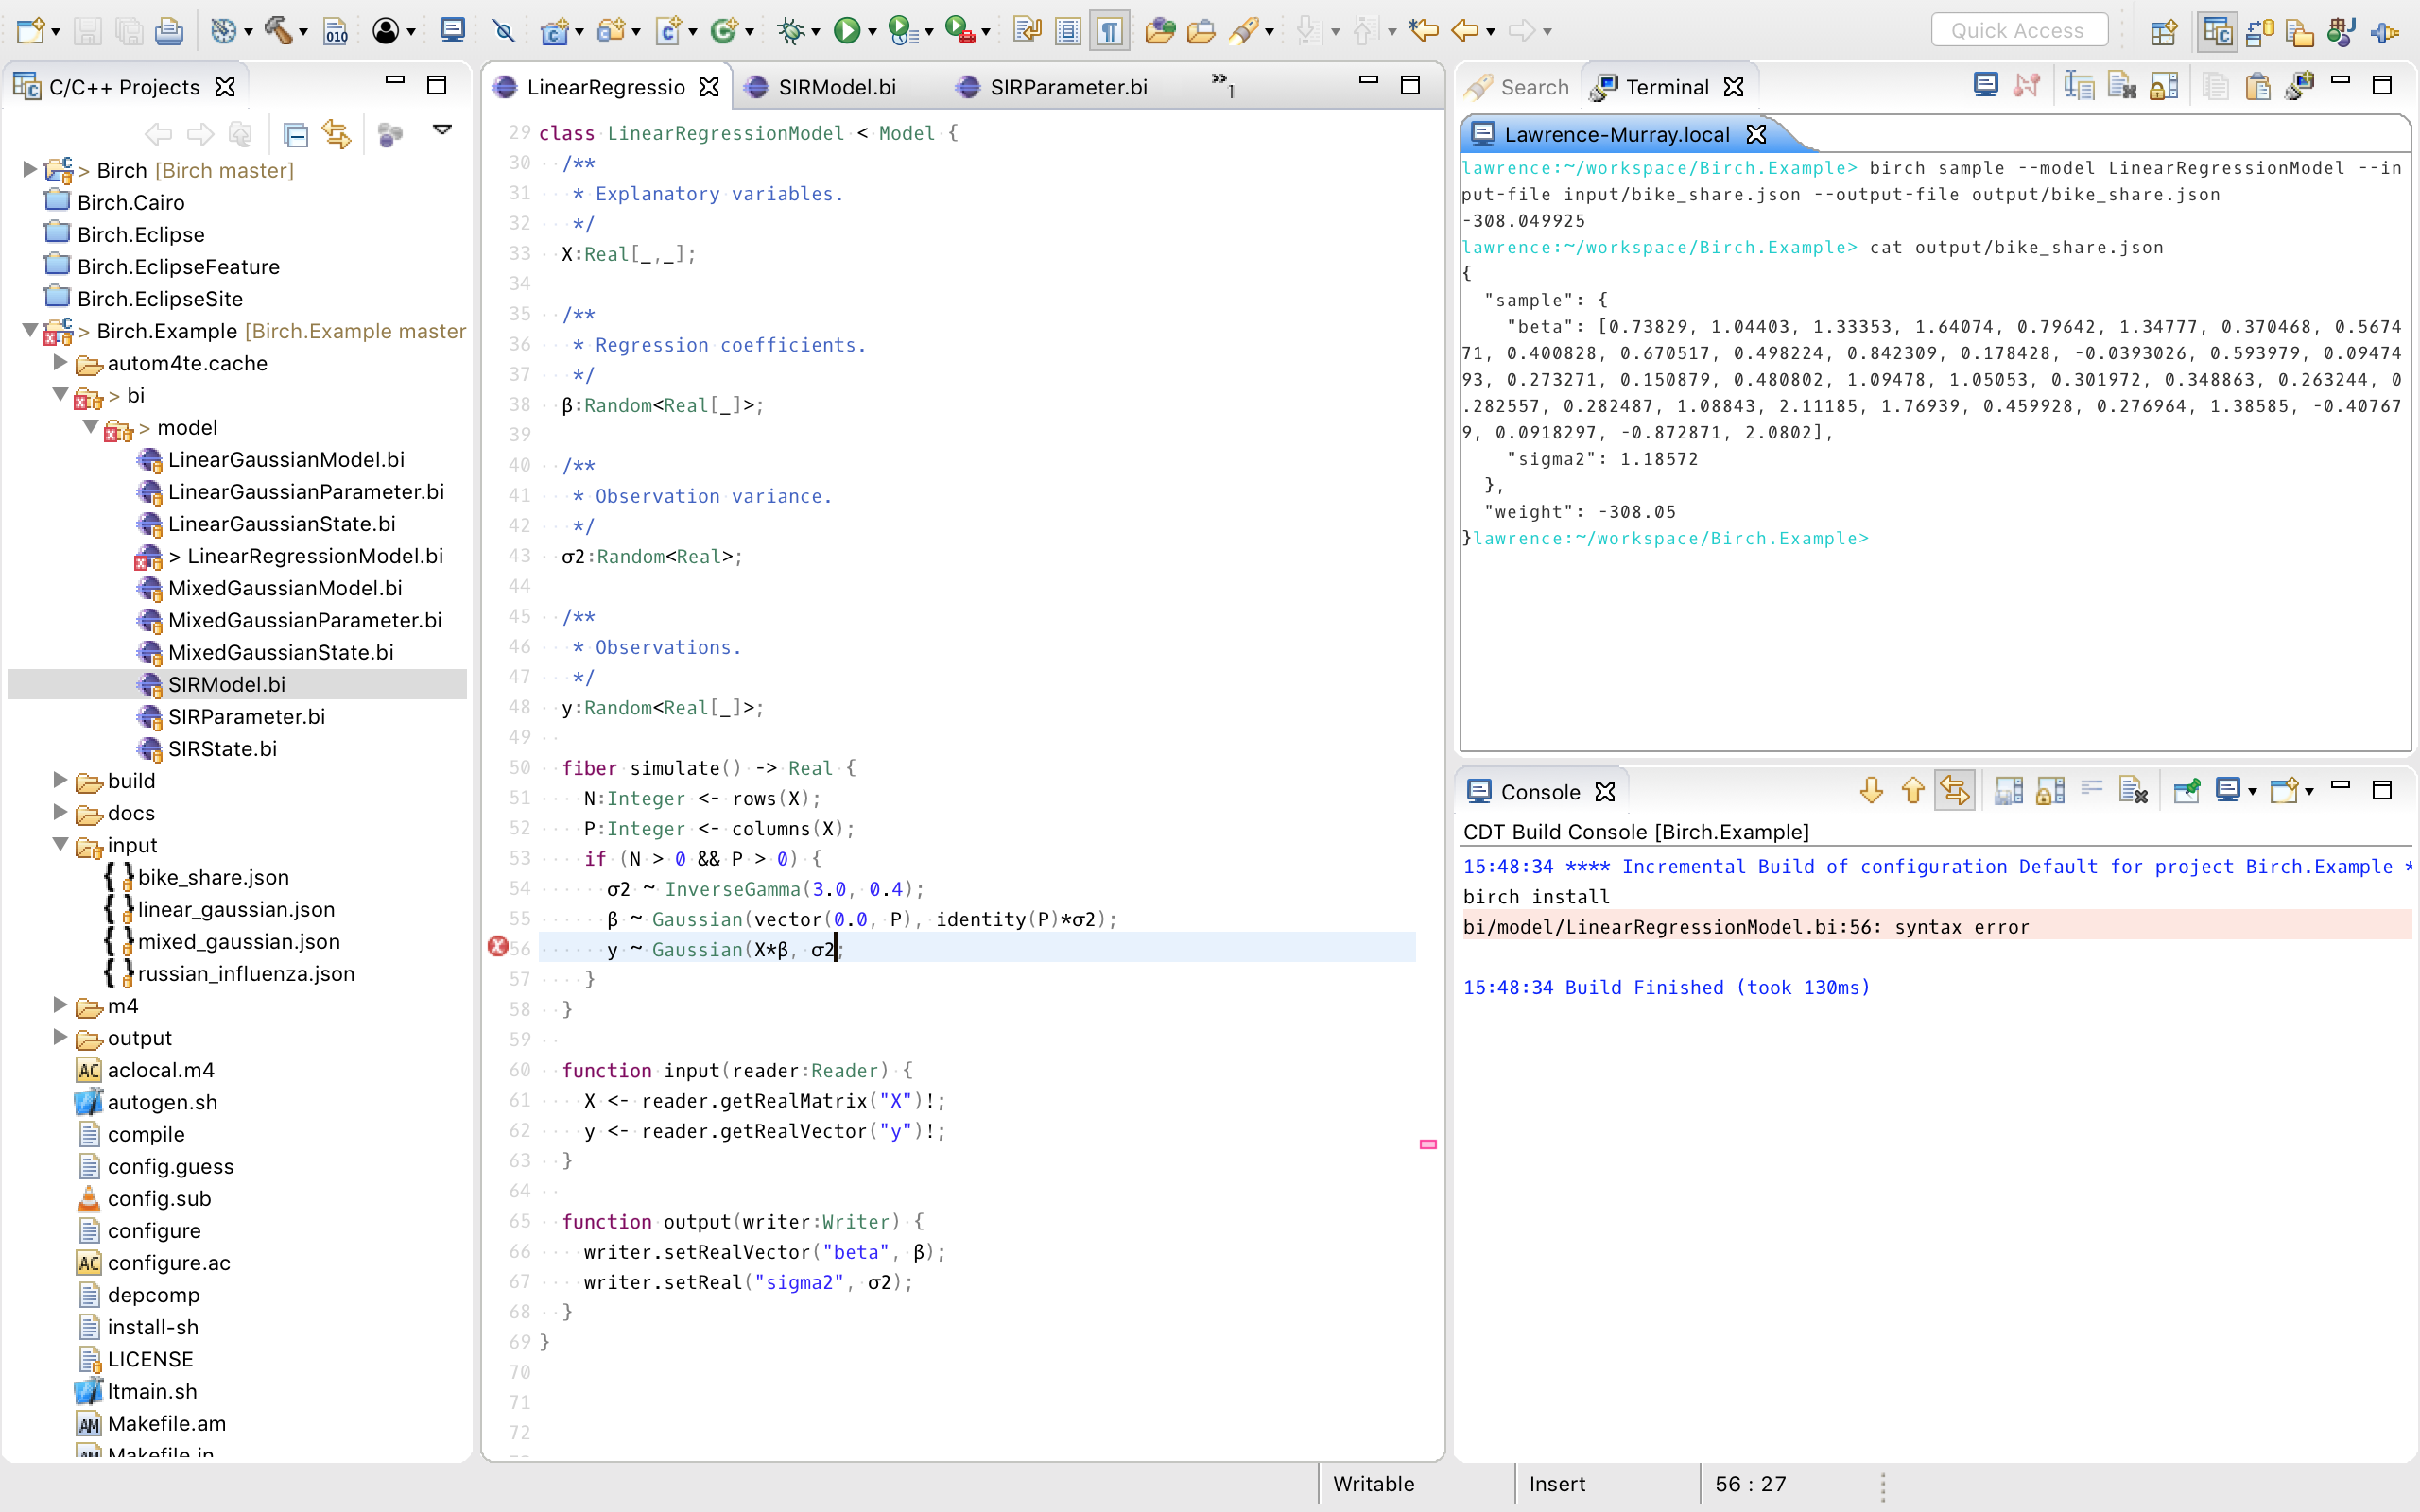
You can use Eclipse with Birch, too. A plugin is available for syntax highlighting of Birch code. Birch projects can otherwise be treated as if they are C/C++ projects, with only a few minor changes to settings as detailed below. Error messages from the Birch compiler are understood by Eclipse, so that it is able to annotate problem lines of code and allow quick navigation to them. This can help streamline workflow.
You should install the Eclipse IDE for C/C++ Developers linked from here.
If you already have Eclipse installed but without the C/C++ Development Tools (default installs are often for Java development only), you can add the C/C++ Development Tools to that Eclipse installation via the Help > Install New Software... menu item. Select All Available Sites from the select box at the top, and choose Programming Languages > C++ Development Tools, then follow the prompts.
To install the plugin, use the Help > Install New Software... menu item from within Eclipse. Click the Add... button and enter the following update site URL:
http://www.birch.sh/eclipse/updates
Select the plugin from the list and follow the prompts from there. The plugin should be automatically associated with the *.birch file extension.
Within Eclipse, you can treat Birch projects as if they are C/C++ Makefile Projects, with a few tweaks to the project properties as outlined below.
You will need the Eclipse C/C++ Development Tooling (CDT) for this, not just the Eclipse Java Development Tools (JDT). Often, a default Eclipse installation only installs the latter, so you may need to install the former.
Once a Birch project has been created from the command line with birch init:
- Import it into Eclipse using File > New > Makefile Project with Existing Code.
- Under Project > Properties, select C/C++ Build on the left.
- Go to the Builder Settings tab and enter
birchas the build command. - Go to the Behavior tab and enter
buildnext to the Build (Incremental build) checkbox.
You can then use the Project > Build menu item, or keyboard shortcuts, to build your project.
First, set up your terminal for use without root access following the how-to guide here.
Then, within Eclipse, go to Preferences > C/C++ > Build > Environment, add a variable BIRCH_PREFIX with value ${HOME}. This will apply to all projects, which is probably what you want. Alternatively, if you wish to do this for particular projects only, use Project Properties > C/C++ Build > Environment for each of those projects instead.
-
C++ amongst the Birch source code does not seem to gel with the Eclipse code analysis features. To turn these off, go to Preferences > C/C++ > Code Analysis and uncheck all the boxes.
-
If seeing a bunch of error annotations down the side of the editor, right click and turn off those that you don't want to see.
-
By default the keyboard shortcut
Ctrl-Bis mapped to Build All. You may wish to map it to Build Project instead and rely on project references to rebuild what is necessary. You can change this in Preferences > General > Keys.