PyTorch code for "Locating Objects Without Bounding Boxes" , CVPR 2019 - Oral, Best Paper Finalist (Top 1 %) [Paper] [Youtube]

@article{ribera2019,
  title={Locating Objects Without Bounding Boxes},
  author={Javier Ribera and David G\"{u}era and Yuhao Chen and Edward J. Delp},
  journal={Proceedings of the Computer Vision and Pattern Recognition (CVPR)},
  month={June},
  year={2019},
  note={{Long Beach, CA}}
}
The datasets used in the paper can be downloaded from:
Use conda to recreate the environment provided with the code:
conda env create -f environment.yml
Activate the environment:
conda activate object-locator
Install the tool:
pip install .
(do not forget the period)
If you are only interested in the code of the Weighted Hausdorff Distance (which is the loss used in the paper and the main contribution), you can just get the losses.py file. If you want to use the entire object location tool:
Activate the environment:
conda activate object-locator
Run this to get help (usage instructions):
python -m object-locator.locate -h
python -m object-locator.train -h
Example:
python -m object-locator.locate \
       --dataset DIRECTORY \
       --out DIRECTORY \
       --model CHECKPOINTS \
       --evaluate \
       --no-gpu \
       --radius 5
python -m object-locator.train \
       --train-dir TRAINING_DIRECTORY \
       --batch-size 32 \
       --visdom-env mytrainingsession \
       --visdom-server localhost \
       --lr 1e-3 \
       --val-dir TRAINING_DIRECTORY \
       --optim Adam \
       --save saved_model.ckpt
The options --dataset and --train-dir should point to a directory.
This directory must contain your dataset, meaning:
- One file per image to analyze (png, jpg, jpeg, tiff or tif).
- One ground truth file called
gt.csvwith the following format:
filename,count,locations
img1.png,3,"[(28, 52), (58, 53), (135, 50)]"
img2.png,2,"[(92, 47), (33, 82)]"
Each row of the CSV must describe the ground truth of an image: the count (number) and location of all objects in that image. The locations are in (y, x) format, being the origin the most top left pixel, y being the pixel row number, and x being the pixel column number.
Optionally, if you are working on precision agriculture or plant phenotyping you can use an XML file gt.xml instead of a CSV.
The required XML specifications can be found in
https://communityhub.purdue.edu/groups/phenosorg/wiki/APIspecs
(accessible only to Purdue users) and in this thesis, but this is only useful in agronomy/phenotyping applications.
The XML file is parsed by the file data_plant_stuff.py.
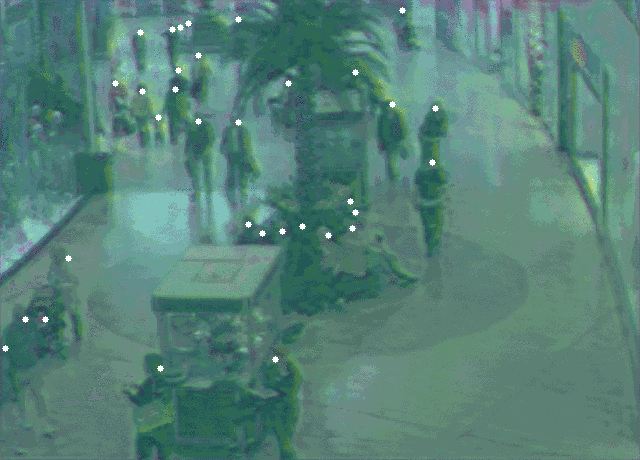
Models are trained separately for each of the four datasets, as described in the paper:
The COPYRIGHT of the pre-trained models is the same as in this repository.
As described in the paper, the pre-trained model for the pupil dataset excludes the five central layers. Thus if you want to use this model you will have to use the option --ultrasmallnet.
conda deactivate object-locator
conda env remove --name object-locator
The code used in the paper corresponds to the tag used-for-cvpr2019-submission.
If you want to reproduce the results, checkout that tag with git checkout used-for-cvpr2019-submission.
The master branch is the latest version available, with convenient bug fixes and better documentation.
If you want to develop or retrain your models, we recommend the master branch.
Versions numbers follow semantic versioning and the changelog is in CHANGELOG.md.
If you're experiencing a problem or a bug, creating a GitHub issue is encouraged, but please include the following:
- The commit version of this repository that you ran (
git show | head -n 1) - The dataset you used (including images and the CSV with groundtruth with the appropriate format)
- CPU and GPU model(s) you are using
- The full standard output of the training log if you are training, and the testing log if you are evaluating (you can upload it to https://pastebin.com)
- The operating system you are using
- The command you run to train and evaluate