Dify is an open-source production-ready LLM app development platform; by integrating it with ipex-llm, users can now easily leverage local LLMs running on Intel GPU (e.g., local PC with iGPU, discrete GPU such as Arc, Flex and Max) for building complex AI workflows (e.g. RAG).
See the demo of a RAG workflow in Dify running LLaMA2-7B on Intel A770 GPU below.
 |
| You could also click here to watch the demo video. |
Follow the steps in Run Ollama on Intel GPU Guide to install and run Ollama on Intel GPU. Ensure that ollama serve is running correctly and can be accessed through a local URL (e.g., https://127.0.0.1:11434) or a remote URL (e.g., http://your_ip:11434).
We recommend pulling the desired model before proceeding with Dify. For instance, to pull the LLaMA2-7B model, you can use the following command:
ollama pull llama2:7bYou can either clone the repository or download the source zip from github:
git clone https://github.com/langgenius/dify.gitNext, deploy PostgreSQL and Redis. You can choose to utilize Docker, following the steps in the Local Source Code Start Guide, or proceed without Docker using the following instructions:
-
Install Redis by executing
sudo apt-get install redis-server. Refer to this guide for Redis environment setup, including password configuration and daemon settings. -
Install PostgreSQL by following either the Official PostgreSQL Tutorial or a PostgreSQL Quickstart Guide. After installation, proceed with the following PostgreSQL commands for setting up Dify. These commands create a username/password for Dify (e.g.,
dify_user, change'your_password'as desired), create a new database nameddify, and grant privileges:CREATE USER dify_user WITH PASSWORD 'your_password'; CREATE DATABASE dify; GRANT ALL PRIVILEGES ON DATABASE dify TO dify_user;
Configure Redis and PostgreSQL settings in the .env file located under dify source folder dify/api/:
### Example dify/api/.env
## Redis settings
REDIS_HOST=localhost
REDIS_PORT=6379
REDIS_USERNAME=your_redis_user_name # change if needed
REDIS_PASSWORD=your_redis_password # change if needed
REDIS_DB=0

## postgreSQL settings
DB_USERNAME=dify_user # change if needed
DB_PASSWORD=your_dify_password # change if needed
DB_HOST=localhost
DB_PORT=5432
DB_DATABASE=dify # change if neededFollow the steps in the Server Deployment section in Local Source Code Start Guide to deploy and start the Dify Server.
Upon successful deployment, you will see logs in the terminal similar to the following:
INFO:werkzeug:
* Running on all addresses (0.0.0.0)
* Running on http://127.0.0.1:5001
* Running on http://10.239.44.83:5001
INFO:werkzeug:Press CTRL+C to quit
INFO:werkzeug: * Restarting with stat
WARNING:werkzeug: * Debugger is active!
INFO:werkzeug: * Debugger PIN: 227-697-894Refer to the instructions provided in the Deploy the frontend page section in Local Source Code Start Guide to deploy the frontend page.
Below is an example of environment variable configuration found in dify/web/.env.local:
# For production release, change this to PRODUCTION
NEXT_PUBLIC_DEPLOY_ENV=DEVELOPMENT
NEXT_PUBLIC_EDITION=SELF_HOSTED
NEXT_PUBLIC_API_PREFIX=http://localhost:5001/console/api
NEXT_PUBLIC_PUBLIC_API_PREFIX=http://localhost:5001/api
NEXT_PUBLIC_SENTRY_DSN=
Note
If you encounter connection problems, you may run export no_proxy=localhost,127.0.0.1 before starting API servcie, Worker service and frontend.
For comprehensive usage instructions of Dify, please refer to the Dify Documentation. In this section, we'll only highlight a few key steps for local LLM setup.
Open your browser and access the Dify UI at http://localhost:3000.
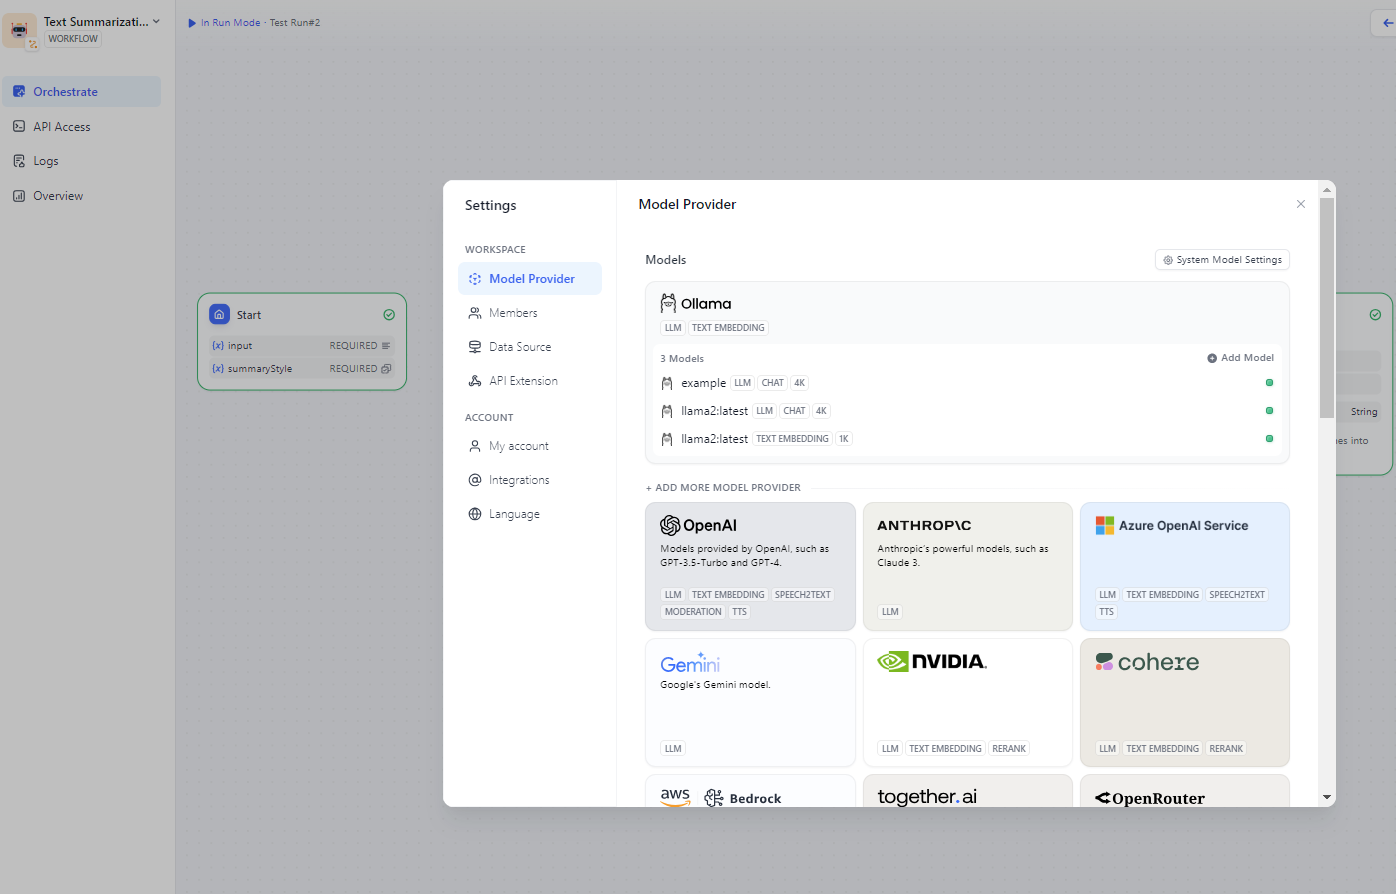
Configure the Ollama URL in Settings > Model Providers > Ollama. For detailed instructions on how to do this, see the Ollama Guide in the Dify Documentation.

Once Ollama is successfully connected, you will see a list of Ollama models similar to the following:
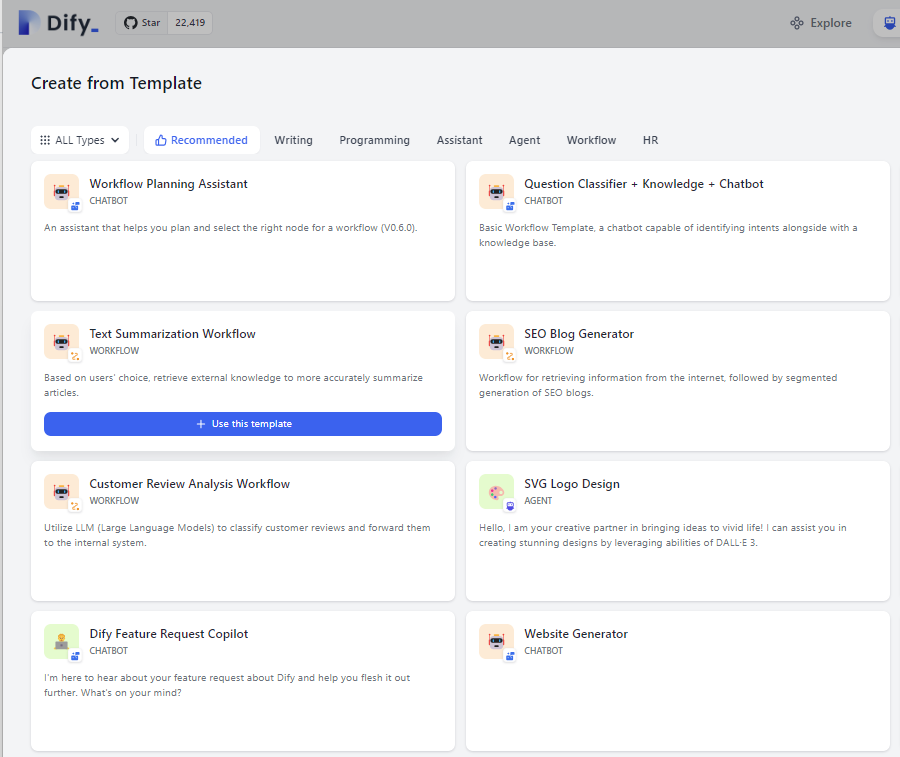
- Select the text summarization workflow template from the studio.
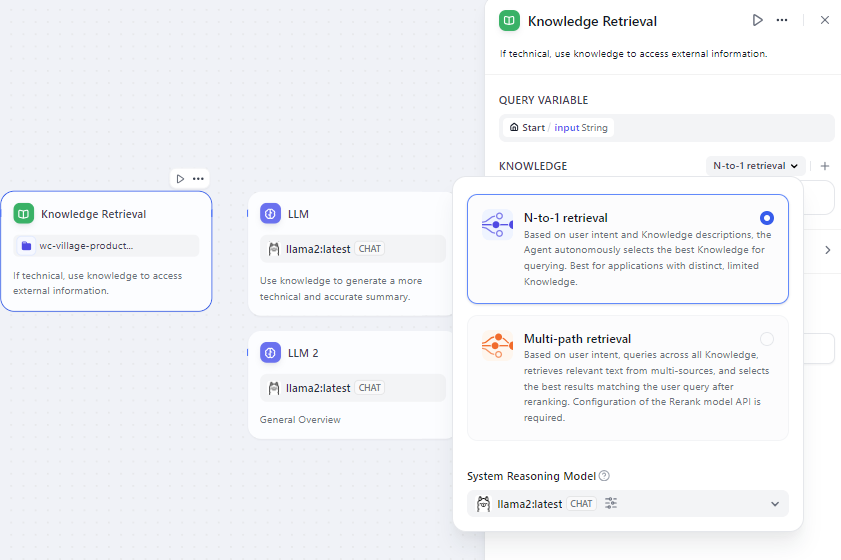
- Add a knowledge base and specify the LLM or embedding model to use.
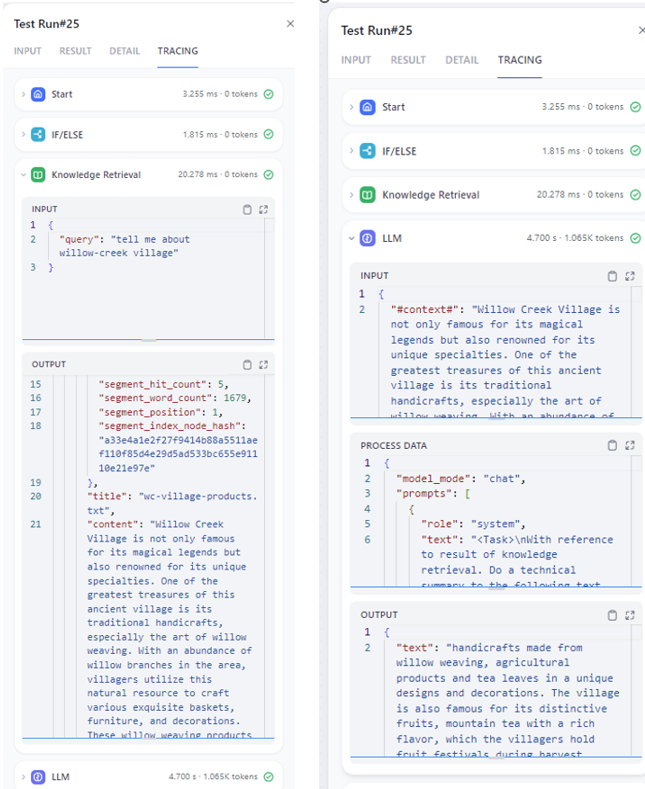
- Enter your input in the workflow and execute it. You'll find retrieval results and generated answers on the right.