Set up your own DOM Cloud server instance inside a virtualized platform and control it with our platform.
The most recent one built on 2024-09-26:
- domcloud-x86_64.qcow2 4.41 GB
- domcloud-x86_64.vmdx 2.84 GB
- checksum
Select based on Virtualization platform e.g. Proxmox and QEMU uses QCOW2 while VMWare and VirtualBox uses VMDK. aarch64 builds is not available yet.
We use Hashicorp Packer to build images. We ran it inside privilenged docker. Simply run make build-image. With KVM acceleration the build should be done around one hour.
The image consist of Rocky Linux Minimal CD + Some scripts that installs Virtualmin and additional services to make it exactly like how a DOM Cloud server works. See install.sh and preset.sh to see the install scripts.
To run the final image using QEMU:
qemu-system-x86_64 -hda domcloud-x86_64.qcow2 -smp 2 -m 2048 -net nic -net user,hostfwd=tcp::22-:22,hostfwd=tcp::80-:80,hostfwd=tcp::443-:443,hostfwd=tcp::2443-:2443 -cpu max -accel tcgThis VM expose these ports:
- 22 for SSH
- 53 for DNS
- 80 and 443 for HTTP/HTTPS
- 2443 for Webmin
There's http://localhost Handled by NGINX to that runs our bridge software. This sorftware orchestrates your VM based on (To be undocumented) REST APIs.
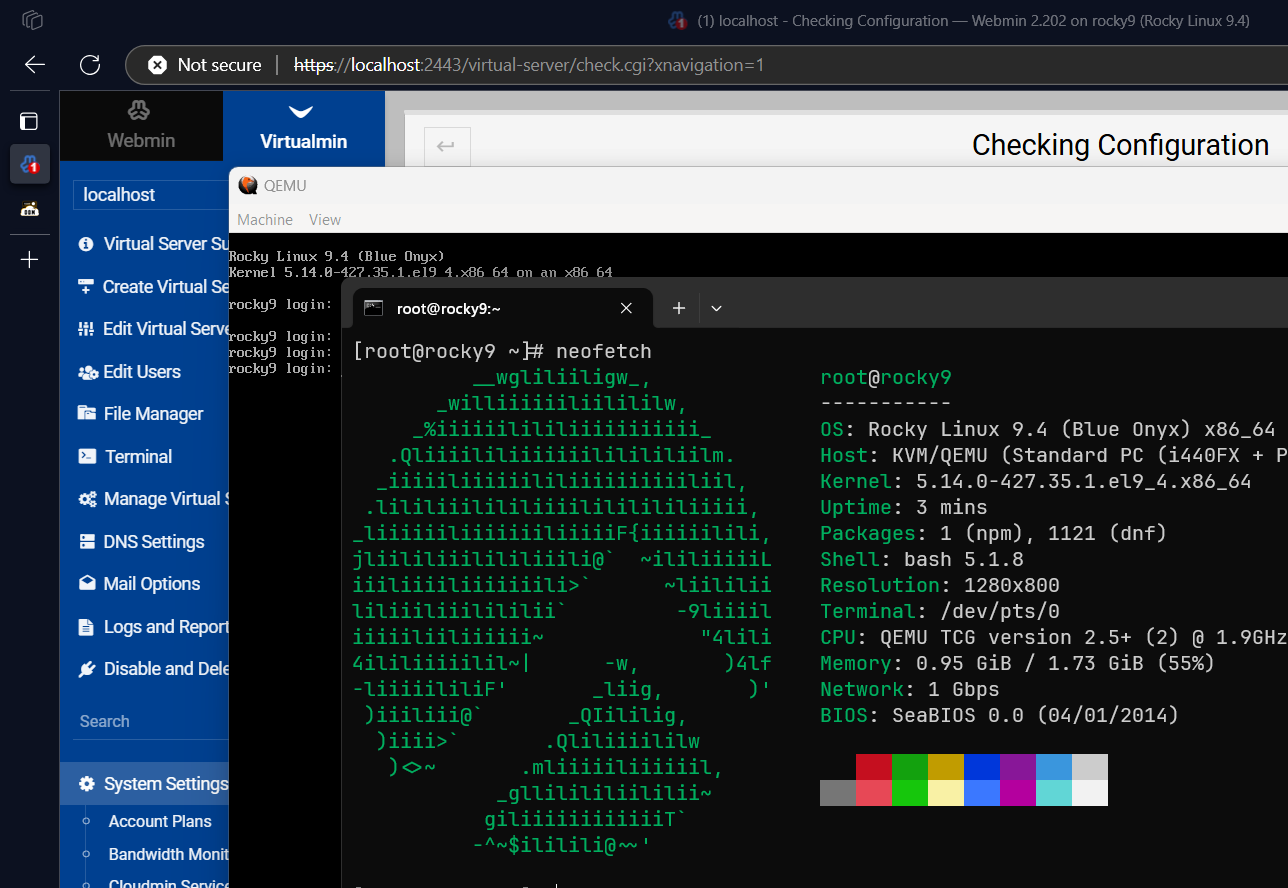
Go to https://localhost:2443 in your browser to open webmin. Additionally, go to http://localhost/status/check and http://localhost/status/test To see if all services running and configured correctly.
The root password includes the root webmin access is rocky. The bridge HTTP secret and webmin login is also set to rocky.
Things to do after your VM online:
Important
Change your VM password to very strong one before exposing it to the public.
You have 4 passwords to change:
- Root password, change it with
passwd - Webmin root password, change it with
/usr/libexec/webmin/changepass.pl /etc/webmin root "<password>" - User
bridgepassword, change it withpasswd bridge bridgeHTTP Secret key, change it in/home/bridge/public_html/.envand restart itsudo systemctl restart bridge.
Additionally:
- Disable root password auth via SSH by setting
PermitRootLogin prohibit-passwordin/etc/ssh/sshd_config
Go to https://localhost:2443 and log in with user root.
- Finish the post installation wizard
- Go to
Virtualmin->System Settings->Re-Check Configuration
The VM is built with QEMU. The networking IP addresses definitely changed and you need to adjust it.
- Identify your IP addresses, run
nmcli dev show ens3orip addr show scope globalin terminal. - Go to
Virtualmin->Addresses and Networking->Change IP Addresses - Enter old IP
10.0.2.15and new IP. ClickChange Now.
Run yum update.
Contact us to connect your instance to DOM Cloud.