Tested on dicember 2023 (under update!!)
1 - official arch docs
2 - youtube / youtube / youtube / youtube / youtube
3 - Stack Exchange Network
[STEP:1/3] ISO AND BOOTABLE
-
Download arch iso linux:
archlinux official downloads via:- "Magnet link" Raccomended
if you don't have a torrent client you can use Fragments (better, but only in linux - how to install is below) or Deluge (windows/mac/linux). - "Browser" slow
- latest ISO from EU ITALY Mirror
- latest ISO from EU UK Mirror
- latest ISO from USA Mirror
- latest ISO from INDIA Mirror
- latest ISO from JAPAN Mirror
- latest ISO from RUSSIA Mirror
- latest ISO from AFRICA Mirror
- latest ISO from CHINA Mirror
- latest ISO from AUSTRALIA Mirror
- latest ISO from ARGENTINA Mirror
- "Magnet link" Raccomended
-
Make an iso bootable usb
- if in windows: download rufus official downloads and start to create an iso bootable usb drive with arch iso image
- raccommended: check your bios is an uefi:
...in bios you can find it in the options
...in windows: win+R and write "msinfo32" and "BIOS" (or BIOS mode), check if "secure boot" is off or set it via bitlocker - raccommended option: MBR, FAT32, 8192byte, and load iso of arch.
- raccommended: check your bios is an uefi:
- if in linux:
- use Impression
- use Impression
- if in windows: download rufus official downloads and start to create an iso bootable usb drive with arch iso image
-
No second drive? need a partition:
⚠️ Warning: if you not an expert see on youtube before this action! Shrink, formatting and move partition can cause an irreversible lost of data- via linux terminal (this link)
- in windows:
- win+r and write
diskmgmt.msc - right click on NFTS window partition and shrink it with min 6GB for linux
- win+r and write
-
Restart and boot way:
a) go to bios and load arch from usb (or set it first boot)
b) via windows:
1) open win menu and find "startup"
2) open "advanced sturtup recovery" (ITA:modifica le opzioni di avvio avanzato)
3) click on "advanced sturtup" > "use a device" > select your bootable arch usb
[STEP:2/3] PREPARING TO INSTALLATION
-
Set Keyboard Layout:
$ loadkeys it(or other lang) -
Test connection:
$ ping archlinux.org
...If not working:
└ Check if exist a wlan :$ ip a
└ if exist:$ iwctland...
1) First, if you do not know your wireless device name, list all Wi-Fi devices:
[iwd]# device list
2) Then, to initiate a scan for networks (note that this command will not output anything):
[iwd]# station DEVICE scan
3) You can then list all available networks:
[iwd]# station DEVICE get-networks
4) Finally (or direct if you know params), to connect to a network:
[iwd]# station DEVICE connect SSID
[STEP:3/3] INSTALL LINUX OS
-
from 2022 you can use a parametric/graphical installer ( in dic 2023 it's now amazing! ):
$ archinstallfollow the instruction into installer ( and save your json profile if you want ;) )
SUGGEST: Always select more than one mirror to avoid potential crashes or update failures
Installation exemple:- set multiple mirrors, exemple: [Worldwide, United States, United Kingdom, Spain, Italy]
- set your lang + UTF8 on keyboard : [ layout: it, language: it_IT.UTF-8, encoding: UTF-8 ]
- set
disk layouttobtrfstandard and choose : [ no to subvolumes, no to separate home, yes to compression ] - set
disk encriptingto your preference - set
swapontrue
- set
- set bootloader as
GRUB(2023 systemd-boot it isn't present)- set your name host (the computer device name, ex: linux)
- set a password and one profile, set it as an admin
- set profile for a dekstop > gnome > nvidia property driver:
if over 3000 series => nvidia proprietary or nouveau +Tensor drivers
if Cuda and minor of 3000 => nvidia proprietary - set audio to
pipewire - set kernel
linux-zen(better performance) or the mainlinelinux - set net equal to iso configuration
- set timezone on your place (ex: Europe/Rome)
- set NTP on
true
now install 🚀
an image of installer (WRONG, I MUST TO UPDATE IMAGE YET!):


Installation completed? Don't set nothing other! You are probably in the root of installer... Digit
exitandreboot -
Add asterisks to consolle password, open it and...
$ cd /etc/
$ sudo -s
$ cp sudoers sudoers.bak
$ EDITOR=nano visudo
now find or add the string:
Defaults env_reset,pwfeedback
Ctrl + x and S for save -
UPDATING...
Install windows in boot loader (if you have windows, obious)start autoupdater service:$ sudo systemctl start systemd-boot-update.service$ bootctl update
In some case system not view windows EFI if in a second drive, so...-
find windows partition (EFI of microsoft):$ sudo fdisk -l -
mount it ("b1" or other of efi win):$ mount /dev/sdb1 /mnt -
copy efi into boots:$ sudo cp -r /mnt/EFI/Microsoft/ /boot/EFI/Microsoft/extra step only if not view the windows label:create a new /boot/loader/entries/windows.conf file:$ sudo nano /boot/loader/entries/windows.confand write into it:``` title Windows 10 efi /EFI/Microsoft/Boot/bootmgfw.efi -
check ends:$ bootctl update$ bootctl listyou should probably have windows in the boot list.
-
Unlock mirrors:
$ sudo nano /etc/pacman.conf
find and uncomment (remove "#") the:[multilib] Include = /etc/pacman.d/mirrorlistnow you can install from mirrolist in 32/64
-
Set windows on center:
$ gsettings set org.gnome.mutter center-new-windows true -
Swipe win/alt if you have it reversed:
$ setxkbmap -option altwin:swap_alt_win -
Launch audio services... (if not running)
$ pactl info | grep "Server Name"if not result "Name: PulseAudio (on PipeWire 0.XXXX)":
$ systemctl --user --now enable pipewire
$ systemctl --user list-unit-files | grep -E 'pulse|wire' | awk '{ print $1,"-", $2 }'(check enables services, is it true?)
If you have some problem see this, this, this for set output, this and you can have support via software by pavucontrol and easyeffects or JDSP4Linux -
Launch bluetooth services: (if not running)
$ systemctl status bluetooth.serviceif isn't "active (running)":
$ systemctl enable bluetooth.service
$ systemctl start bluetooth.service -
install Git for cloning pro packages
$ sudo pacman -S git base-devel -
install Pamac for a real AUR Store packages management
- install trizen:
$ git clone https://aur.archlinux.org/trizen.git ./trizen
$ makepkg -sri - install pamac:
trizen -S pamac-aur-git libpamac-git archlinux-appstream-data-pamac - remove trizen:
$ sudo pacman -Runs trizen
set inside pamac option > thirdy parts > AUR turned ON... Now you can get all aur packages from Pamac Store Application: "Ṩ"
if you would remove pamac you can do:
$ sudo pacman -R pamac-aur-git libpamac-git archlinux-appstream-data-pamac
$ sudo pacman -S archlinux-appstream-data
Pamac follow the standard directory of FSH or package instruction, press ctrl+L and:
» ALL OFFICIAL REPOS DOWNLOAD: /var/lib/pacman/local
» AUR DOWNLOAD AD UNSPECIFIED: /opt (suggested for all other software)
» FLATPAK DOWNLOAD PACKS: /var/lib/flatpak
» DEPENCIES AND LIBS: /var/lib/ and /lib64
- install trizen:
-
add gpu settings {Ṩ nvidia-settings}: (if not installer)
$ sudo pacman -S nvidia-settings -
add gpu cuda for 3d heavy
$ sudo pacman -S opencl-nvidia
$ sudo pacman -S opencl-headers
$ sudo pacman -S cuda
$ sudo pacman -S clinfodigit clinfo for gpu informations
reboot -
active nvidia stand-by services (need reboot):
$ sudo systemctl enable nvidia-suspend.service
$ sudo systemctl enable nvidia-resume.service
$ sudo systemctl enable nvidia-hibernate.service
you can check it via:systemctl status nvidia-... -
install snaps backups system {Ṩ snapper, snapper-git, grub-btrfs, btrfs-assistant }
1] install packages:$ sudo pacman -S snapper snapper-git grub-btrfs btrfs-assistant
2] go in root$ cd /and check subvolumes:$ btrfs subvolume list /
3] if not exist snapshots:
$ su -(become the root)
$ cd /(enter in the root)
$ snapper -c root create-config /
4] Now you can open the btrf-assistant, get the snap and set or make new shoots! (suggest: after all this files, make a shoot) -
Install Network & Network Manager {Ṩ networkmanager}:
Before all: you need to get you good firmware for you wifi card if is a basic installation... In mycase is an AX210 by Intel~data-sheet with all instructions for install inside the .tar pack (goodluck my friends).if
$ systemctl status NetworkManagerrespon "could not be found":$ sudo pacman -S networkmanager
now... you can have list of networks services via:systemctl list-unit-files --state=enabledand, eventually, enable it:
$ sudo systemctl enable NetworkManager
$ sudo systemctl start NetworkManager -
Fix the probable Gnome Network Manager problem "lost connection" after reboot:
way one (suggested):
$ sudo systemctl restart iwdIt's not strictly necessary
$ sudo systemctl restart NetworkManager && nmcli device wifi list && nmcli device wifi connect YOURWIFISSIDORNAME password YOURWIFIPASSWORD
way complicated:
$ sudo systemctl enable wpa_supplicant.service
now make or edit withwifi.powersave=1for disable power save more info here :
for intel:$ sudo nano /etc/modprobe.d/iwlwifi.confand save insideptions iwlwifi power_save=1
other way:$ sudo nano /etc/NetworkManager/conf.d/default-wifi-powersave-on.conf(not tested, not recommended!) -
install extra firmware (only if your see the warning: "Possibly missing firmware for module ...")
mkinitcpio-firmware -
Now update and reboot system:
$ sudo pacman -Syu && reboot


OPTIMIZATION, ESSENTIAL EXTENSIONS, CUSTOMIZING (Gnome 4X.X)
Make a pratty sudo alias
Open terminal and copy:
$ alias super='sudo'
$ super whoami if respond root, you can use super or sudo ;)
add super as a sudo:
$ sudo gnome-text-editor /etc/sudoers and add: super ALL=(ALL:ALL) ALL like root. Now you have complete alias for sudo.
install pretty shell:
- dowload Firacode from list
- copy firacode in
.local/share/fonts(simple local, not root) and refresh fonts chache via cli$ fc-cache -f -v - install starship, open the terminal
$ pacman -S starship$ sudo nano ~/.bashrc- add line:
eval "$(starship init bash)"and save - add a theme like this:
$ starship preset bracketed-segments -o ~/.config/starship.tomlor other... - end all with
$ sudo pacman -S screenfetch && clear && screenfetchfor view somethigs of beautyful
Set Autologin:
$ sudo nano /etc/gdm/custom.conf
Add into file:
[daemon]
AutomaticLoginEnable=True
AutomaticLogin=username
Install font manager {Ṩ font-manager}:
Open console and:
$ pacman -S font-manager- Install/Fix Unicode Charactes:
Open Packages folder and add new fonts (make attention to not install the useless fontforge):$ git clone https://aur.archlinux.org/font-symbola.git ./symbola && cd ./symbola$ makepkg -si && cd ..
Extra:$ sudo pacman -S noto-fonts-emojior/and$ sudo pacman -S ttf-font-awesome$ sudo fc-cache -f -v
Debloat packs:
Note: Rscgn remove all dependencies (dangerous) of pack
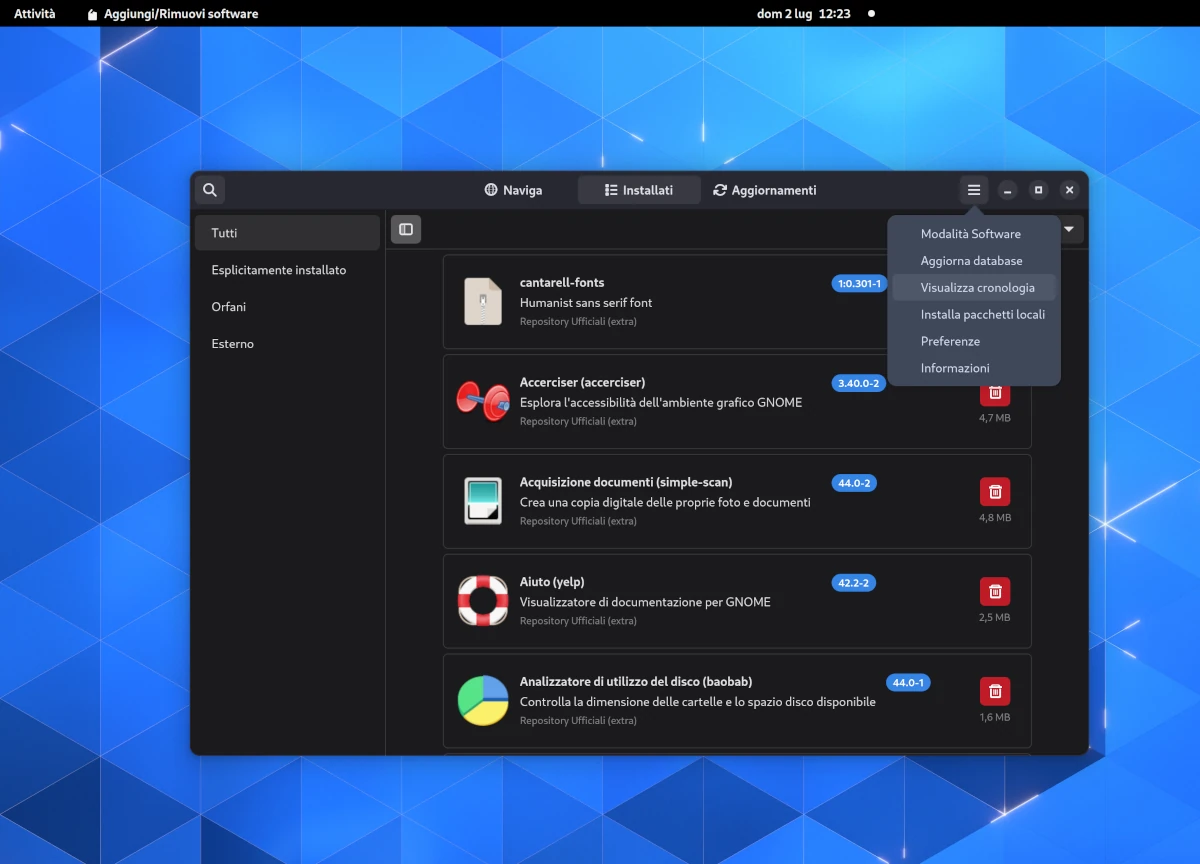
$ sudo pacman -Q(for list) (use "| grep NAMEPACK" for detect it)$ sudo pacman -Rusn gnome-contacts$ sudo pacman -Rusn gnome-maps$ sudo pacman -Rusn simple-scan$ sudo pacman -Rusn gnome-music$ sudo pacman -Rusn gnome-font-viewer(if you have font manager)$ sudo pacman -Rusn gnome-calendar$ sudo pacman -Rusn gnome-tour$ sudo pacman -Rusn malcontent(parental control)$ sudo pacman -Rusn loupe(photo albums)$ sudo pacman -Rusn totem(video player)$ sudo pacman -Rusn htop$ sudo pacman -Rusn vim$ sudo pacman -Rusn gnome-tour$ sudo pacman -Rusn gnome-software(if you use pamac)- Etc...
Extend Gnome File shortcuts
open ~/.config/gtk-3.0 in File and add you shortcut, for me it is:
file:///home/master/Scrivaniafile:///run/media/master/Projects
note a part... monuting a disk:- terminal:
cd /run/media/<USERNAME>/ - terminal:
sudo mount /dev/sda1 ./Projectsorsudo mount -t ntfs-3g /dev/sda1 ./Projectsif it's a NTFS sudo nano /etc/fstaband addUUID=9CA24555A24534D4 /run/media/master/Projects ntfs-3g defaults 0 0
Expand Files (nautilus):
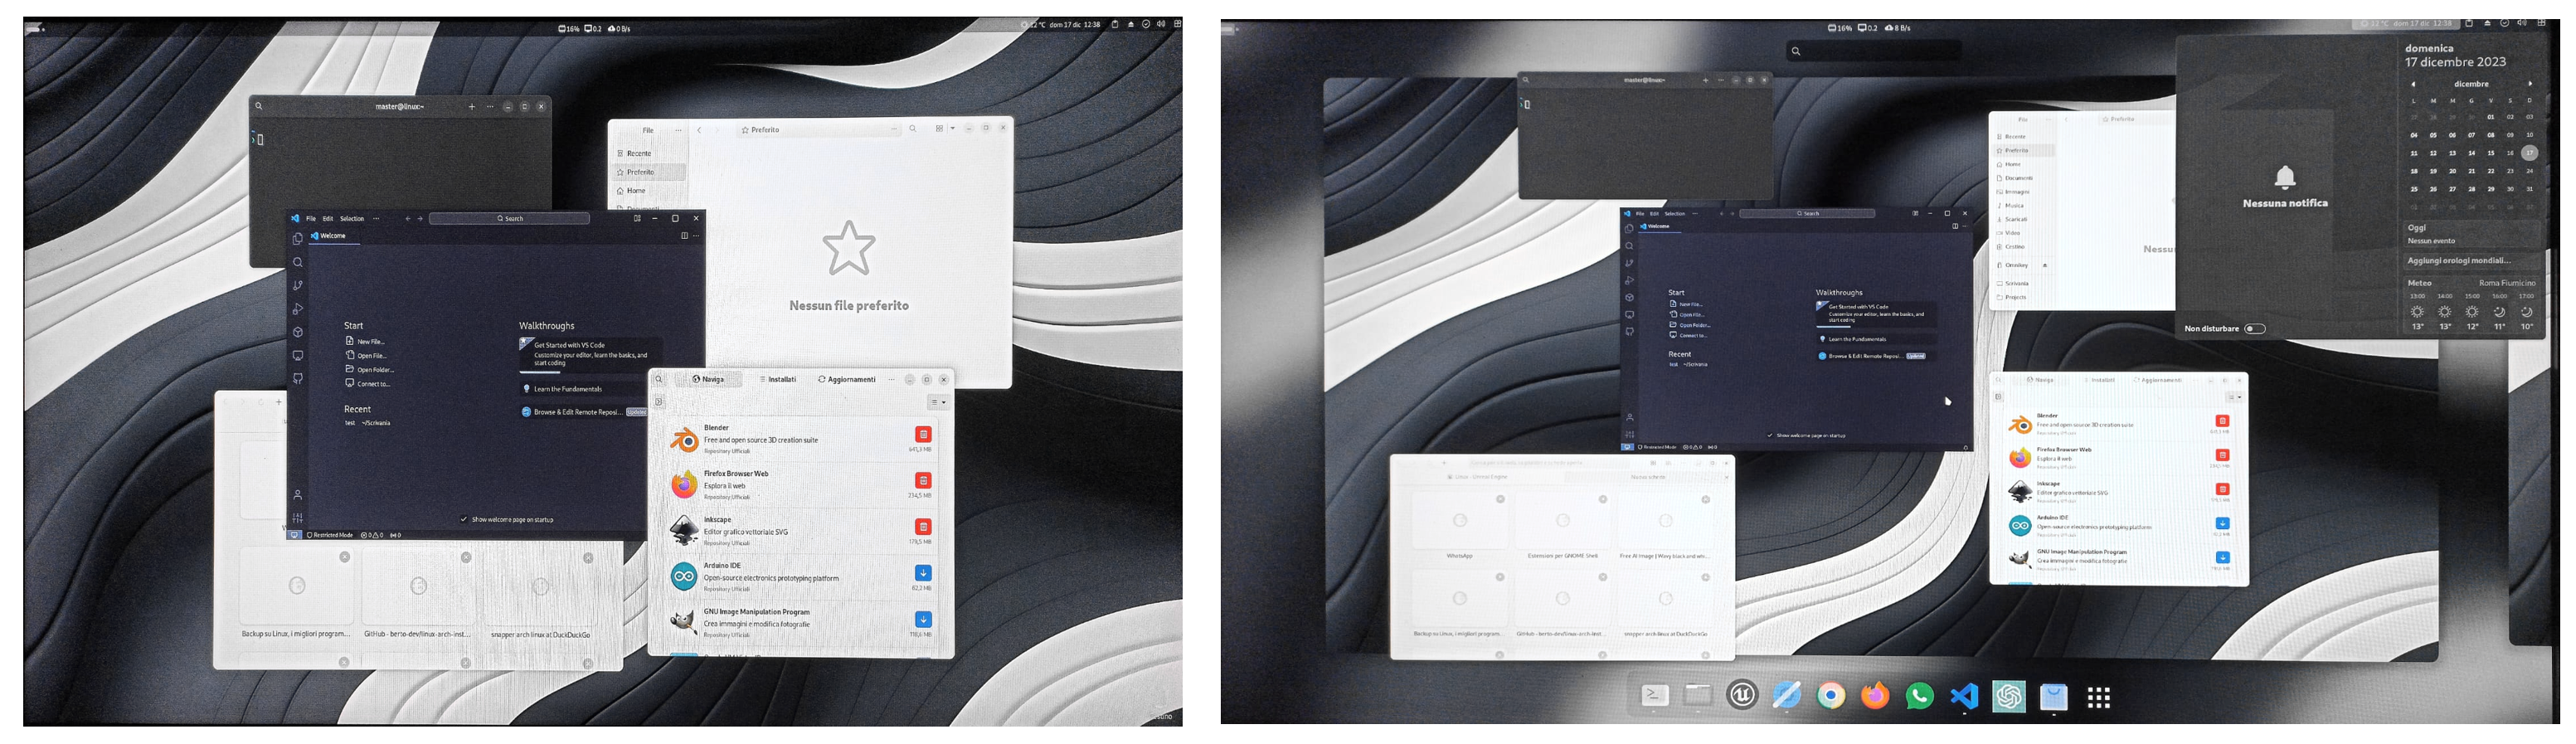
all other extensions are on nautilus-extension in github and GNOME/Files or direct in pamac! Open console and:
$ git clone https://aur.archlinux.org/nautilus-admin.git ./nautilus-admin{Ṩ nautilus-admin}$ cd nautilus-admin && makepkg && nautilus -q
note:you can try "sudo pacman -Sy nautilus-admin && nautilus -q"
Essentials extensions:
-
AUR Packs:
-
pacman -S filemanager-actions(currently not available) -
Easy Effects {Ṩ easyeffects-git}
$ git clone https://aur.archlinux.org/easyeffects-git.git ./easyeffects && cd ./easyeffects
$ makepkg -si && cd .. -
Fragments {Ṩ fragments-git}
$ git clone https://aur.archlinux.org/fragments-git.git ./fragments && cd ./fragments
$ makepkg -si && cd .. -
Impression {Ṩ impression}
$ git clone https://aur.archlinux.org/impression.git ./impression && cd ./impression
$ makepkg -si && cd .. -
google chrome {Ṩ google-chrome} (it's google standard, not chromium)
$ git clone https://aur.archlinux.org/google-chrome.git ./google-chrome && cd ./google-chrome
$ makepkg -si && cd .. -
google chrome {Ṩ google-chrome} (it's google standard, not chromium)
$ git clone https://aur.archlinux.org/google-chrome.git ./google-chrome && cd ./google-chrome
$ makepkg -si && cd .. -
Gradience {Ṩ gradience}
$ git clone https://aur.archlinux.org/gradience.git ./gradience && cd ./gradience
$ makepkg -si && cd .. -
Wine {Ṩ wine} info install
$ sudo pacman -S wine
-
-
extra pack :
-
dev pack (if you need one, we love you!) :
-
vscode {Ṩ visual-studio-code-bin}
$ git clone https://aur.archlinux.org/visual-studio-code-bin.git ./vscode && cd ./vscode
$ makepkg -si && cd ..
fixing: if, on double click, vscode open the dir on desktop:
$ xdg-mime default org.gnome.Nautilus.desktop inode/directory -
nvm-desktop {Ṩ nvm-desktop}
$ git clone https://aur.archlinux.org/nvm-desktop.git ./nvm-desktop && cd ./nvm-desktop
$ makepkg -si && cd ..
Probably it install yarn, read how to clen it here and here -
openssl {Ṩ openssl}
$ sudo pacman -S openssl && pacman -Q openssl -
mongodb {Ṩ mongosh-bin} {Ṩ mongodb-bin}
Install the shell:
$ git clone https://aur.archlinux.org/mongosh-bin.git ./mongosh && cd ./mongosh
$ makepkg -si && cd ..
$ mongosh --version
Install the database:
$ git clone https://aur.archlinux.org/mongodb-bin.git ./mongodb && cd ./mongodb
$ makepkg -si && cd ..
$ sudo systemctl start mongodb
$ mongodb --version
-
-
Gnome Extensions:
before all: if you use chrome need to install gnome browser connector {Ṩ gnome-browser-connector} via AUR for extension management
$ git clone https://aur.archlinux.org/gnome-browser-connector.git ./chrome-connector && cd ./chrome-connector
$ makepkg -si && cd ..- Add to desktop
- Alt Tab Slide
- Arch update alert icon
- note: you need to install
sudo pacnman -S pacman-contrib, into the options remove classic command with this:
kgx -- /bin/sh -c "echo -e \"\n***\n\nSystem Updating:\n\" && sudo pacman -Syu || echo -e \"\nNothing to update\" \ && echo -e \"\n***\n\nSnap Packs Updating:\n\" && sudo snap refresh && echo -e \"\n***\n\nFlatpack Updating:\n\" && flatpak update && echo -e \"\n***\n\nPacman Updating:\n\" && (pacman -Qdtq | grep -q .) && echo -e \"\n***\n\nPacks Cleaning:\" && sudo pacman -Rns \$(pacman -Qdtq) || echo \"Nothing to clean\" && echo -e \"\n***\n\" && echo Done - Perss Enter to exit; read && exit" - note: you need to install
- Bluetooth battery indicator
- Bluetooth quick connect
- Blur my shell
- Burn My Windows
- Compact quick settings
- Compiz windows effect
- Clipboard Manager
- Desktop (icons,drag,dock)
- Just perfection
- Removable drive in menu
- Monito brightness
- Settings center
- Top bar organizer
- Trayicons reloaded
- User themes
- Vitals
- Weather in the clock
- Wi-Fi Qr
Blur on lockscreen(native in gnome 45)Desktop GTK4 (icons,drag,dock)Bug: currently gjx libs crashDay/night theme switcher2023: gnome 44.X uncompatibleEasy Screen Cast(2023: native with gnome screeshot)Screenshot Tool(2023: native with gnome screeshot)
note: you need to installsudo pacnman -S gnome-screenshotNo titlebar when maximized2023: under test (optional)
set all preinstalled undebloatable on OFF without Pamac Update Indicator and Removeble Drive Menu
-
download the theme pack and unzip it.
-
extract original pack online inside '/home/master/.themes'
or downlad latest pack of fluent-theme, copy it inside the themes folder, extract it, and open the folder into console and:
VIA CLI FOR SHELL: ./install.sh -d '/home/master/.themes' -l --c light --theme grey --size standard --icon simple --tweaks round --tweaks noborder
VIA CLI FOR APPS: ./install.sh -d '/home/master/.themes' -l --c light --theme grey --size standard --icon simple --tweaks round --tweaks noborder
- open Theme-Pack folder and...
- open nautilus and unlock hidden files
- copy files of the theme into home directory
- set in the customization (gnome tweaks>apparence) like the screenshot
- add Gradience color profile
open the app and make/save first standard colors, after it you have the forlder and can copy in it:
$ sudo cp -r ./gradience/* /home/YOUR_USR_NAME/.var/app/com.github.GradienceTeam.Gradience/config/presets/user
now go in cofingurations (top right of topbar) and load "Shell-Colors"... all done.
or you can install bleachbit
- bleachbit AUR {Ṩ bleachbit-git}:
$ git clone https://aur.archlinux.org/bleachbit-git.git ./bleachbit && cd ./bleachbit
$ makepkg -si && cd ..
or you can use secure and manually commands:
-
remove all orphan pack and dependencies:
$ sudo pacman -Rns $(pacman -Qtdq) -
empty chache:
$ sudo du -sh ~/.cache/ && rm -rf ~/.cache/* -
clean flatpak *
$ sudo rm -rfv /var/tmp/flatpak-cache-*
$ flatpak uninstall --unused -
duplicated and corrupted links via rmlint:
$ sudo pacman -S rmlint && rmlint -v
$ rmlint -g -c sh:link && bash rmlint.shand press "y"
And this is the end... Good Luck Baby 🚀