Meshes and point clouds are important and powerful types of data to represent 3D shapes and widely studied in the field of computer vision and computer graphics.
3D data is becoming more ubiquitous and researchers attack new problems like 3D geometry reconstruction from 2D data, 3D point cloud semantic segmentation, aligning or morphing 3D objects, and so on. Therefore, visualizing results, especially during the training stage, is critical to better understand how the model performs.
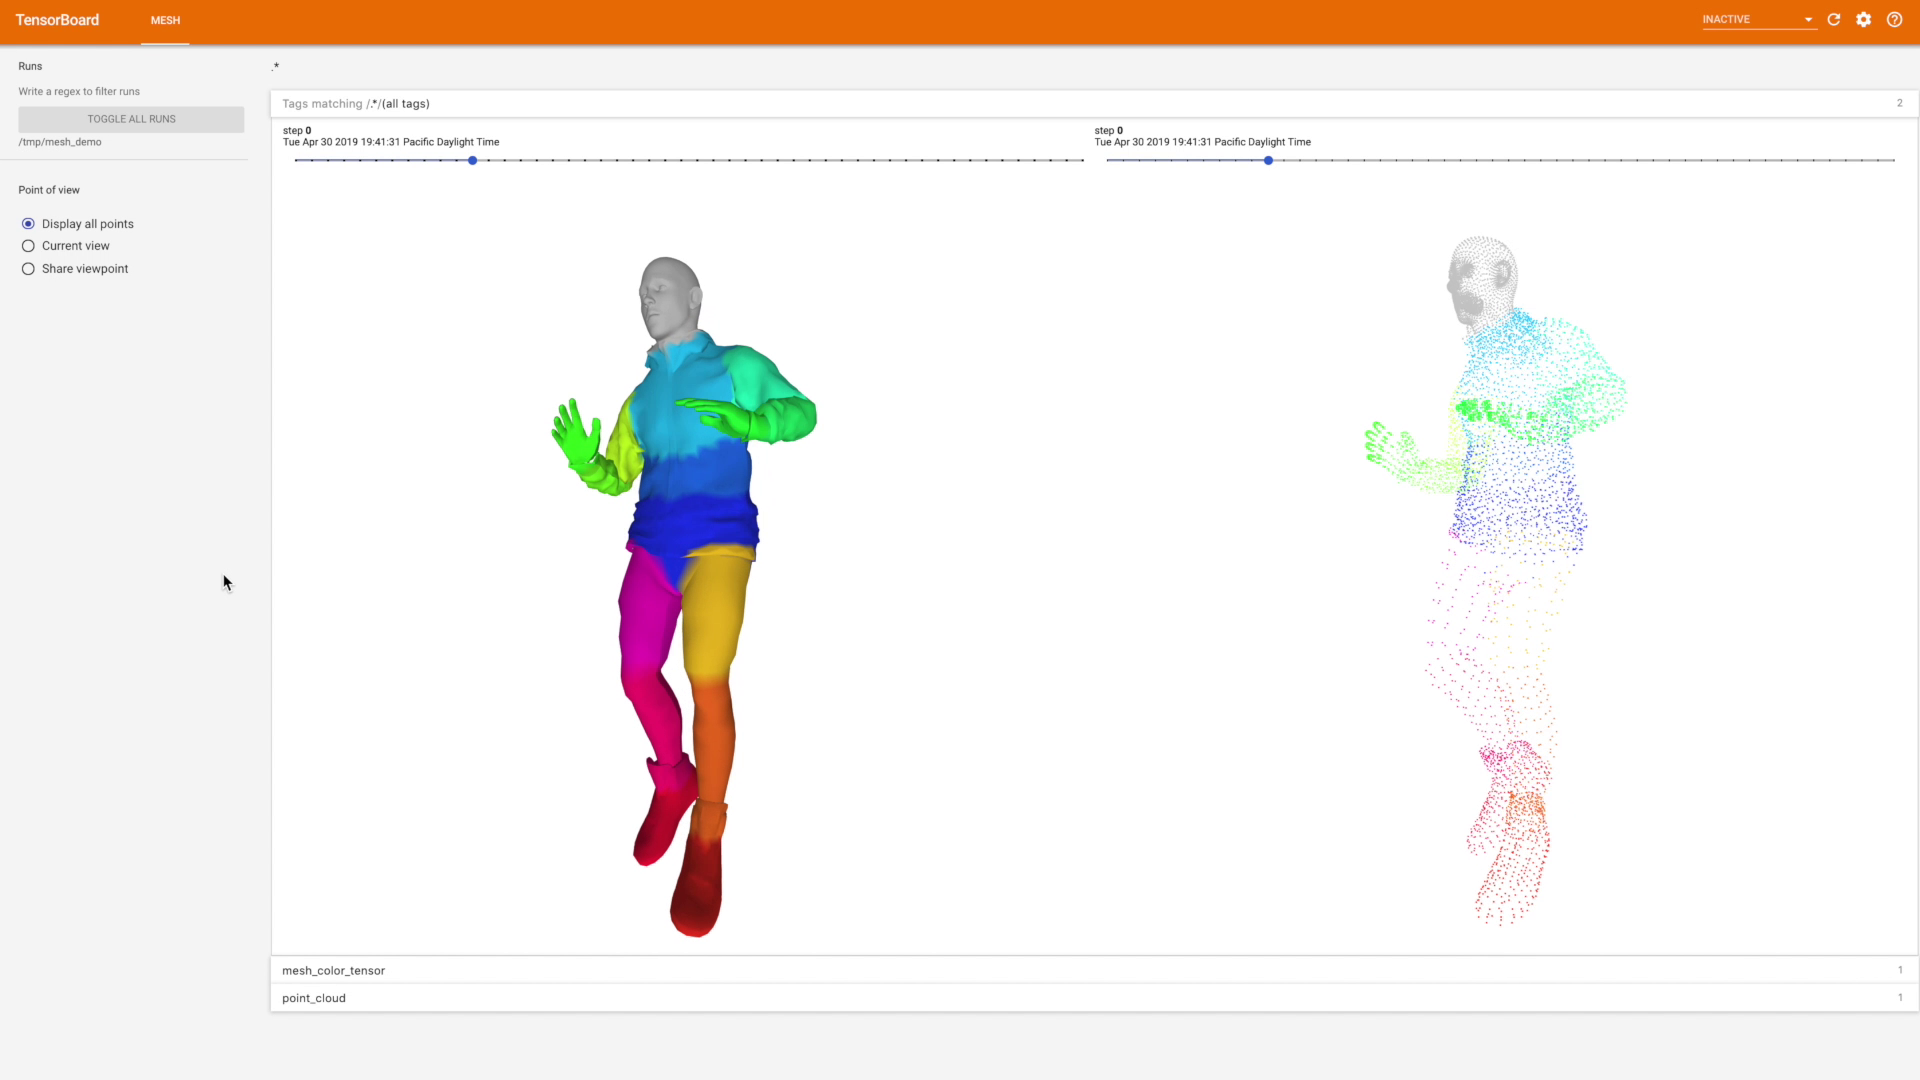
The plugin displays 3D point clouds and meshes (triangulated point clouds) in TensorBoard. In addition, it allows the user to interact with the rendered objects.
Meshes and point clouds can be represented by a set of tensors. For example, one can view a point cloud as a set of 3D coordinates of the points and some colors associated with each point. Check out a simple example with static mesh:
from tensorboard.plugins.mesh import summary as mesh_summary
...

point_cloud = tf.constant([[[0.19, 0.78, 0.02], ...]], shape=[1, 1064, 3])
point_colors = tf.constant([[[128, 104, 227], ...]], shape=[1, 1064, 3])

summary = mesh_summary.op('point_cloud', vertices=point_cloud, colors=point_colors)
NOTE: The colors tensor is optional in this case but can be useful to
show different semantics of the points.
A mesh can be represented by a point cloud together with a set of faces,
where each face is represented by a list of indices of vertices in
clockwise order around the face. This plugin currently only supports
triangular faces. Construct a mesh by including the faces parameter to
mesh_summary.op:
mesh = tf.constant([[[0.19, 0.78, 0.02], ...]], shape=[1, 1064, 3])
colors = tf.constant([[[128, 104, 227], ...]], shape=[1, 1064, 3])
faces = tf.constant([[[13, 78, 54], ...]], shape=[1, 752, 3])

summary = mesh_summary.op('mesh', vertices=mesh, colors=colors, faces=faces)
The colors tensor is optional for mesh summaries.
Another aspect of displaying 3D visualizations is a scene configuration, i.e.,
intensity and color of light sources, objects' materials, camera models, and so
on. All of that can be configured via an additional parameter config_dict.
This dictionary may contain three high-level keys: camera, lights and
material. Each key must also be a dictionary with mandatory key cls,
representing a valid THREE.js class name.
camera_config = {'cls': 'PerspectiveCamera'}
summary = mesh_summary.op(
    "mesh",
    vertices=mesh,
    colors=colors,
    faces=faces,
    config_dict={"camera": camera_config},
)
Consult the THREE.js documentation for more details.
All keys from camera_config will be passed to a class with name
camera_config.cls. For example (based on the
PerspectiveCamera documentation):
camera_config = {
  'cls': 'PerspectiveCamera',
  'fov': 75,
  'aspect': 0.9,
}
...
Keep in mind that scene configuration is not a trainable variable (i.e., it is a static attribute) and is fixed at summary-creation time.
Please refer to the demo application mesh_demo.py as an example of how to
use the plugin and display a mesh with colors in TensorBoard. Note, that demo
application will read PLY file in ASCII format and doesn't support all
the variations of PLY format. You can find a sample mesh in PLY format stored
in test_data.
Here is a snippet of how to build and run the demo application:
bazel run tensorboard/plugins/mesh:mesh_demo -- --mesh_path=path/to/ply/file
The mesh plugin isn’t yet part of stable TensorBoard, so you’ll need to install the latest TensorBoard nightly build to use it.
!pip install -q -U tb-nightly
Then load TensorBoard extension and run it, similar to how you would do it in the Terminal:
%load_ext tensorboard
%tensorboard --logdir=/path/to/logs
Please consult the example Colab notebook for more details.
If you want to run TensorBoard nightly build locally, first you need to install it:
pip install tf-nightlyThen just run it:
tensorboard --logdir path/to/logs