Setting up Sol Journal requires a free Firebase account since many of the features rely on built in Firebase capabilities to allow functionality offline. The free plan gives you 50,000 reads and 20,000 writes per day, meaning you can easily run a personal version for yourself.
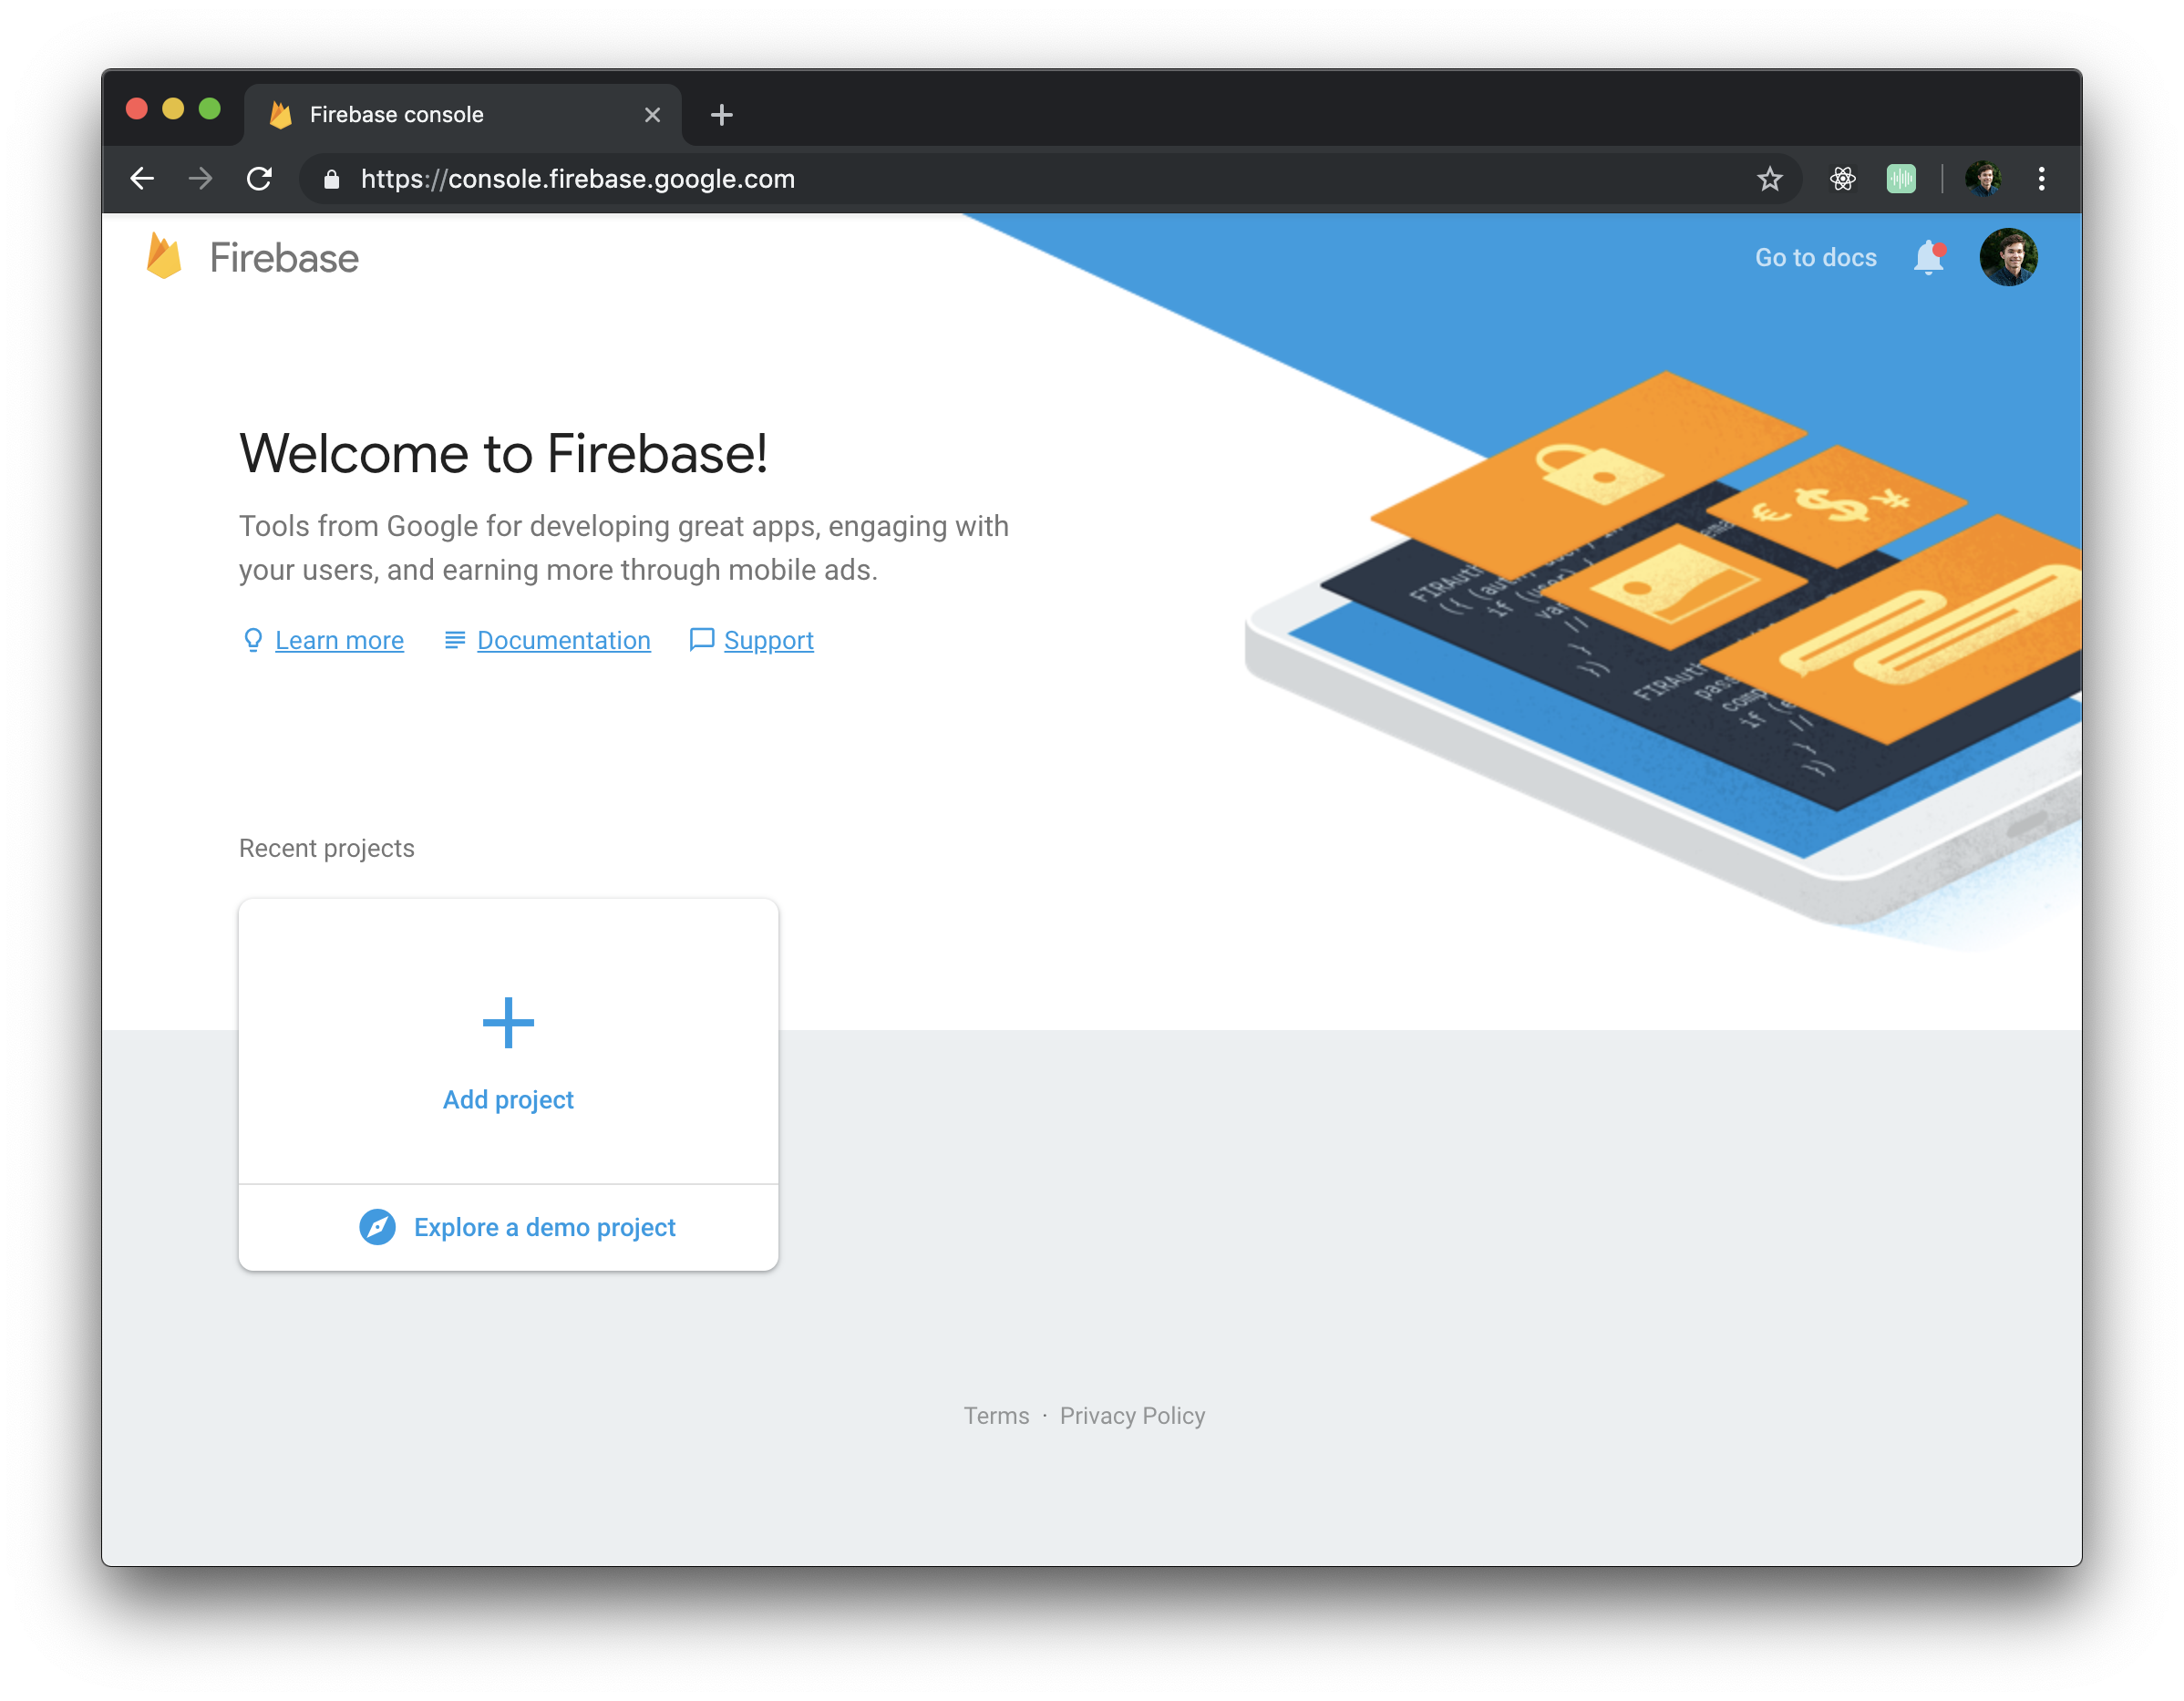
You will need a Google account to create a Firebase project, then navigate to the Firebase Console: https://console.firebase.google.com/
Select the button that says Add a Project
You will be given a prompt to name your project and accept terms for Google products

You will have to give your project a unique name (one that hasn't been used by anyone else using Firebase) and then click Create Project

Once your project is provisioned by Google you'll be taken to a screen that shows your project overview

From here you'll need to do a few things:
- Allow authentication services, giving users the ability to register and sign in with an email
- Create a Firestore database, making a storage location for user's journal entries
- Copy your apps configuration details to your copy of the Sol Journal code so it knows how to communicate with your Firebase project
Authentication refers to verifying who users are before letting them access information on the site.
Click on the authentication tab in the sidebar on the left to be taken to the page where sign in methods are managed, click on Set up sign-in method

Select Email/Password

Make sure that the enable switch is checked to on, you can ignore the passwordless sign-in via email

When you click save you'll be given a notice that email and password are enabled for authentication

You need a database to save information too so that it can be accessed from anywhere. You'll need to setup a Cloud Firestore database to use Sol Journal.
Click on the database tab in the sidebar on the left to be taken to the page where your database will be managed, click on Create database

You can leave the option of Start in locked mode selected, and click enable, this will provision your database and take you to its management screen

Once you have data in your database you will be able to view it here

In order to prevent would be hackers or nefarious folks from messing with data in your database you'll need to change some of the security rules, go to the rules tab

Having node installed is a prerequistie, you can follow instructions to get it setup yourself.
You will need to install the firebase command line tools to deploy the site
npm install -g firebase-toolsWith the command line tools installed you will need to login to firebase from the terminal with the account you setup on Firebase
firebase loginFollow the prompted instructions to connect your account.
Clone the repository:
git clone https://github.com/gillkyle/sol-journalThen change the name of the .env.sample file to .env (or .env.production/.env.development if you would like to run the app in different environments) and fill it in, mapping your own keys from your Firebase project to the corresponding names in the file.
GATSBY_FIREBASE_API_KEY=<BUNCHofRandomNumbersAndChars>
GATSBY_DEV_AUTH_DOMAIN=<name>.firebaseapp.com
GATSBY_DEV_DATABASE_URL=https://<name>.firebaseio.com
GATSBY_DEV_PROJECT_ID=<name>
GATSBY_DEV_STORAGE_BUCKET=<name>.appspot.com
GATSBY_DEV_MESSAGING_SENDER_ID=############

GATSBY_CONFIRMATION_EMAIL_REDIRECT=https://<name>.firebaseapp.com
Then run the build command to generate an optimized build in the public directory.
gatsby buildYou can upload your /public folder to S3, or run the surge command inside the directory to deploy it to a free subdomain.