This document shows how to deploy the server using Red Hat OpenShift.
You will need a running OpenShift cluster, or OKD cluster. You can provision OpenShift on the IBM Cloud.
-
Using the OpenShift web console, select the
Application Consoleview.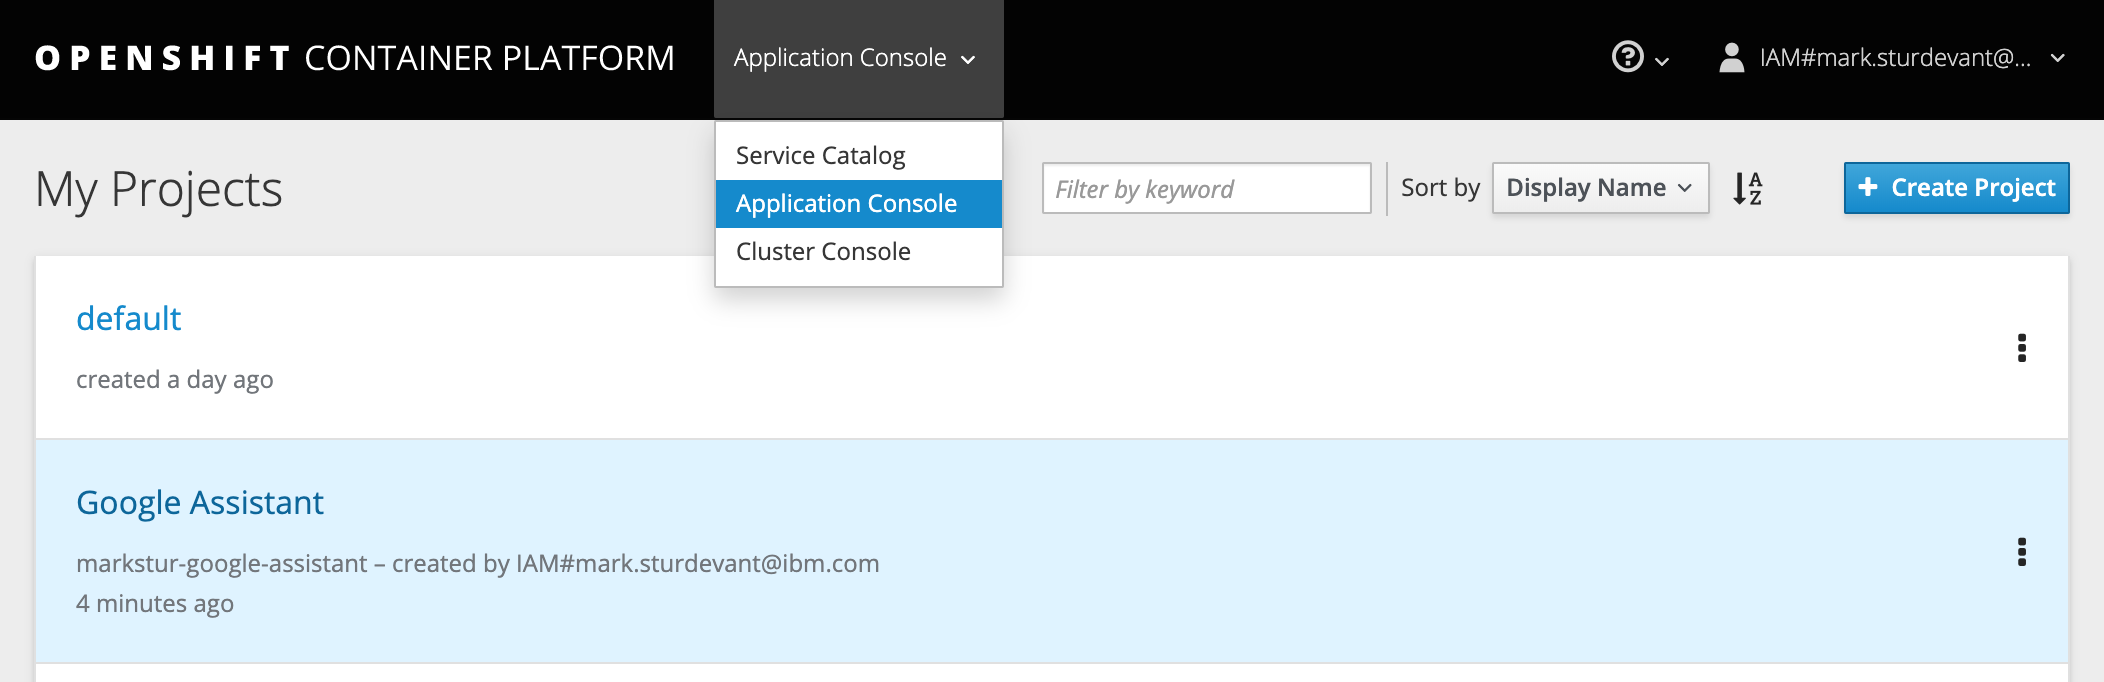
-
Use the
+Create Projectbutton to create a new project, then click on your project to open it. -
In the
Overviewtab, click onBrowse Catalog.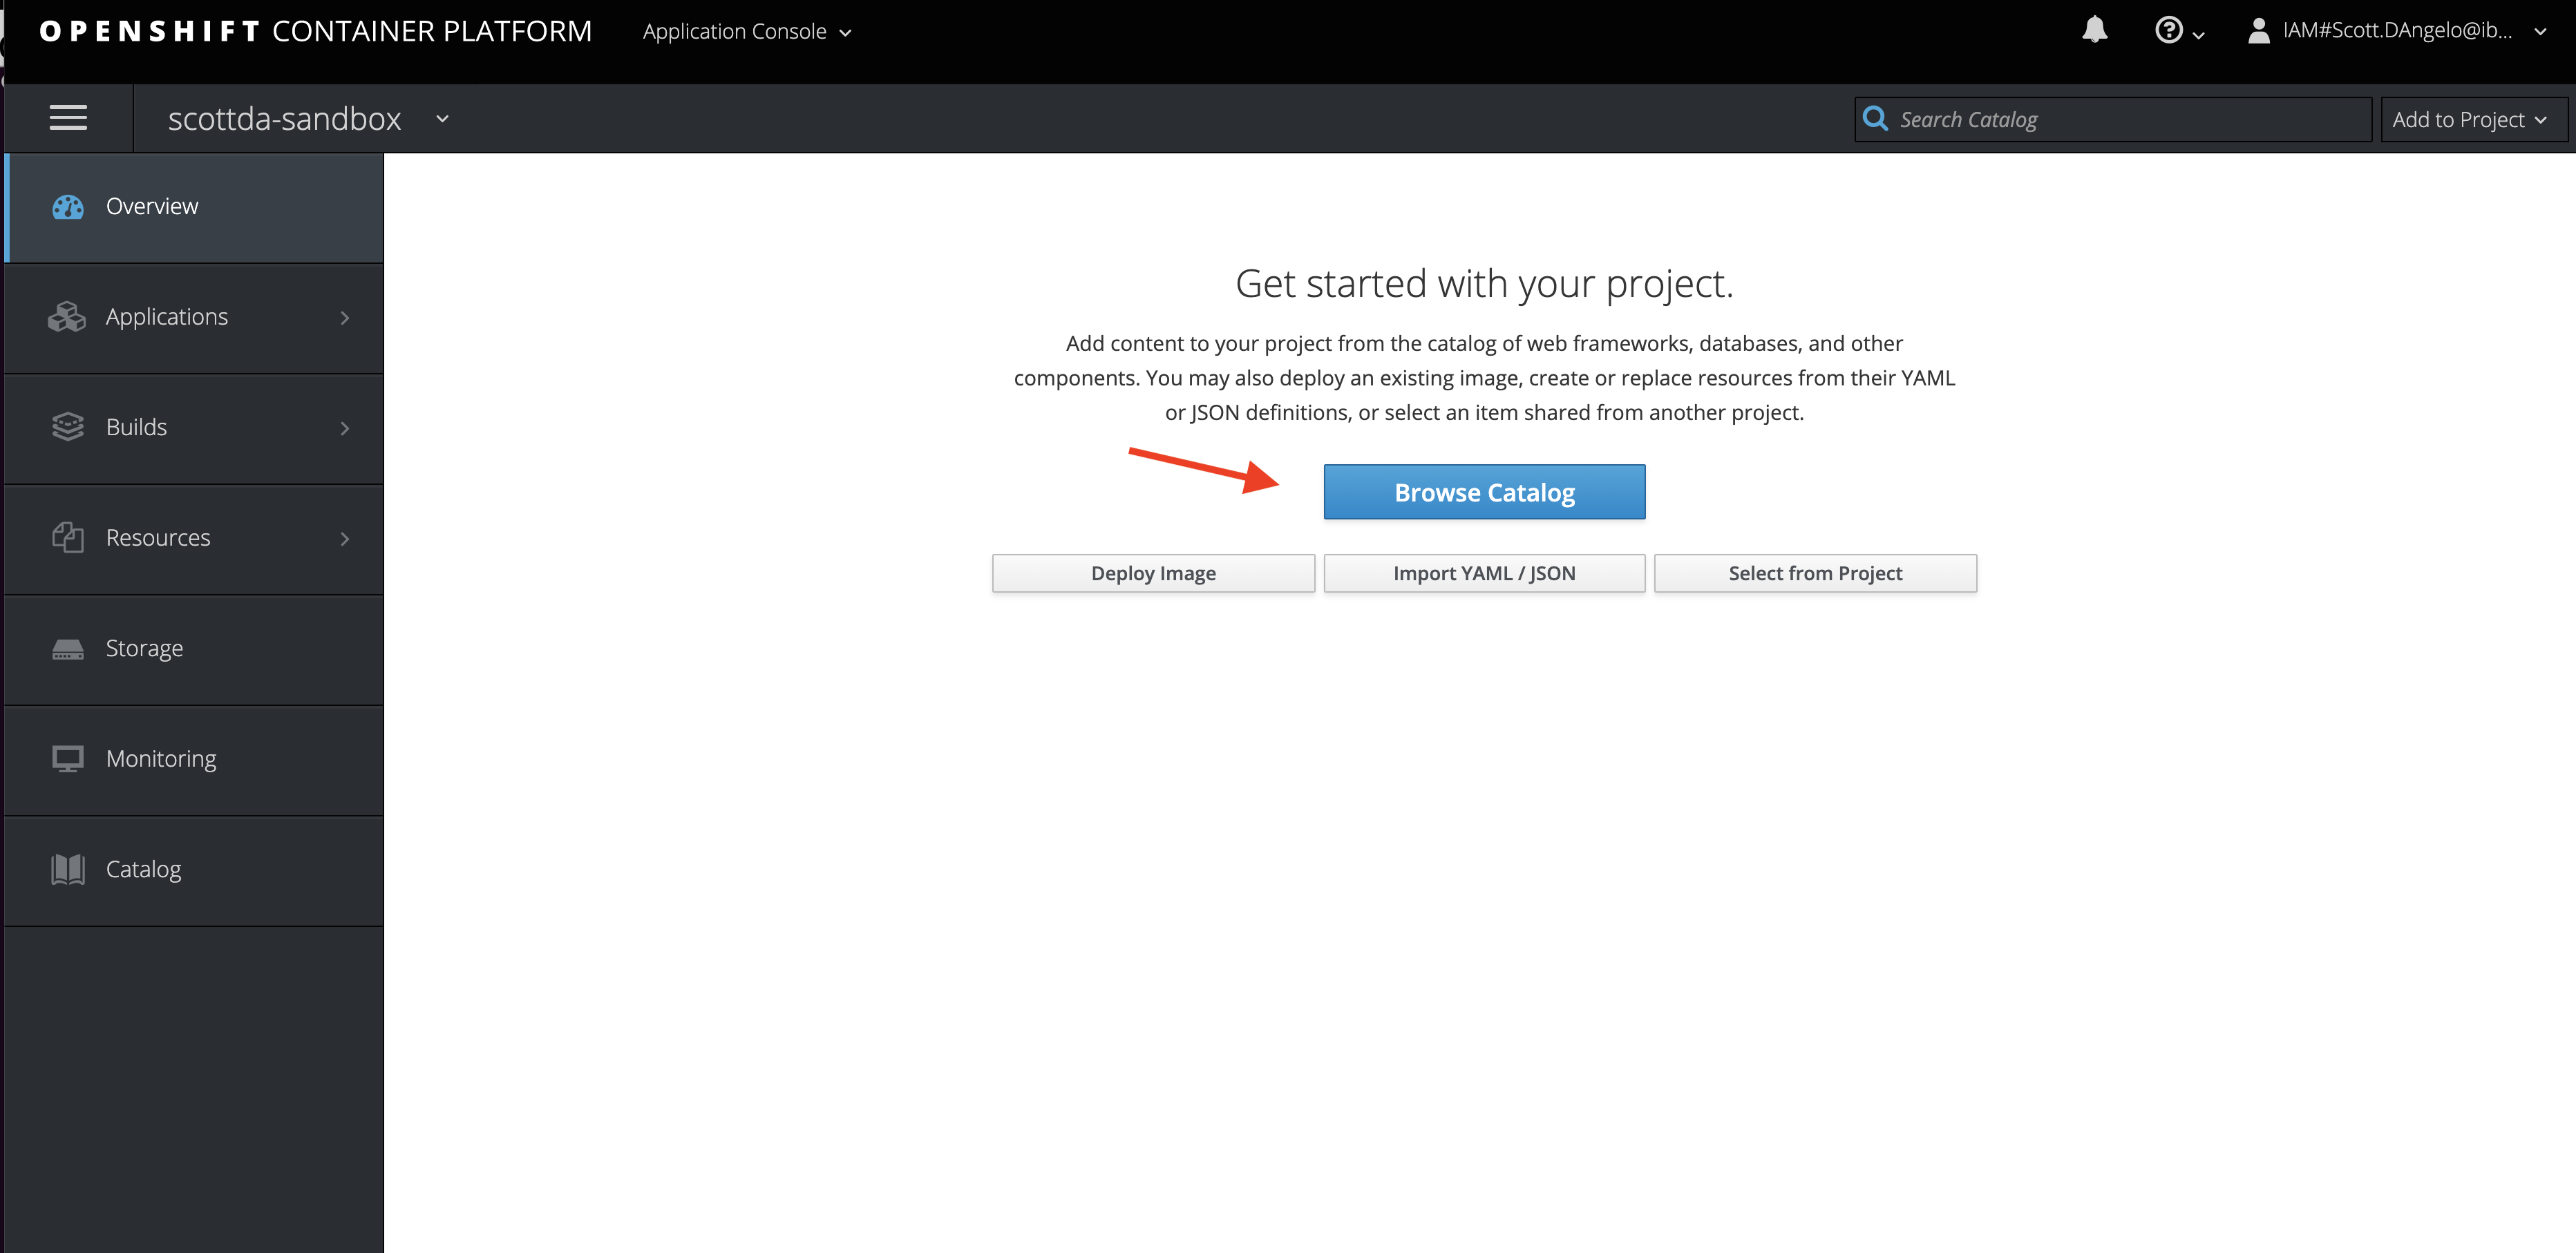
-
Choose the
Node.jsapp container and clickNext.
-
Give your application a name and add
https://github.com/IBM/watson-speech-translatorfor theGit Repository, then clickCreate.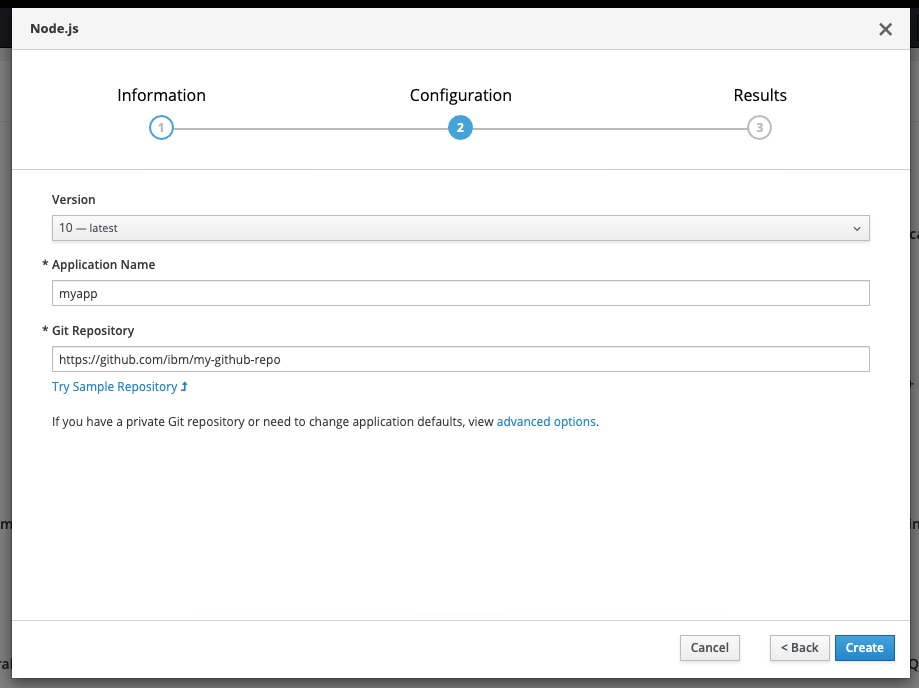
Create a config map to configure credentials for the Node.js server.
- Click on the
Resourcestab and chooseConfig Mapsand then click theCreate Config Mapbutton. - Provide a
Namefor the config map. - Add items with keys and values. The necessary keys to configure will depend on whether you are provisioning services using IBM Cloud Pak for Data or on IBM Cloud.
Click to expand one:
IBM Cloud Pak for Data
For each service (SPEECH_TO_TEXT, LANGUAGE_TRANSLATOR, and TEXT_TO_SPEECH) the following settings are needed with the service name as a prefix:
-
Set _AUTH_TYPE to cp4d
-
Provide the _URL, _USERNAME and _PASSWORD for the user added to this service instance.
-
For the _AUTH_URL use the base fragment of your URL including the host and port. I.e. https://{cpd_cluster_host}{:port}.
-
If your CPD installation is using a self-signed certificate, you need to disable SSL verification with both _AUTH_DISABLE_SSL and _DISABLE_SSL. Disable SSL only if absolutely necessary, and take steps to enable SSL as soon as possible.
Key Value SPEECH_TO_TEXT_AUTH_TYPE cp4d SPEECH_TO_TEXT_URL https://{cpd_cluster_host}{:port}/speech-to-text/{release}/instances/{instance_id}/api SPEECH_TO_TEXT_AUTH_URL https://{cpd_cluster_host}{:port} SPEECH_TO_TEXT_USERNAME <add_speech-to-text_username> SPEECH_TO_TEXT_PASSWORD <add_speech-to-text_password> SPEECH_TO_TEXT_DISABLE_SSL true or false SPEECH_TO_TEXT_AUTH_DISABLE_SSL true or false LANGUAGE_TRANSLATOR_AUTH_TYPE cp4d LANGUAGE_TRANSLATOR_URL https://{cpd_cluster_host}{:port}/language-translator/{release}/instances/{instance_id}/api LANGUAGE_TRANSLATOR_AUTH_URL https://{cpd_cluster_host}{:port} LANGUAGE_TRANSLATOR_USERNAME <add_language-translator_username> LANGUAGE_TRANSLATOR_PASSWORD <add_language-translator_password> LANGUAGE_TRANSLATOR_DISABLE_SSL true or false LANGUAGE_TRANSLATOR_AUTH_DISABLE_SSL true or false TEXT_TO_SPEECH_AUTH_TYPE cp4d TEXT_TO_SPEECH_URL https://{cpd_cluster_host}{:port}/text-to-speech/{release}/instances/{instance_id}/api TEXT_TO_SPEECH_AUTH_URL https://{cpd_cluster_host}{:port} TEXT_TO_SPEECH_USERNAME <add_text-to-speech_username> TEXT_TO_SPEECH_PASSWORD <add_text-to-speech_password> TEXT_TO_SPEECH_DISABLE_SSL true or false TEXT_TO_SPEECH_AUTH_DISABLE_SSL true or false
IBM Cloud
For each service (SPEECH_TO_TEXT, LANGUAGE_TRANSLATOR, and TEXT_TO_SPEECH) the following settings are needed with the service name as a prefix:
-
Set _AUTH_TYPE to iam
-
Provide the _URL and _APIKEY collected when you created the services.
Key Value SPEECH_TO_TEXT_AUTH_TYPE iam SPEECH_TO_TEXT_APIKEY <add_speech-to-text_apikey> SPEECH_TO_TEXT_URL <add_speech-to-text_url> LANGUAGE_TRANSLATOR_AUTH_TYPE iam LANGUAGE_TRANSLATOR_APIKEY <add_language-translator_apikey> LANGUAGE_TRANSLATOR_URL <add_language-translator_url> TEXT_TO_SPEECH_AUTH_TYPE iam TEXT_TO_SPEECH_APIKEY <add_text-to-speech_apikey> TEXT_TO_SPEECH_URL <add_text-to-speech_url>
Create the config map and add it to your application.
- Hit the
Createbutton. - Click on your new Config Map's name.
- Click the
Add to Applicationbutton. - Select your application from the pulldown.
- Click
Save. - Go to the
Applicationstab, chooseDeploymentsto view the status of your application.
- From the OpenShift or OKD UI, under
Applications▷Routesyou will see your app.- Click on the application
Name. - Under
TLS Settings, click onEdit. - Under
Security, check the box forSecure route. - Hit
Save.
- Click on the application
- Go back to
Applications▷Routes. You will see your app. - Click your app's
Hostname. This will open the Watson Speech Translator web app in your browser. - Go back to the README.md for instructions on how to use the app.