| title | datePublished | cuid | slug | cover | tags |
|---|---|---|---|---|---|
React Authentication using SAWO Labs API |
Sat Sep 25 2021 03:01:08 GMT+0000 (Coordinated Universal Time) |
cktz7hpee0101wxs13or94y14 |
react-authentication-using-sawo-labs-api |
authentication, reactjs |
Hey there! So, I was working on building a web app on promoting health and for authentication i used SAWO Labs API. During the process, I found that there was a need to know more than what the official documentation provided. Here then is a small walkthrough to help you integrate SAWO Labs authentication with a Basic React applications.
- A Login Page
- A User Dashboard
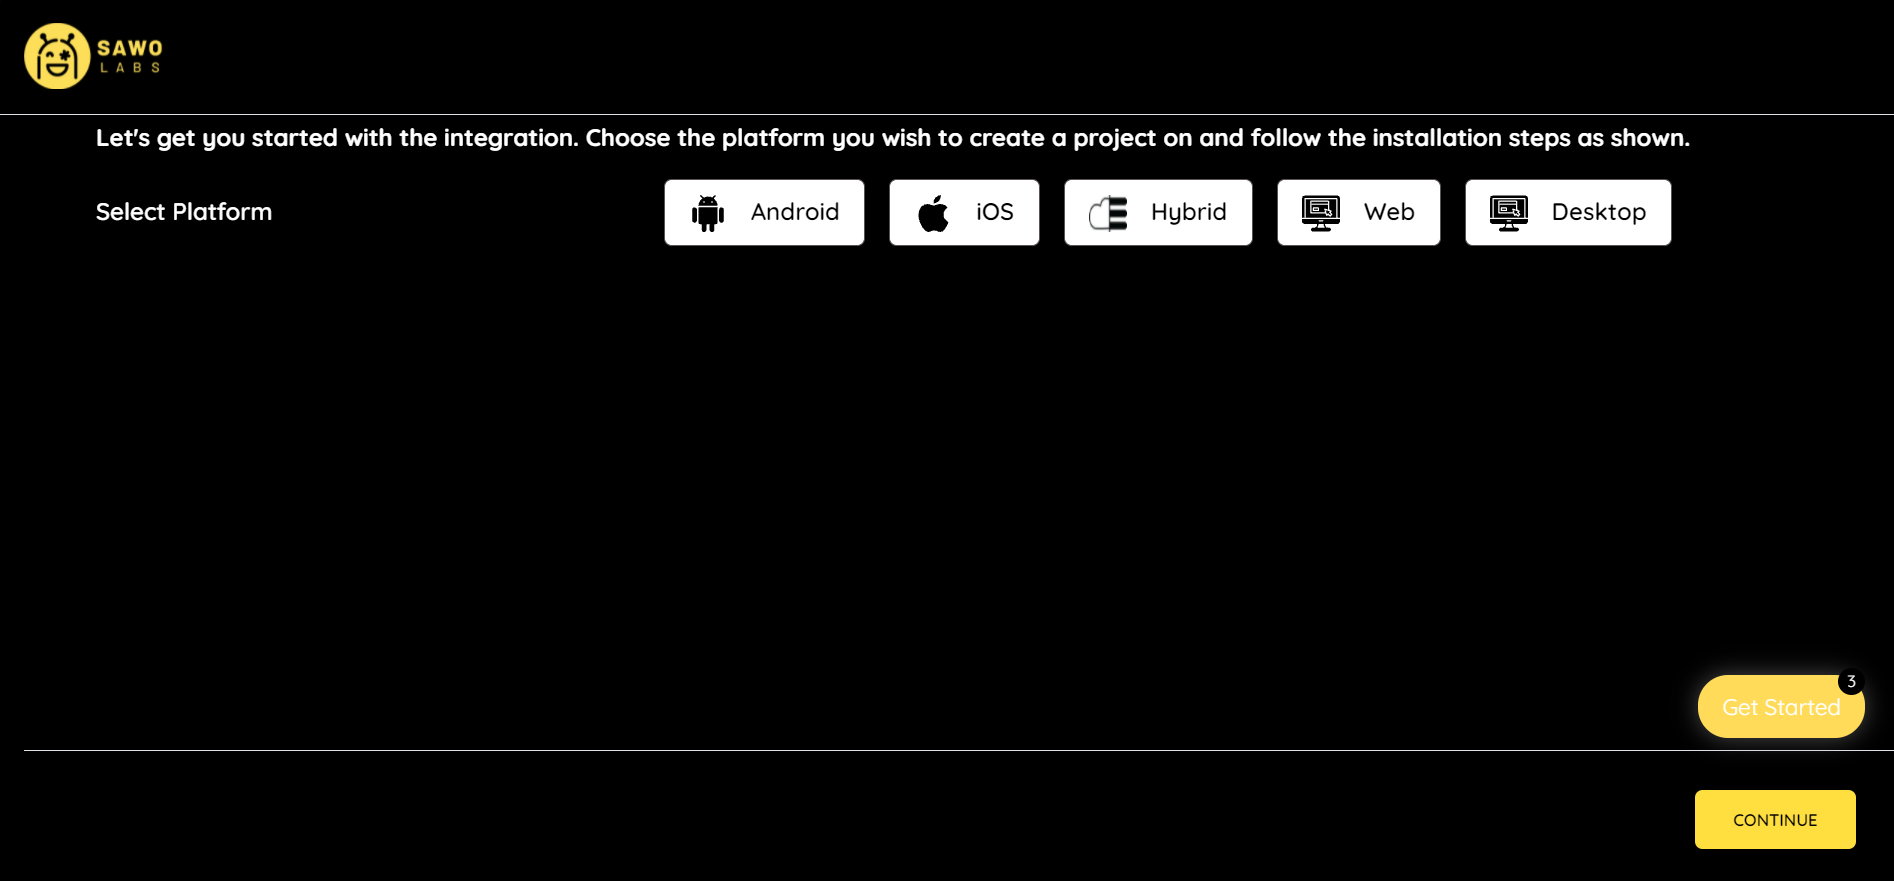
- You need a SAWO Labs account in order to use this awesome stuff. Head over to sawolabs.com and create your first project, select the platform and set the Host to localhost, if you chose to develop locally. Otherwise, you can set Host as your application URL.
- We will be choosing web as our platform!
-
Open the VScode and run
npx create-react-app Projectto create the react app default structure. -
We need to have the SAWO labs package in our node_modules. So head over to the terminal, make sure, you have entered
cd Project and run the following command to install the SAWO package: - npm i sawo -
After the package is installed, head to
src/app.jsand import the SAWO package:-
import React from "react";
import "./App.css";
import Sawo from "sawo";
function App() {

let [payload, setPayload] = React.useState(false);

React.useEffect(() => {
  var config = {
      containerID: "sawo-container",
      identifierType: "email",
      apiKey: process.env.REACT_APP_API_SAWO,
      onSuccess: (payload) => {
        // console.log(payload);
        setPayload(payload)
      },
    };
    let sawo = new Sawo(config);
    sawo.showForm();
 }, []);

   return (
         <div
          id="sawo-container"
          style={{ height: "300px", width: "300px" }}
        ></div>
  );
}
export default App;
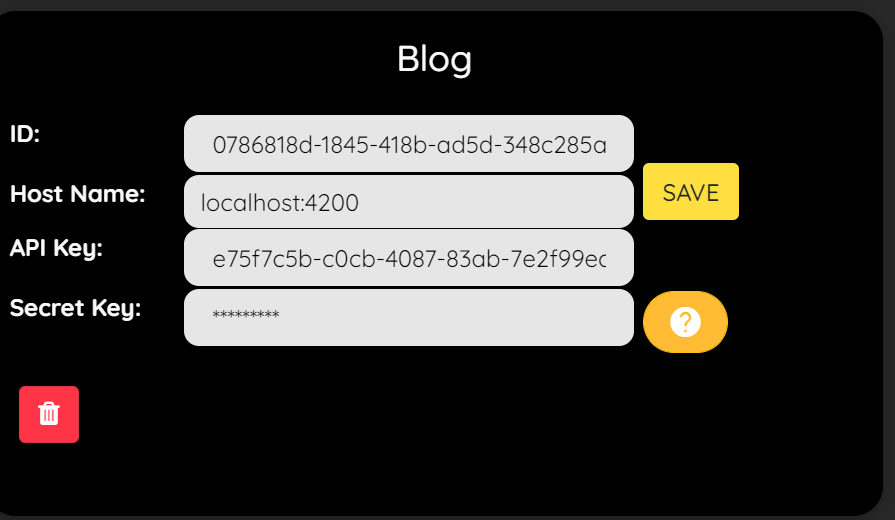
also for the SAWO API to work you need the API key, which we get from the project console:-
Save your API Key in the .env file and make sure you have added it before itself in .gitignore. The .env file should look like this: -
React_SAWO_API : Sample_API_KEY1223456
- We are going to create a file
src/Dashboard.js, which looks like this: -
import React from "react";
const Dashboard = (props) => {
  return (
    <>
       <h2>Private Dashboard</h2>
        Email: {props.payload.identifier}
    </>
  );
};
export default Dashboard;
*Note: As our method of Authentication is email, props.payload.identifier will return EMAIL-ID of the user.
- Now we need to add the dashboard component to our app.js
import React from "react";
import logo from "./logo.svg";
import "./App.css";

//Dashboard Component

import Dashboard from './dashboard'
import Sawo from "sawo";
function App() {

let [payload, setPayload] = React.useState(false);

React.useEffect(() => {
  var config = {
      containerID: "sawo-container",
      identifierType: "email",
      apiKey: process.env.REACT_APP_API_SAWO,
      onSuccess: (payload) => {
        // console.log(payload);
        setPayload(payload)
      },
    };
    let sawo = new Sawo(config);
    sawo.showForm();
 }, []);
 return (<>
         <div
          id="sawo-container"
          style={{ height: "300px", width: "300px" }}
        ></div>
        {payload && (
        <>
          <Dashboard payload={payload} />
        </>
        )}
</>
  );
}
export default App;
And that’s it. Hope you enjoyed reading this article.